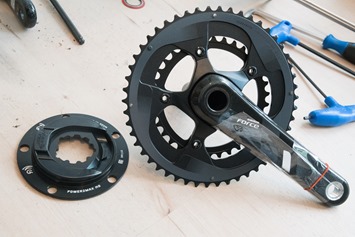
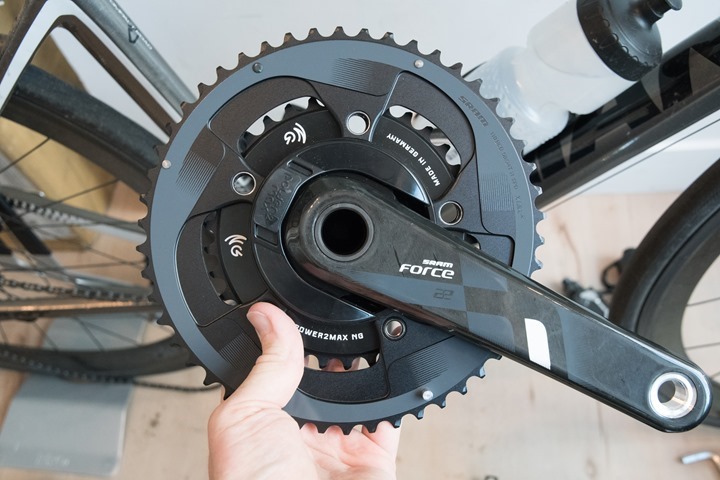
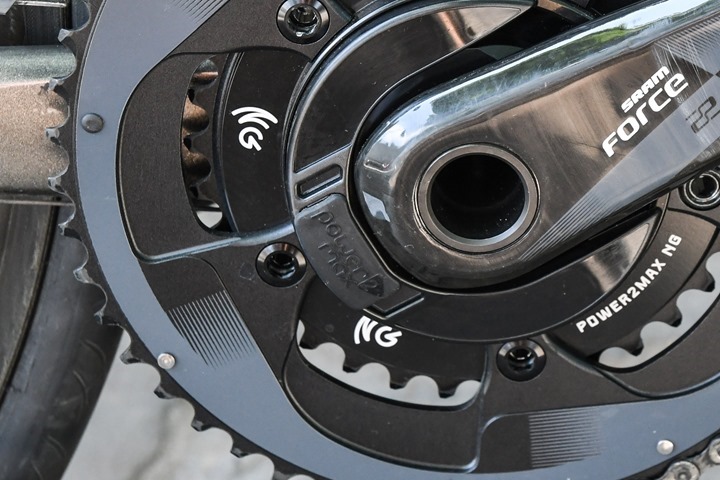
Last August at Eurobike, Power2Max announced their latest power meter – the Power2Max NG. This power meter would be their first unit with dual ANT+/Bluetooth Smart, while also tweaking their underlying measurement design to increase accuracy. While they had anticipated it shipping in the fall, it ended up sliding to mid-winter, with many deliveries not occurring till spring. But these days things are all caught up and thus it’s definitely time for some in-depth review action.
I’ve been riding a Power2Max NG unit on my bike for about a month and a half. Plenty of time to find all sorts of wonky weather conditions as well as indoor trainer tests. And in turn, plenty of time to determine whether or not it’s accurate, as well as how well the new features work.
As always, the loaner unit I received from Power2Max will soon ship back to them. Just the way I roll. Speaking of rolling, let’s get started on this review. First up – unboxing!
Unboxing:
First up is what’s in the box. Now at its core, there’s the Power2Max spider. But what’s in your box may vary slightly based on what configuration/bundle you buy. For example, are you buying it with crank arms? Or did you also buy chainrings? Heck, I think they even sell head units with some of the combos too.
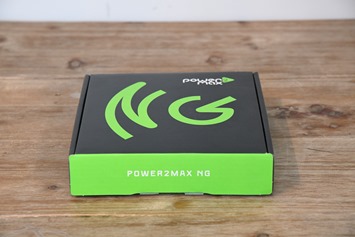
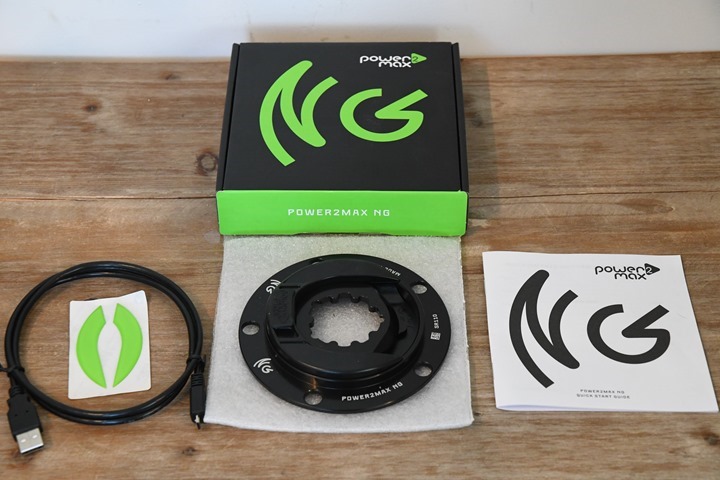
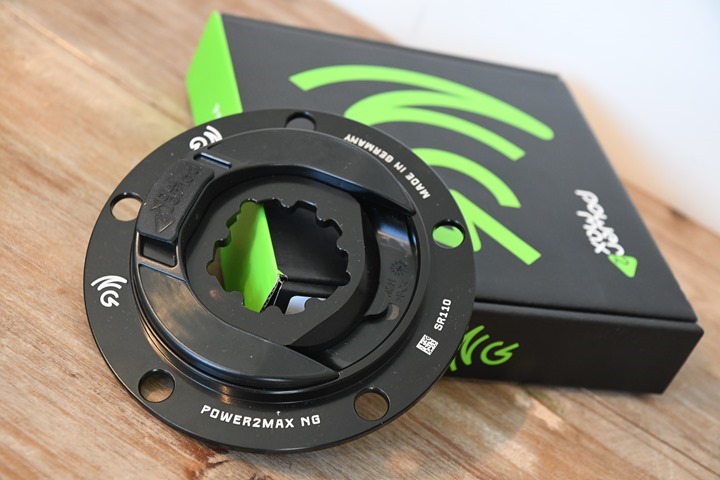
In this case though we’re going to keep it simple and tidy and just unbox the absolute base option. I’ll cover some of those other component requirements in the installation section in a moment. In any case, here’s the box:
For context, the box is not much bigger than two phones side by side. Pretty small actually. If we crack open the box, here’s the parts inside:
These can be very easily summed up as:
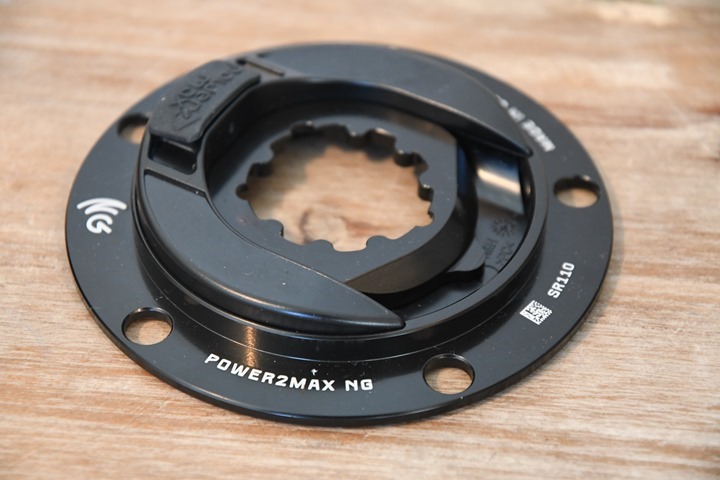
A) Power2Max NG Spider
B) Micro-USB charging cable
C) Small quick start guide
D) A pair of green stickers that in that particular placement looks a little bit like…uhh…never mind.
In any case, those green stickers are placed onto the crank spider. You can also order other colors from them as well. Or, do as I did and just leave it all naked. I think it looks cleaner that way.
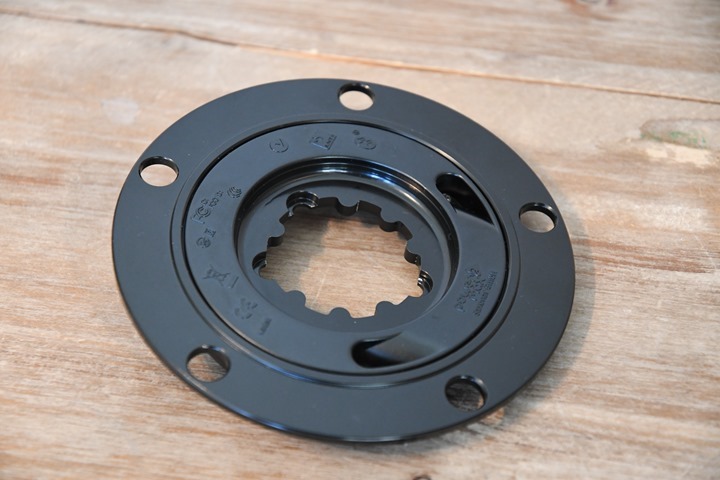
And here’s the back of the spider:
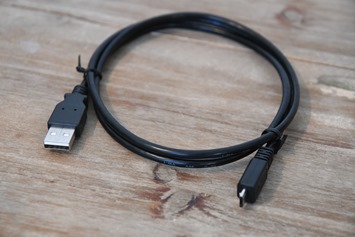
For completeness, here’s a closer look at both the USB cable and stickers:
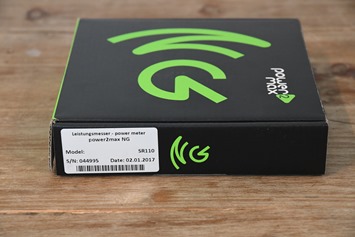
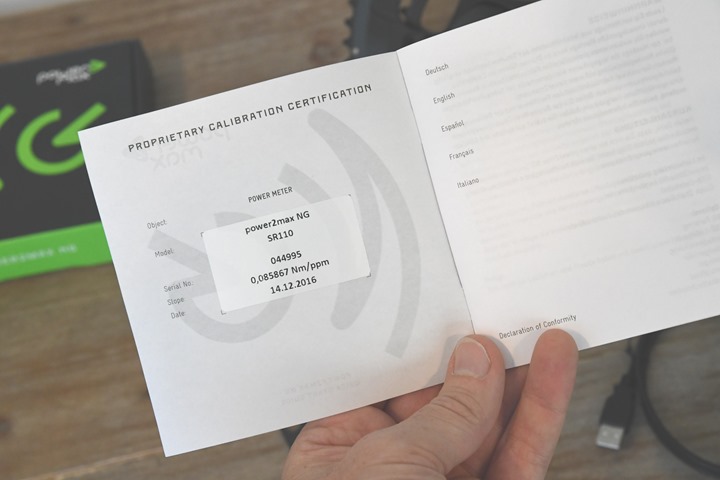
Meanwhile, inside the front of the manual, you’ll find stats about your specific unit. This includes initial factory calibration numbers as well as the ANT+ ID and birth date. Mine apparently shares the same birthday as a now much discussed individual in the American political landscape.
Ok, with that unboxing out of the way, let’s get onto the installation.
Installation/Configuration:
Now installation is pretty straightforward, at least if you’ve done crank swaps in the past. The purpose of this section isn’t exactly to teach you how to swap your crankset. Honestly, there are far better YouTube videos for that. Instead, I just wanna cover a few key moments to give you the flavor of this install. A small Costco sample is usually better than an entire dish of it in most cases.
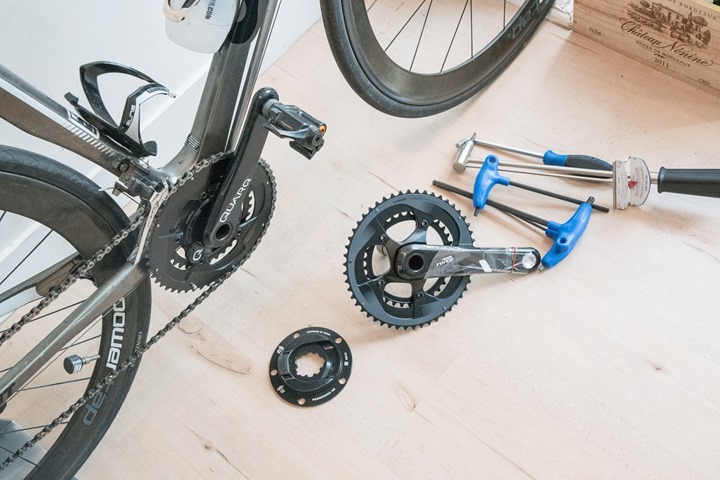
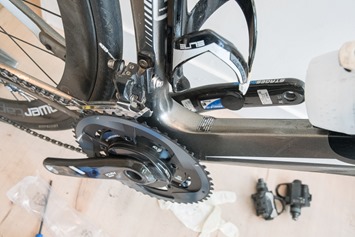
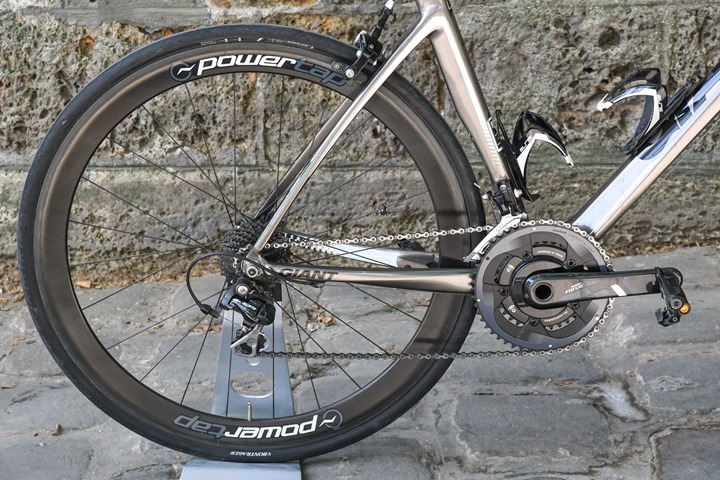
In today’s case, I’d be swapping the spider on the crankset on the right with that of the Power2Max NG, and then removing the Quarq from the bike and putting all the new stuff in its place.
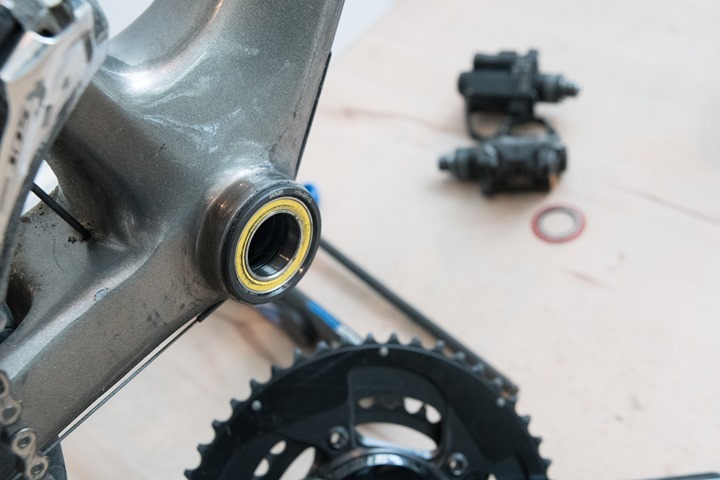
My first step was to get rid of the old crank. So I removed that and my pedals, and then after this photo cleaned up the bottom bracket a little bit too.
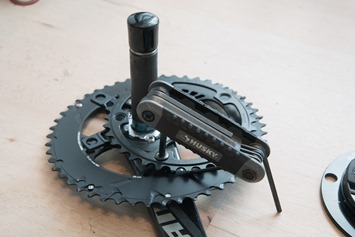
Next, it was removing the chainrings from the existing crankset. This would be similar to what you might do if you were just swapping out crank spiders.
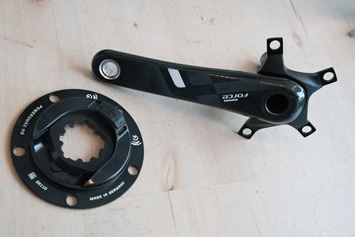
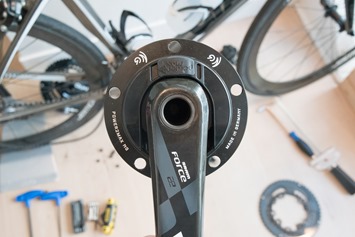
Following that I then put the new spider onto the existing crankset:
Then from there, it’s bolting back on the chainrings.
Finally, I slide the axle through the bottom bracket and attach the left crank arm. In this case, I was putting on a Stages power meter on the left side…just cause. Finally, don’t forget to attach your pedals. Also, don’t forget to put the chain on the correct side of the axle before finalizing everything.
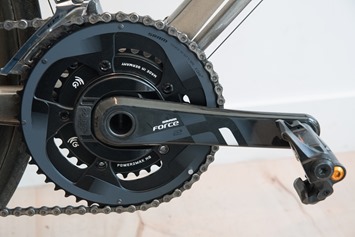
And with that, our installation is complete. Now generally speaking for any power meter you install you want to give a little bit of time for things to settle. Not sitting overnight type of time, but actual riding time. This can be rapidly sped up by doing 3-4 quick and hard sprints. This helps to set any bolts and parts that may not be perfectly tight.
After that, do another zero offset (more on that in a moment), and you’re good to go.
General Use Overview:
The Power2Max NG is dead simple to use. For the most part you won’t really need to do much with it, save checking the zero offset every once in a while as well as charging it up. Still, it’s worth going through some of the basics just to cover all the most common questions.
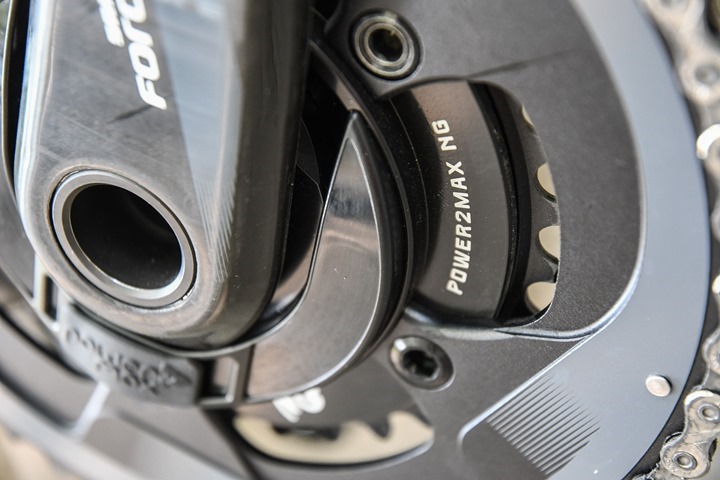
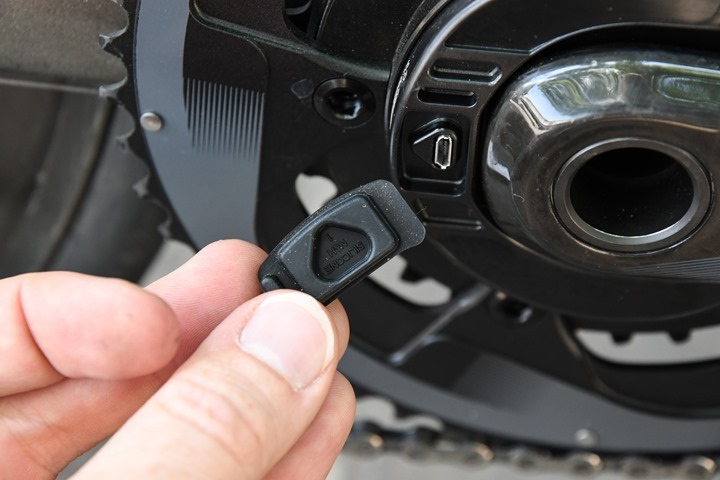
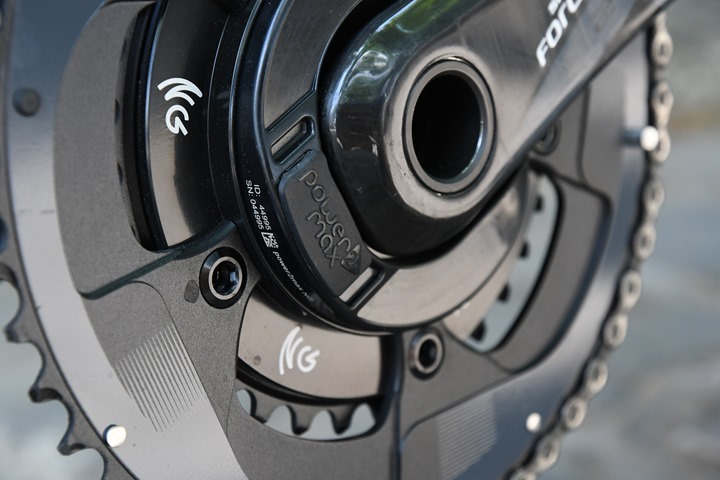
To begin, the NG is the first Power2Max unit to use a rechargeable battery. Previously they used coin cell batteries (CR2032), which were easy enough to find/use. With the NG though they’ve gone with a micro-USB rechargeable configuration, which aims to get around 150 hours of battery life. The charging port is hidden behind a small rubber stopper located on the front of the crankset:
The underlying micro-USB port is internally waterproofed, so even if you forget to put the stopper back in place, you won’t kill it on a wet ride.
And this is actually really the only thing I don’t like about the NG: The stopper. It doesn’t have any ‘tie’ to hold it to the rest of the crankset, so if you don’t put it back in place perfectly it’ll undoubtedly fall out somewhere in the countryside to never be found again. Further, while waterproofing isn’t a concern, sand/dirt/road grit is. That’s because if that gets in there and you then plug your micro-USB cable in the port, you could eventually damage it.
Perhaps these concerns are overthought, but I just find the port cover flimsy and not well thought through. In any case, I haven’t lost mine yet, but I much prefer the charging cover that ROTOR has implemented on their new 2INPower design. Though, at least with Power2Max’s design it’s standard micro-USB, so no need to have yet another proprietary cable (as ROTOR is).
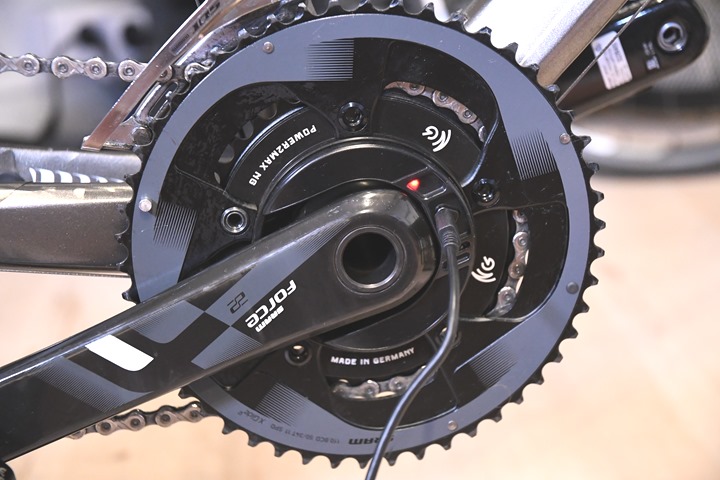
Note that while charging, the red LED light will blink, and then once complete it’ll stop blinking. It’ll blink green once you remove the power cable (to indicate it’s happy and ready).
The LED status will also actually tell you battery status immediately after turning the cranks upon wake-up. The manual lists the different charge levels:
As an interesting tidbit, you can actually power off the Power2Max NG by connecting it to power for less than two seconds, and then unplugging it again. The company says this is useful for transport to save battery life. To power it back on, you’ll charge it for at least 5 seconds, which then will turn it back on again.
Moving along to calibration, the unit supports doing a manual zero offset. Zero offsets are valuable because they allow you to track what’s going on inside your power meter from a calibration standpoint. While most modern power meters will stabilize themselves with regards to temperature compensation and such, by tracking the zero offset you ensure that if something is amiss you catch it before it impacts your training/racing. It’s sorta like that engine temperature gauge on your car – you can ignore it 98% of the time, but the 2% of the time that it lights up – you probably want to do something about it (and no, putting electrical tape over isn’t the right something).
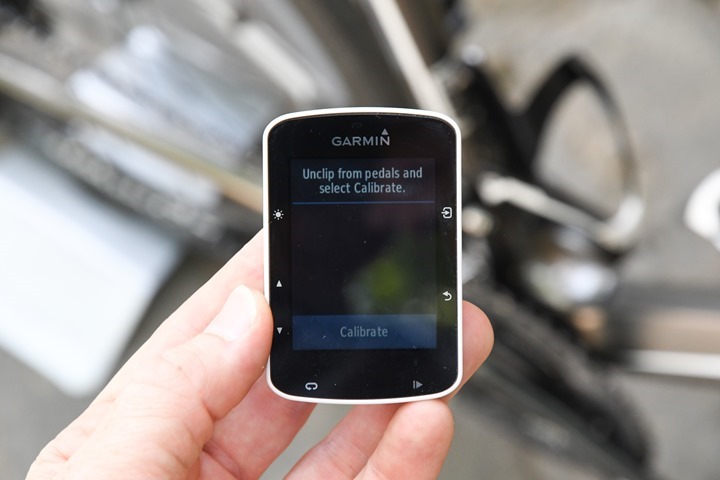
For the NG unit you’ll simply ensure you’re not clipped in, and then press the calibrate button on your head unit.
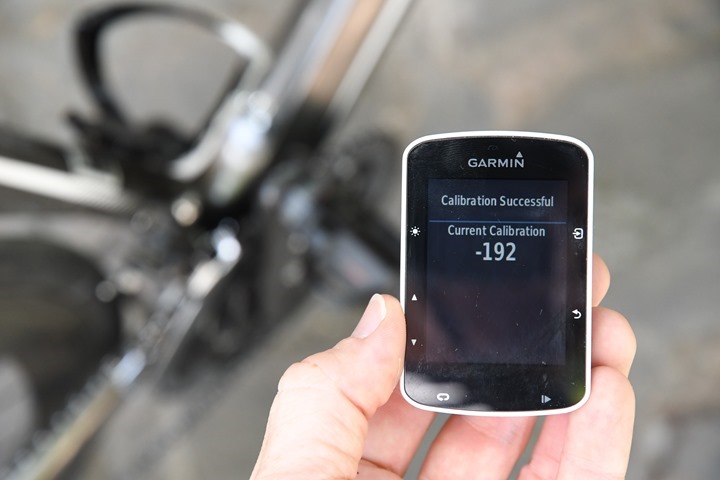
When it’s done it’ll shoot back a calibration value. You’re mostly looking for this value to stay relatively stable.
Note that the Power2Max NG will automatically perform a zero offset behind the scenes anytime there’s no force applied to the unit for at least two seconds. This could be at a stoplight or otherwise stopped pedaling.
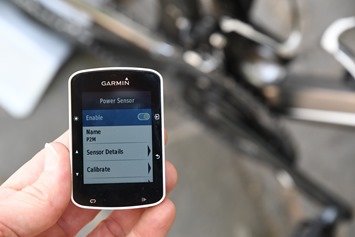
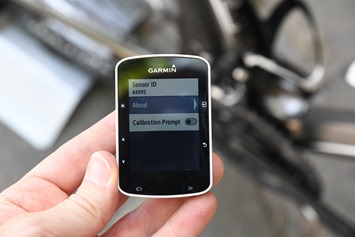
Of course, I jumped a little bit ahead here in that I talked about calibration with a head unit prior to pairing. For pairing, you can pair on both ANT+ & Bluetooth Smart. For example, here is it paired on a Garmin head unit via ANT+:
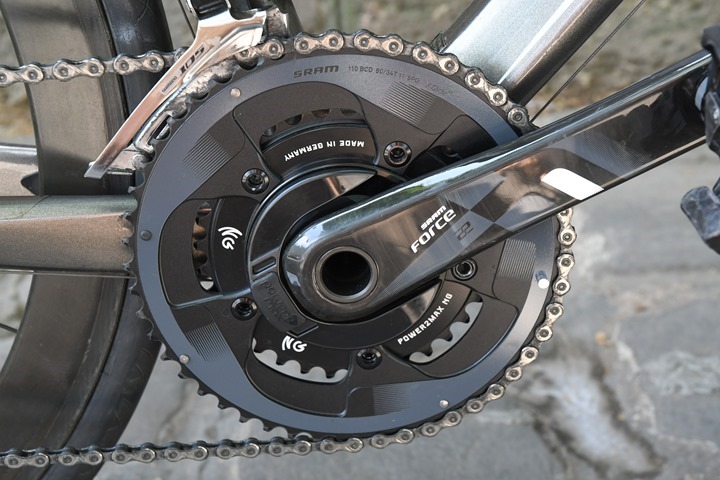
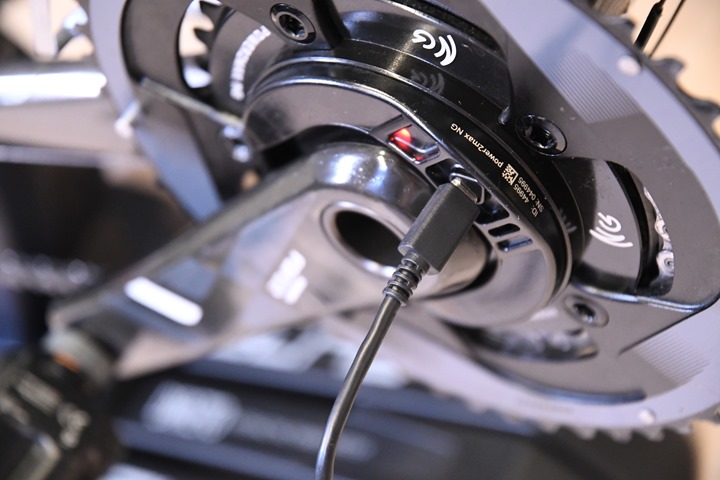
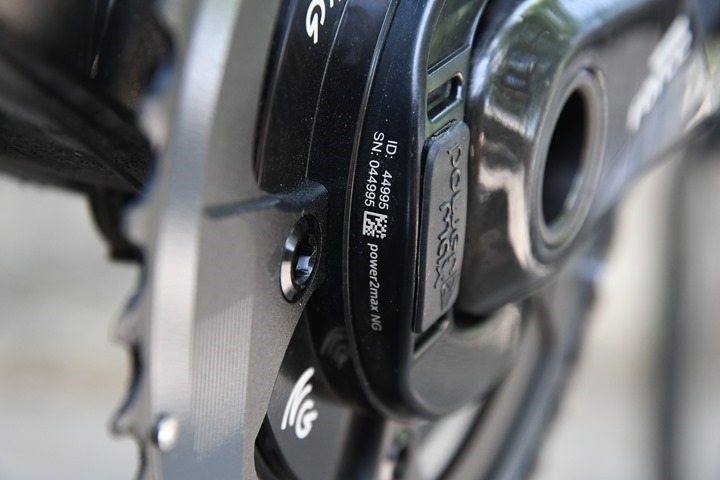
Note that the ANT+ ID is actually written along the edge of the crankset, so you can double-check that at any time should you need to figure out (or confirm) which ID is yours. You can see above how the ID shown (44995) matches that of below.
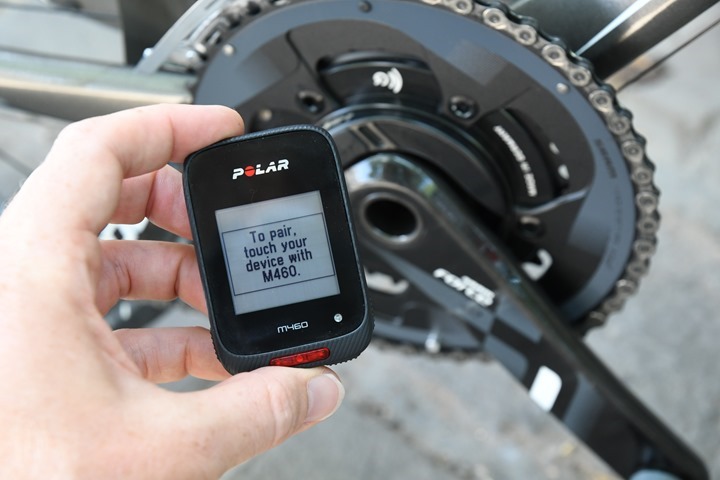
You can also pair via Bluetooth Smart, in my case I was able to confirm pairing with the Polar M460, Stages Dash, and Garmin Fenix 5. One thing to be aware of is that the Power2Max NG has a bit of a pairing mode, this means that for the Bluetooth Smart side of things you have one minute upon powering on the unit (pedaling) for Bluetooth Smart head units to find the NG unit for a new pairing. If you were to try and pair a head unit 10 minutes later instead, it actually won’t find it.
It’s no big deal, but just something to be aware of (and perhaps will save someone some confusion down the road). For ANT+, it just broadcasts constantly and so any ANT+ unit will pick it up as a new pairing at any time.
It should be noted that I did have a single ride where the Fenix 5 paired via ANT+ did experience drop-outs. This is likely less the Power2Max units fault and more the Fenix 5’s fault, as there have been issues with ANT+ reception for some models and some accessories. I’ve generally had pretty good luck though with the Fenix 5 for me and all other cycling power meters (not so for the Stryd running power meter though).
When it comes to data recorded by the head unit, it’ll vary by protocol. Here’s what each supports on the NG:
ANT+ Power (total)
ANT+ Power Balance
ANT+ Cadence
ANT+ Torque Effectiveness
ANT+ Pedal Smoothness
Bluetooth Smart Power
Bluetooth Smart Power Balance
Bluetooth Smart Cadence
As an example, here’s a file recorded with an Edge 520 via ANT+ on the Power2Max NG. And here’s some screenshots from that of the relevant data sections.
Now before we dive into the power meter accuracy pieces, it’s notable to point out that at this point there is not yet an app for the Power2Max NG unit. That was certainly a major piece of having Bluetooth Smart, which would enable you to update the unit’s firmware more easily via your smartphone. Other manufacturers like ROTOR, Power2Max, and Quarq also offer more detailed diagnostics and related data via the smartphone app.
Power2Max says it’s coming though, likely this summer for the Android version. Though there isn’t yet a specific timeline for the iOS version. At the moment it’s not a big deal either way, since you can still calibrate and such with any head unit.
Power Meter Accuracy Results:
I’ve long said that if your power meter isn’t accurate, then there’s no point in spending money on one. Strava can give you estimated power that’s ‘close enough’ for free, so if you’re gonna spend money on something it shouldn’t be a random number generator. Yet there are certain scenarios/products where a power meter may be less accurate than others, or perhaps it’s got known edge cases that don’t work. Neither product type is bad – but you just need to know what those use/edge cases are and whether it fits your budget or requirements.
As always, I set out to find that out. In power meters today one of the biggest challenges is outdoor conditions. Generally speaking, indoor conditions are pretty easy to handle, but I still start there nonetheless. It allows me to dig into areas like low and high cadence, as well as just how clean numbers are at steady-state power outputs. Whereas outdoors allows me to look into water ingest concerns, temperature and humidity variations, and the all important road surface aspects (i.e. vibrations). For reference, the Power2Max NG has a claimed accuracy rate of +/- 1%. It also does not require any magnets for cadence, while also automatically correcting for any temperature drift. Both of these are pretty common though on most power meters these days.
In my testing, I generally use between 2-4 other power meters on the bike at once. I find this is the best way to validate power meters in real-world conditions. In the case of most of these tests with the Power2Max NG I was using the following other units:
PowerTap G3 hub based power meter
PowerTap P1 pedals based power meter
Stages left-only power meter
Tacx NEO Trainer
Elite Direto Trainer
In general, my use of other products is most often tied to other things I’m testing. Also, when it comes to data collection, I use a blend of the NPE WASP data collection devices, and a fleet of Garmin head units (mostly Edge 520/820/1000 units).
Note all of the data can be found in the links next to each review. Also, at the end is a short table with the data used in this review. I’ll likely add in other data not in this review as well once I finish consolidating that data. I’m a bit behind on getting data off some of my head units into folders.
With that, let’s get right into it and start with analyzing an indoor trainer ride. This one actually just a few days ago as I tried out the new Elite Direto trainer. This was done on Zwift, and the set can be viewed here.
So at a high level you can certainly see things look pretty darn good between the three units from an agreement standpoint. Be it the more constant sections like 6 minutes till 11 minutes, or be the sprints. Let’s dive into those sprints a bit deeper, as reaction time is a super-important part of a power meter.
The above chart is at 3-second smoothing, so that helps to make it look a bit cleaner (easier to read), while concurrently causing some slight differences in how the data might appear. So here’s also the 1-second version:
Anytime you talk 1-second maxes you get into the scenario of how to deal with different recording/transmission rates. The Direto and Power2Max NG are incredibly close here (2w), with the P1 a bit more offset.
Looking at another sprint a short bit later, you see the reality of those slightly different recording/transmission rates. All three power meters find the same 1-second max power (within a couple watts), but the NG’s head unit happens to show that 1-second later. Again, this is often just a case of transmission and recording variances.
So indoors I’m not seeing anything odd. After having a different recent power meter show some oddities indoors-only, it’s something I always want to check on at least a few sessions.
Most power meters these days, if they have problems, tend to have those problems outdoors. So let’s spin outside and look at some data there.
Wowzers.
Yes, that’s a lot of ups and downs there, but what’s key is that the three units match consistently – which is why you mostly only see one line from this 50,000ft view.
(Minor note: If looking at this specific set linked above, be careful about looking at the Mean/Max chart, as I mis-pressed the start button on the unit with the P1 pedals, thus, the first 8 minutes are missing, which will impact the mean/max chart, as well as averages. No biggie though for what I care about here, we’ll just ignore that chart for this ride.)
So let’s get straight into some surges. You can see in the minute or so leading up to this that all three power meters track very closely to each other, with nothing of concern. As I then ramp up the power you see all three again track very closely, right up to the peak sprint in which all three are within a 1.7% spread of each other. Given they’re measuring a different places with slightly different transmission/recording rates, that’s pretty darn solid.
While we’re looking at this set, let’s look at cadence for a moment. In this particular set we’re comparing accelerometer cadence between two units (P1/NG), and then the G3 which is estimated (and thus less reliable for cadence specifically). I’ve zoomed in on a random section just to look at it a bit more.
You can see that all three align nicely here (across a variety of pavement types), except with the PowerTap G3 comes off a sprint, which is a bit of a well known cadence ‘challenge’ there that it struggles.
Next, switching over to one last set, let’s compare some more data.
Now, there’s a lot of things I could look into in this set (and honestly, all of it’s fine), but in particular I found a moment around the 36 minute marker kinda interesting. I was coming off of a dead stop here, and thus you see me ramp up from 0w to 836w over the course of about 8-10 seconds.
You see some slight variations between how these two ramp up. The NG ramps up a bit more smoothly than the P1 does. Whether or not this is true, there’s really no way to know. But what we do know is that both of them agree about 6-7 seconds later and match right up to the max point, where they match within 1w. One flippin’ watt.
Heck, even the next second the two units are only apart 3 watts. Which is also really tricky to nail from a transmission/recording standpoint. Further, as I fade on that sprint you can see both of them track beautifully all the way down to 0w again.
And we see the same again later on from a 0w to 500w sprint. Some very slight couple-watt variations between the two as they climb and peak out, and then virtually matching (actually, the very next second they match precisely).
At this point it should be pretty obvious that things look very good across the board against other units that have been well proven as accurate.
Of course, Power2Max has been producing very accurate power meters for years. But anytime you shift the underlying technology as they did with the NG (in pursuit of higher accuracy), you have to worry that companies make missteps. For example when Quarq made similar steps to Power2Max this winter, they had a short-lived but present bug on sprint accuracy. It’s these sorts of things that companies have to worry about. Of course, Quarq fixed that within a few weeks, and we haven’t seen any similar (or otherwise) complaints about the new NG units since they started shipping this winter as well.
(Side note: All of the sets are analyzed using the DCR Analyzer. This allows you to open the sets up yourself, look at the data, and even download the original data files for your own comparisons and analysis. These days you can also use the DCR Analyzer for your own comparisons, more info here.)
Power Meter Recommendations:
With so many power meters on the market, your choices have expanded greatly in the last few years. So great in fact that I’ve written up an entire post dedicated to power meter selection: The Annual Power Meters Guide.
The above-noted guide covers every model of power meter on the market (and upcoming) and gives you recommendations for whether a given unit is appropriate for you. There is no ‘best’ power meter. There’s simply the most appropriate power meter for your situation. If you have only one type of bike I’d recommend one power meter versus another. Or if you have different needs for swapping bikes I’d recommend one unit versus another. Or if you have a specific budget or crankset compatibility, it’d influence the answers.
Now since the guide came out this past fall, there really hasn’t been any major entrants in the market that weren’t already covered in that post. However, I have released a number of in-depth reviews of new power meters since then. So here’s the quick and dirty version of what’s been released review-wise since that time:
A) 4iiii Precision Dual System In-Depth Review
B) WatTeam PowerBeat Gen2 Dual System In-Depth Review
C) Quarq DZero In-Depth Review
D) ROTOR 2INPower In-Depth Review
Given we’re into summer now, I do not expect any major new power meter announcements until the end of August, when we start Eurobike and then shortly thereafter Interbike. It’s still possible to see rebranding type announcements this summer.
As usual, expect my full power meter recommendations guide shortly after/around Interbike.
Summary:
With the Power2Max NG the company has continued to incrementally update their power meter lineup with a refreshed model that offers new features considered baseline for today’s cycling head unit world – notably Bluetooth Smart connectivity. The shift to a rechargeable power meter matches some of the industry trends of newer power meter companies, though I think from a consumer standpoint won’t have any real impact. The battery life is long enough that it’s in the same range as coin-cell batteries, and the recharging nature/cable is pretty easy and simple.
Now with these shifts, Power2Max has raised the prices on their NG line quite significantly over the Type-S lineup. In fact, the NG was introduced at a 43% premium over the Type-S (when Power2Max introduced the Type-S over its previous generation, it was ‘only’ at a 27% premium). Of course, companies can charge whatever they’d like – that’s great. But the reality is that you have two comparable and reputable products in the Quarq DZero and PowerTap C1 costing ~$300 less, and that ignores other competitors like the 4iiii dual, BePro, or Garmin Vector 2 at nearly identical price points.
Still, Power2Max appears to have done well here – as they were in a backlog for much of the winter. And from a technical standpoint they’ve done well too. I’d be happy to run an NG unit on my bike full time, and would have no concerns recommending it to others.
With that – thanks for reading!


