Almost every cyclist has attempted to ride on their local bike path on a weekend morning – only to become frustrated with getting a poor-quality workout, due to having to maintain low speeds for safety reasons or to avoid less skilled individuals (or dogs) on the path. Alternatively, I’m sure many others have had the opportunity to ride with friends or family that aren’t of your abilities…again, potentially resulting in a non-ideal training session. There’s of course nothing wrong with enjoying a relaxing ride – and likely many of us should do more of those types of rides.
But still, as type-A athletes, you just wanna be able to ride in whatever zone or perceived effort level your prescribed workout is that day. Or maybe you just wanna throw down in a place you otherwise can’t.
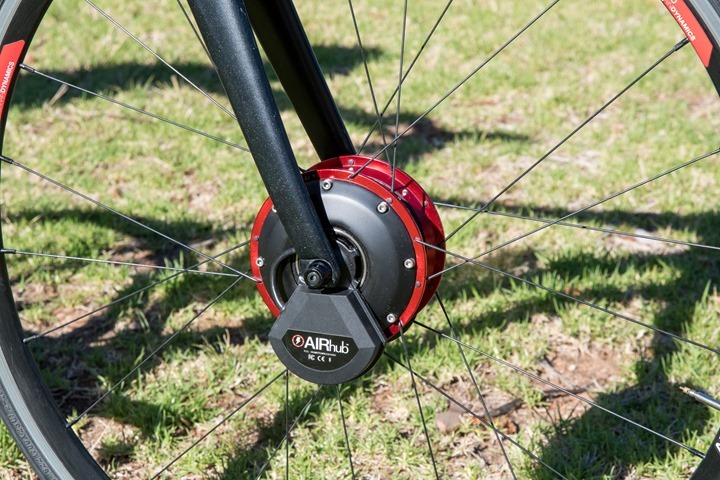
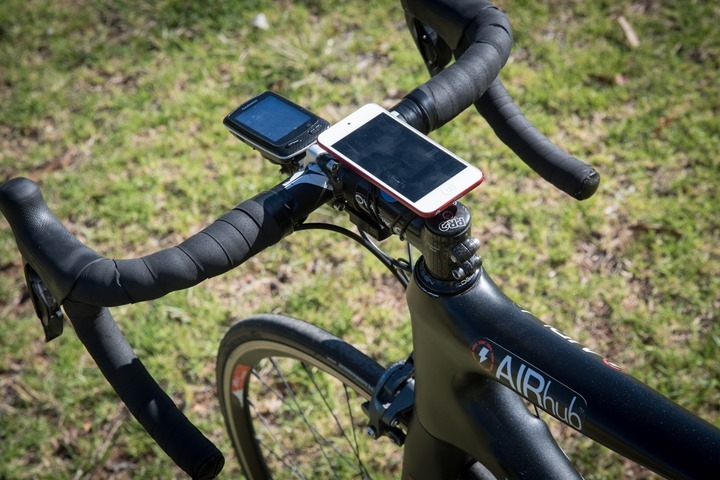
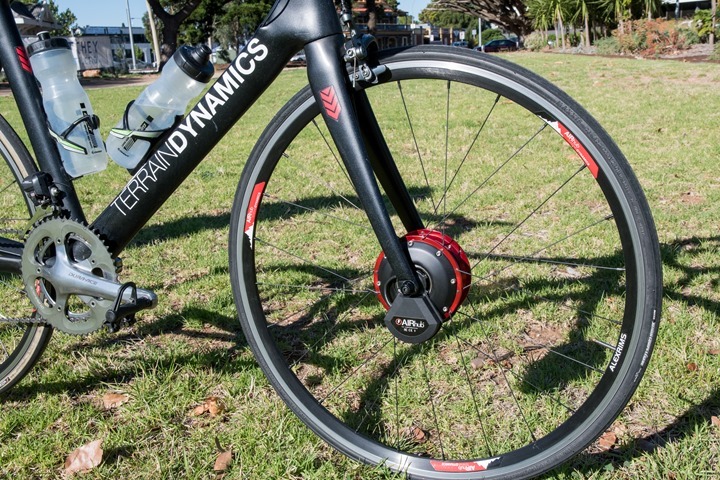
Well, an Australian company might just have the answer for you – and I got to give it a whirl (literally). Meet AIRhub, a Bluetooth Smart connected front wheel hub that can dynamically apply resistance just like an indoor trainer would…except outside. Yup – it’s literally like taking an ERG trainer out on the open road. Mostly.
Here, let me explain.
What it is:
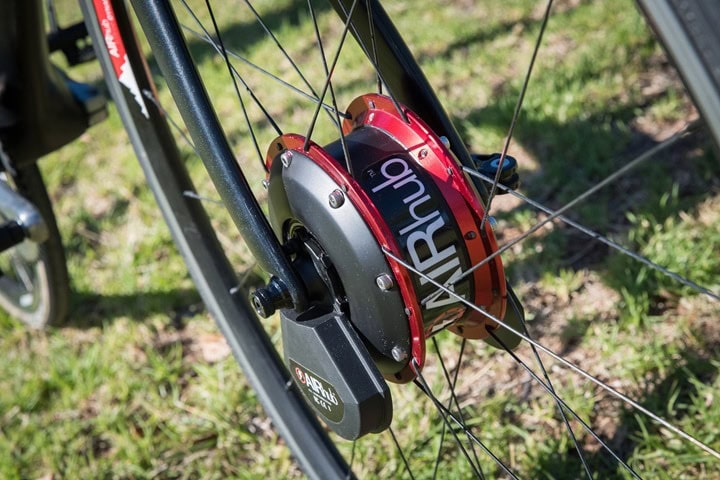
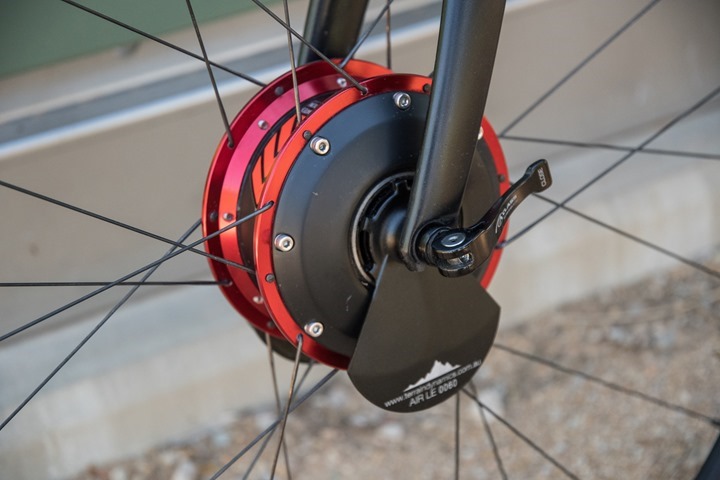
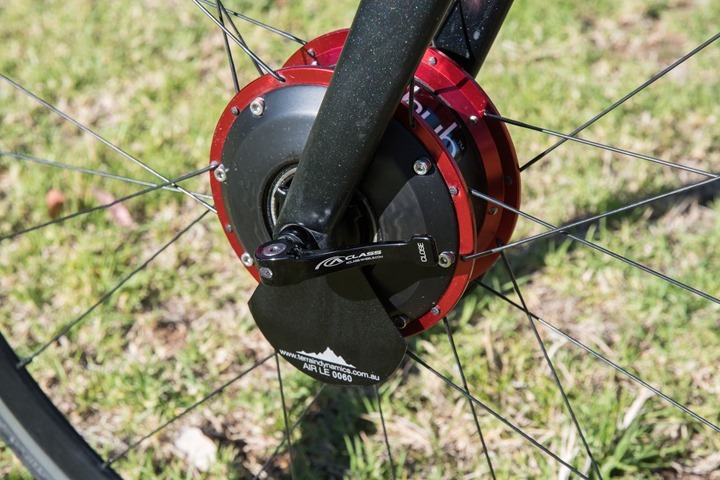
The AIRhub works by replacing your front wheel entirely. It’s kinda like when you buy a PowerTap wheel for your rear wheel hub, except this does far more than measure power – it actually applies force. Yes, in virtually every other cycling situation you’re trying to minimize drag (be it aerodynamic drag, road resistance, or even mis-aligned brakes). But in this case – you’re actually looking to add drag. Kinda like how some athletes train with parachutes or weight vests. Same-same, but different.
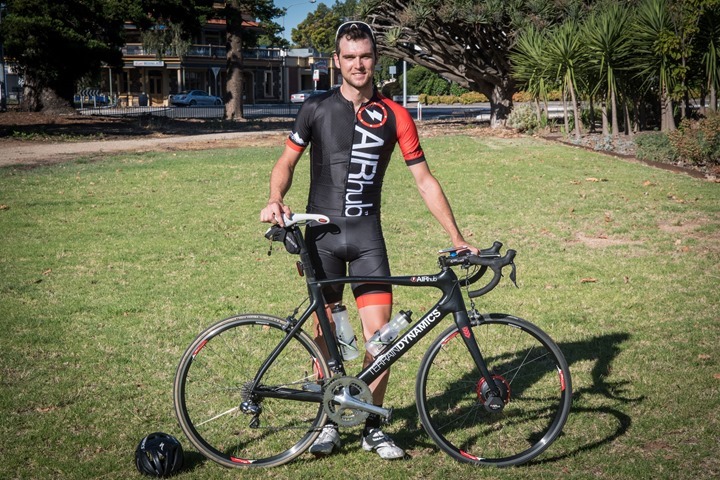
The AIRhub is created by Michael Freiburg, a world class cyclist himself with gold and silver Commonwealth Games medals to show for it. Oh, and the company is technically called Terrain Dynamics. Niftily appropriate name.
The hub is designed to apply a resistance load, which allows you to maintain a lower speed while increasing the power output required for you to maintain that speed. Meaning, let’s say your pushing 225w normally and going 20MPH/30KPH. That’s all great – but what if your riding with an equally weighty friend that can only push 185w and is thus going 17MPH. That friend won’t be with you for long, and will soon fall off the back.
But what the AIRhub does is to allow you to apply more resistance – yet (and thus) enabling you to slow down to match your friends speed while still getting the same workout. It does *not* contain a motor to make your friend go faster (or you go faster). It’s all about slowing you down.
The uses cases here are plentiful, and include:
A) Riding with friends/family that aren’t able to output your power
B) Riding in a peloton/group (within the draft) but still putting out the same power as the leaders
C) Riding on bike paths/etc where high speeds simply isn’t safe or viable
D) Riding downhill where you want to keep putting out power, maintaining effort
E) Simply adding resistance so that race day feels faster
I’m sure there are other scenarios – but those are the biggies.
The hub is made of carbon fiber, and contains an electric motor inside of it – effectively like a trainer such as a Wahoo KICKR. The unit is fully self-generating for power, so there’s no need to charge it or have any batteries. That’s great, though like the carbon fiber it does add to the manufacturing costs. The hub comes in at a weight of 1.5KG, though weight really isn’t a concern here – the whole point is slowing you down.
The edges of the hub include fins, which allow it to release energy as heat. After all, it’s sorta like one big brake. Which you may be wondering – why not just ride with your brakes on?
Well, as I’m sure anyone who has tried that knows – it’s actually rather annoying to hold your brakes on all the time. Additionally, it’s not as dynamic as this is. This is a little bit smarter and applies resistance in a number of manners, so it feels surprisingly natural. It doesn’t feel like you have the brakes on, but rather feels like what you thought was the flats is actually a slight incline.
Note that the previous version of the hub used to make a bunch of noise, but this new one is silent. I didn’t notice any noise at all from the hub while riding, though I was on fairly busy roads at peak evening traffic times. Also, the previous version used to have a 45KPH resistance ceiling (above that it couldn’t apply resistance), but that’s no longer the case. Just wanted to cover those two points for folks familiar with the initial version.
Hands-on Test:
While in Adelaide a few weeks ago for the Tour Down Under I got the chance to give the unit a quirk whirl out on the open road.
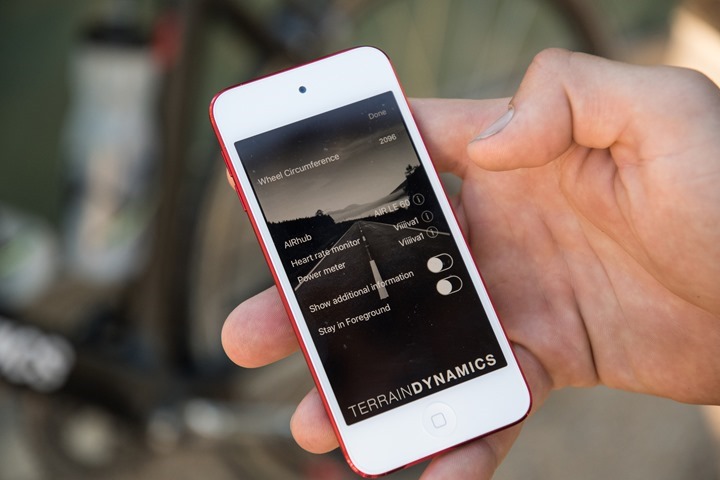
The first piece to understand is that there are actually five different modes on the AIRhub, all of which are configured via your smartphone:
A) Watts Mode: This means it adds X watts to your existing wattage level (i.e. add 50w).
B) Power Meter Mode: This will forcibly maintain a given power level (i.e. maintain 290w of resistance).
C) Heart Rate Mode: This allows you to specify a target heart rate, and it’ll add resistance dynamically to maintain that heart rate (i.e. maintain 150bpm).
D) CdA Mode: This adds resistance based on CdA, and thus the resistance will taper off depending on drag. For example as you crease a hill and start descending it’ll add add more resistance.
E) W/KMH Mode: This is similar to the first CdA mode, except that it’s linear, instead of using an exponential drag curve.
All of this are configured via the smartphone app, which uses Bluetooth Smart for connectivity to the AIRHub. However, one notable gap is that it can’t connect directly to an ANT+ power meter (for mode A above). This means you’ll need a Bluetooth Smart power meter, or, a way to bridge the data. In the demo I was given, the founder was using a 4iiii Viiiiva ANT+ to Bluetooth Smart bridge (and HR sensor), which solves the problem nicely. Still, I’d much have preferred to see a dual ANT+/Bluetooth Smart setup.
You’ll pair these sensors within the app:
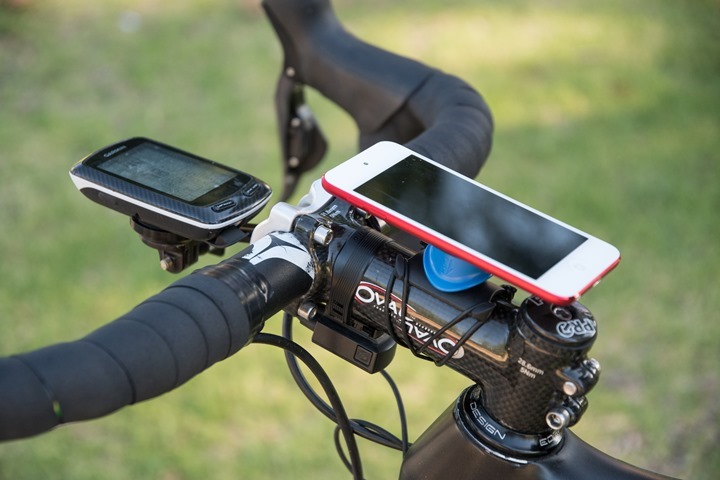
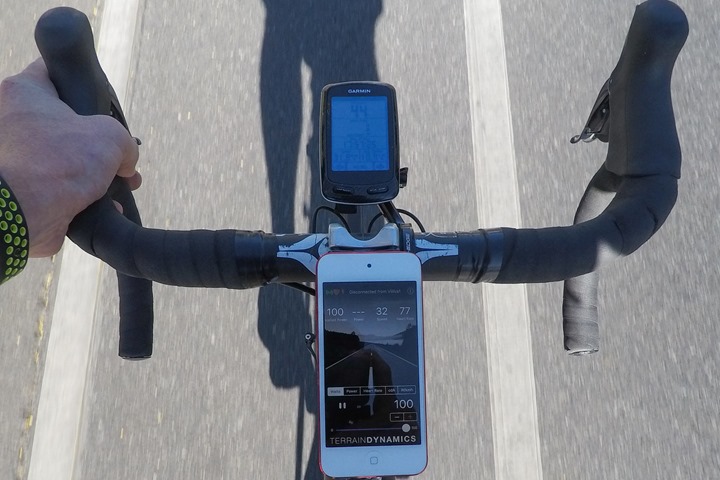
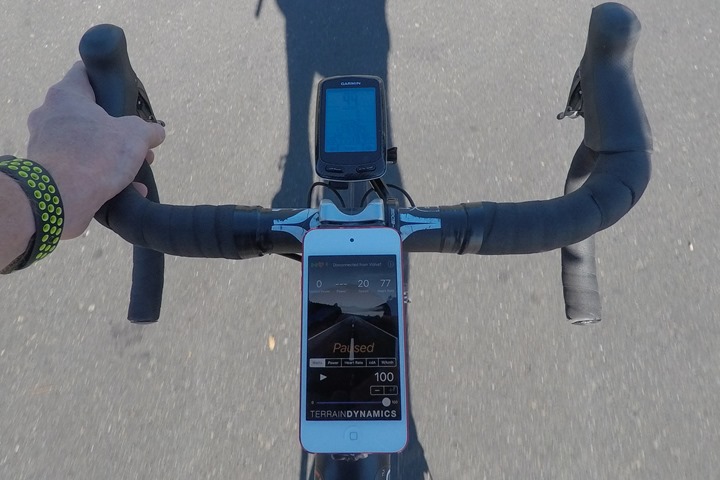
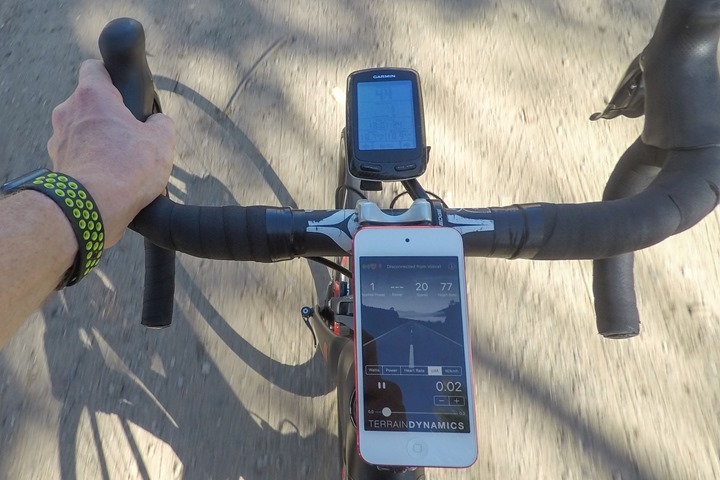
Speaking of that app – it is required to ride with the phone. You don’t have to have the phone on your front handlebars, but it does come with a Quadlock mount for doing so. Most others will probably just ride with it in their jersey pocket…which almost all of us do anyway.
The device acts like a treadmill – in that it does whatever you tell it to. In this case your controller is your smartphone versus a big ugly console in front of you.
With the basics all configured I set out to give it a whirl on the roads, in fact, specifically on the route of the People’s Choice event from a few days prior. This was handy as it includes a nice little hill to test things on going both up and down. Plus some flat sections.
I set the app to apply a specific resistance amount – in this case 100w. And from there I headed on out. Of course, with the resistance applied it just feels like I’m having to put out that given amount. It doesn’t feel unusual, but rather no different than going up a 2-3% incline.
You can configure the amount of applied resistance from 0-100w extra, in 1w increments. So if you were originally riding at 250w, you can get up to 350w of resistance on it. Or if you were at 400w, you can get up to 500w resistance on it, and so on.
Next, I shut off the resistance, and instantly I’d speed up – since I could now apply that additional resistance towards going faster, versus being slowed down. To shut off resistance you simply tap the little pause icon, and it pauses it.
It’s here where an ANT+ connection would have come in handy, because it could then likely have been controlled via Garmin Connect IQ and an app. No need then for any secondary device on your handlebars (or even with you).
I then played around with the maintaining resistance option (i.e. setting a given resistance level – such as 300w, as well as back and forth within different levels of resistance). All of which worked well enough.
What was striking to me though is just how smooth it felt. It ramped into the resistance versus being a hard brake. And accelerations felt normal too, it didn’t feel like someone was holding onto the brakes. Overall, I was impressed with the feel of it.
Is it worth it?
Of course, the tricky part here is the price: $1,950AUD (or about $1,482USD). Up to this point they’ve been targeting higher end athletes (i.e. pros and training centers), but that’s rarely sustainable as a business model – especially in the smaller cycling realm. Still, for those athletes it likely works out well. And if I were willing to part with that much cash – I’d definitely pick one up.
But for me – the price has to be much cheaper. And I think it’d do fantastically well in the $500-$800 price range. Obviously, that’s a big gap to bridge, but it’s sorta the same challenge that Verve’s Infocrank had initially. It’s a solid product – but just needs a price adjustment to match what is likely significant demand.
For myself – I’d love to be able to add a pile of resistance and then do legit workouts on the various bike lane near me – versus going further afield. Alternatively – it’d be awesome for The Girl and I to be able to do workouts together, side by side, and both be working at equivalent intensities. I’d pay for that privilege. It’s not just about tech at that point, but rather about spending time with someone.
How many hundreds of hours of riding did I put in alone on rides training for Ironman races, when The Girl was simply behind me a few miles? By tweaking resistance I could have slowed down speed-wise and maintained the same workout intensities as before. Thus presto: Matching her speed.
And that’s where I think the potential is. Sure – signing Olympic and Pro athletes is great, but as any company will tell you – they don’t pay the bills.
But I’m optimistic the AIRhub folks will figure out how to reduce the costs (and they do indeed have some ideas – such as changing some of the expensive materials they use like carbon fiber). And if they do – I’ll be first in line to buy it.
With that – thanks for reading!


