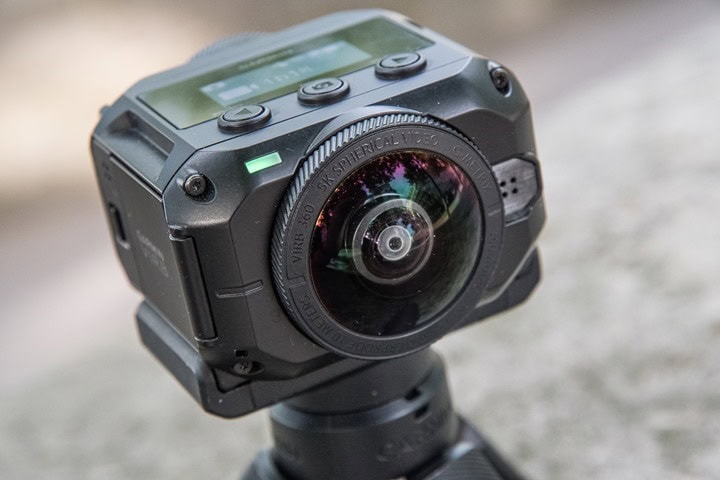
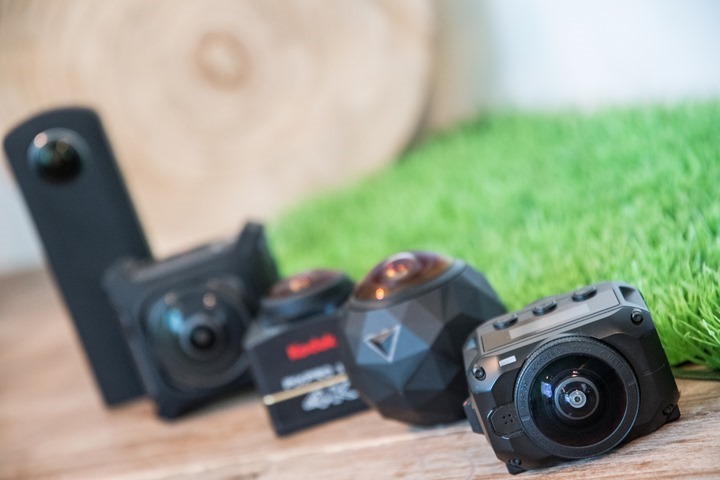
Today Garmin jumped into the 360° fray by introducing their own 360° action camera – the VIRB 360. This camera one-ups everyone in the specs department by mic-dropping 5.7K resolution alongside being completely waterproofed with GPS built-in. Not to mention the usual Garmin VIRB sensor support for data overlays from sports, automotive and boating devices.
You might remember it was only last month that GoPro announced their 5.2K Fusion action cam, set to start shipping in limited quantities by the end of the year. In Garmin’s case though, the VIRB 360 will ship next month in June, and with what is easily the most capable feature set of any 360° action cam on the market (aside from ~$10,000 pro rigs).
I’ve been using the cam for about a month now – more than enough time to figure out the good and the ugly, and everything in between. Like always, I’ll ship back the loaner camera to Garmin shortly. If you find this useful, you can support the site via the links down at the end.
Before we dive into the whole review though – if you want the skinny on the camera in less than 17 minutes, check out this complete video I’ve put together, talking about all the features and how everything works. And if nothing else, don’t forget to check out the ‘Video samples’ section down below – as I’ve put together some neat stuff there.
With that – let’s get onto the review.
What’s in the box:
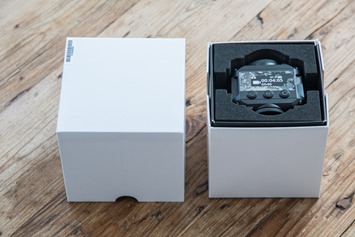
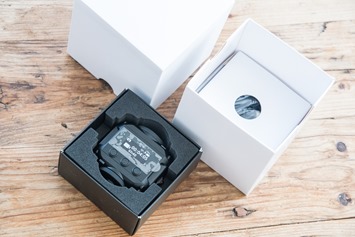
Now normally I’d have a final box to unbox for ya. But in this case I’ve got a box without the final wrapper. The contents are final, but the fancy graphics on the outside weren’t printed yet when I received my test unit. No worries, down the road I’ll swap them out. In any case, here’s the box. In case you’re wondering – it’s the same exterior shell as the Fenix 5.
Inside you’ll find the camera nestled in protective foam casing. Oh, and it’s got a sticker on it so you can visualize what’s about to happen on the LCD, before it happens.
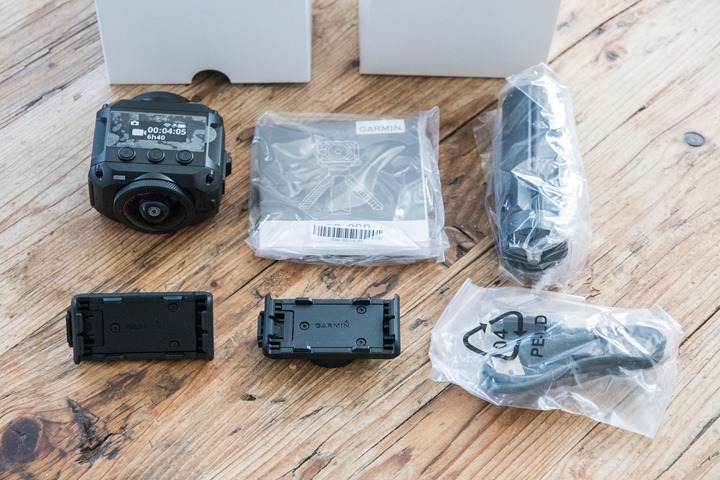
Here’s everything all unpacked on a table.
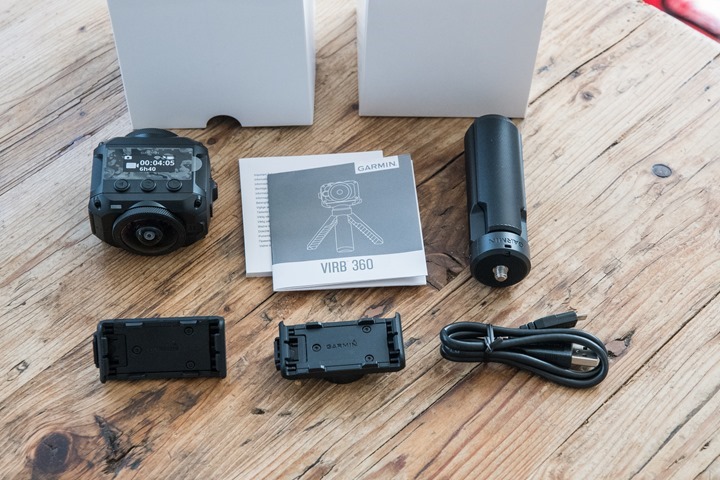
And here it is all again without the plastic wrap:
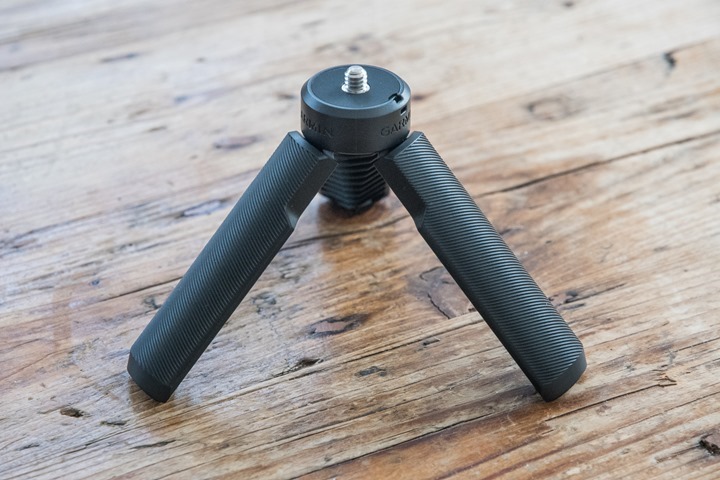
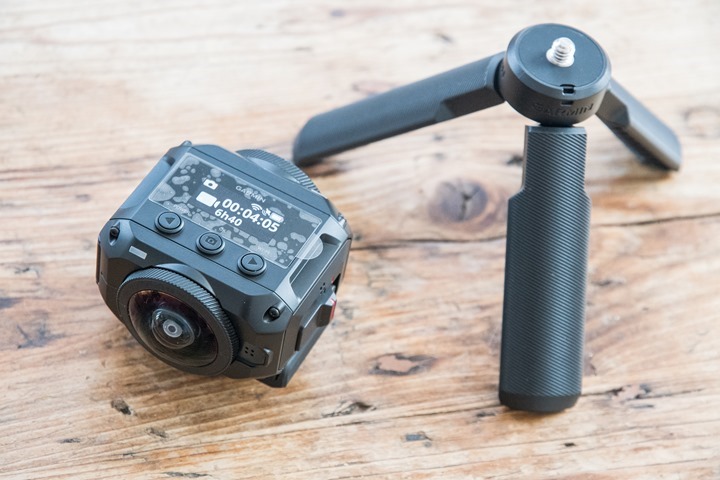
Let’s walk through each piece. First up is the little tripod/handle. The fact that this somehow fits in the box is kinda mind-boggling to me. It’s got a standard tripod adapter up top, but then down below has legs to open up and set it on a table. Further, you can use it as a handle too.
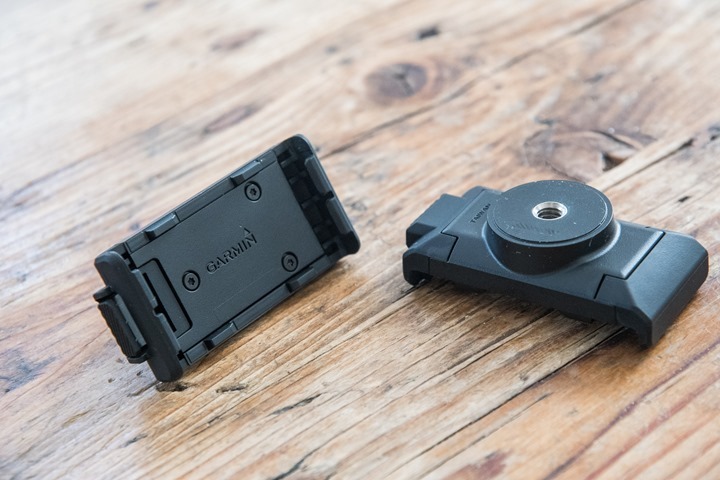
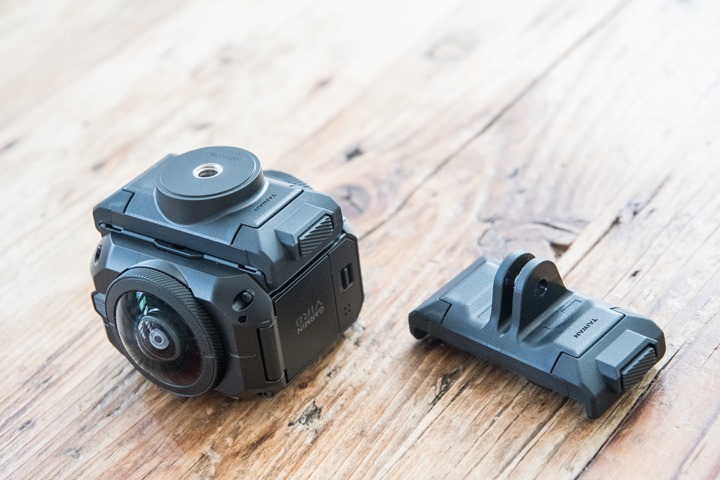
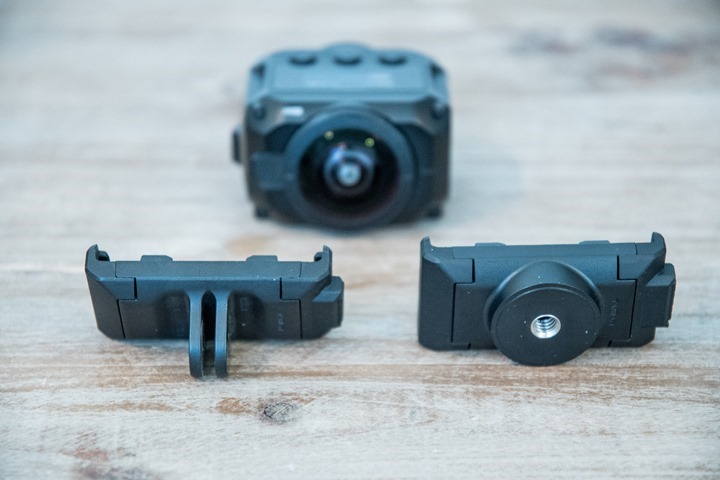
Then the are two different mounts included. First is a GoPro style mount (to attach to other GoPro mounts), and the second is a tripod style mount (to attach to other tripods and the included tripod):
Here’s how these look on the bottom:
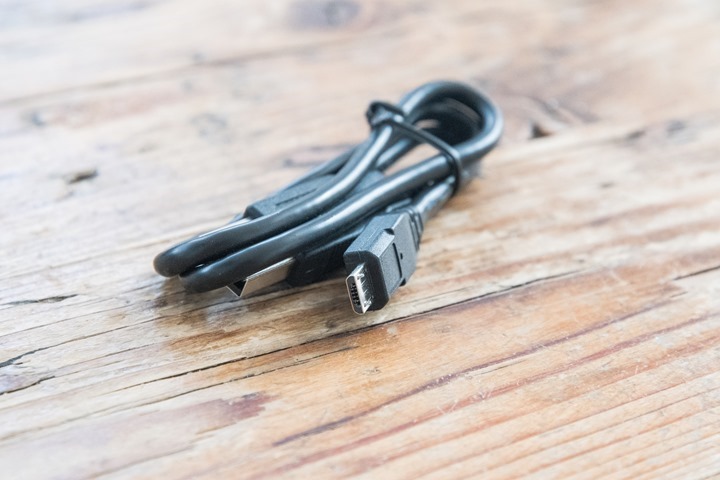
Then there’s the charging cable, which is micro-USB. Now some might wonder why not USB-C, and that’s a valid question. But ultimately, there’s actually little upside to USB-C today for the majority of consumers. Only a fraction of us ‘tech elite’ might have USB-C ports. For most people, using micro-USB means you don’t need to carry an extra cable around if your phone (or other Garmin device) uses the same charger. I see both ways, but I don’t really fault any company at this point in choosing one or the other from an accessory standpoint (equipping laptops with *only* one or the other is an entirely different ball game).
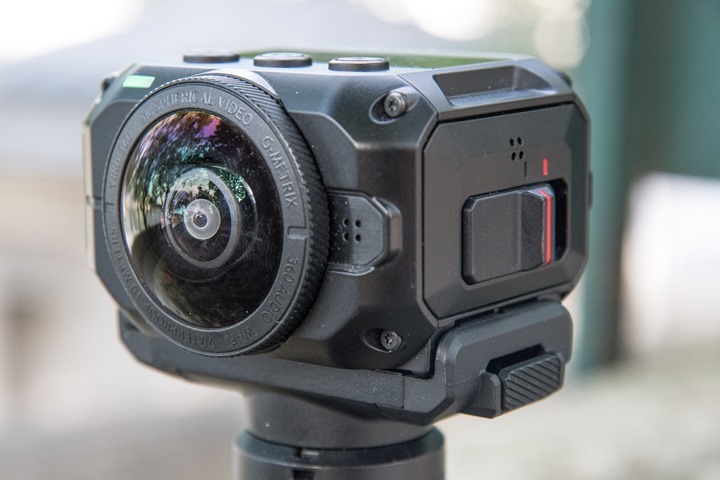
Then we’ve got the camera itself. You’ll notice it sits flat on a table, so no funky rolling around or anything like some cameras. Also, it’s fully waterproofed to 10m/33ft.
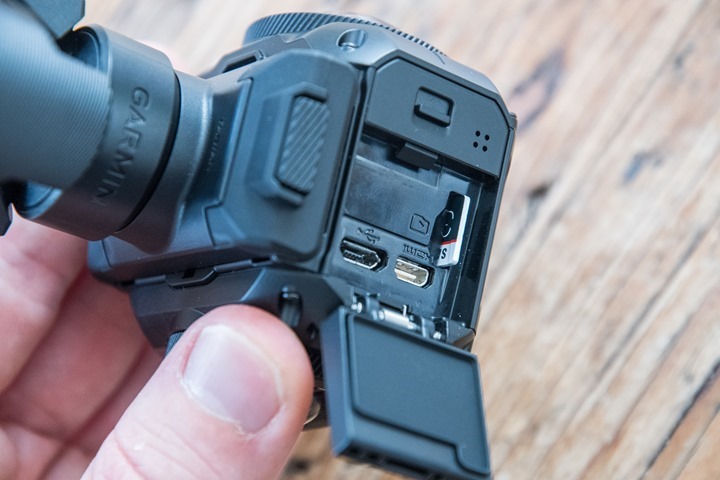
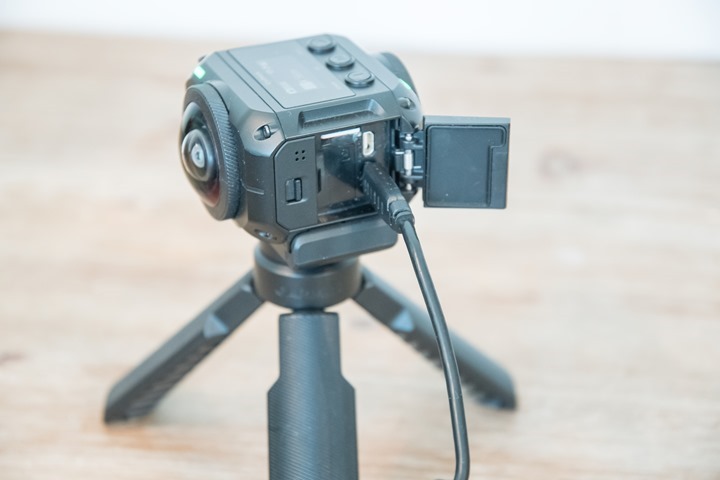
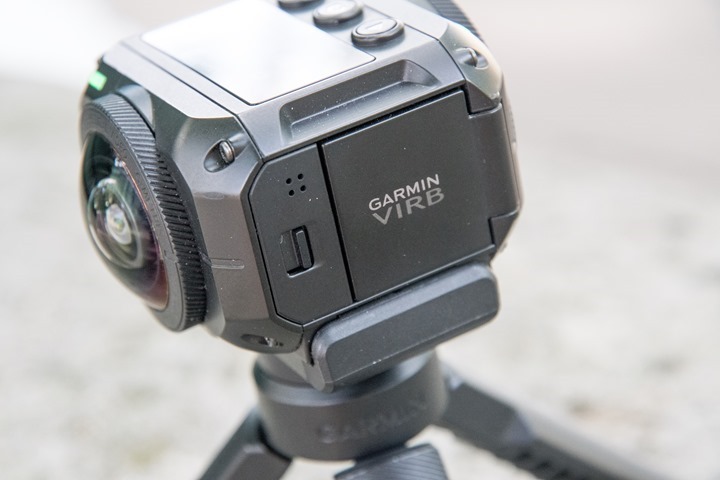
The side door opens up and that’s where you’ll find the micro-USB charging/download port, a micro-HDMI port, and a micro-SD card slot.
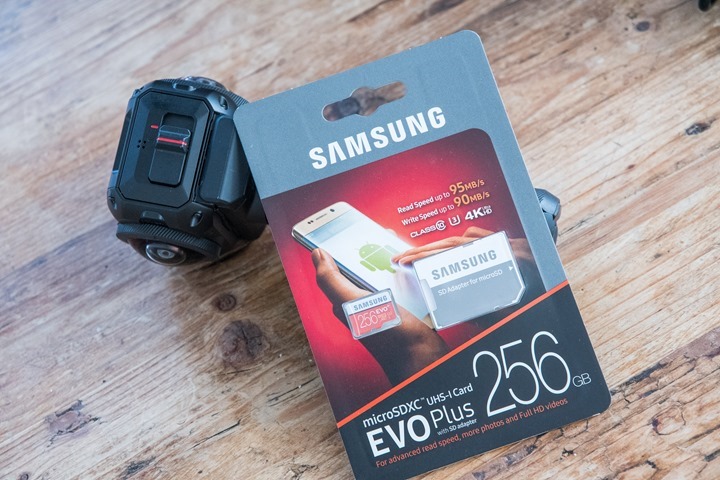
I went out and bought a 256GB micro-SD card, mostly so I never have to worry about it. I’ve had really good luck with zero card errors on this one. I know a lot of people ask in my reviews what I use. In this case, I wanted something with super high write speeds and a lot of storage (I hate running out of space), and frankly there was only one option on Amazon that had Prime shipping. So…umm…that’s what I got.
Note that Garmin doesn’t officially support 256GB cards, but I’ve seen no issues using it to date. Their officially supported card listing is located here.
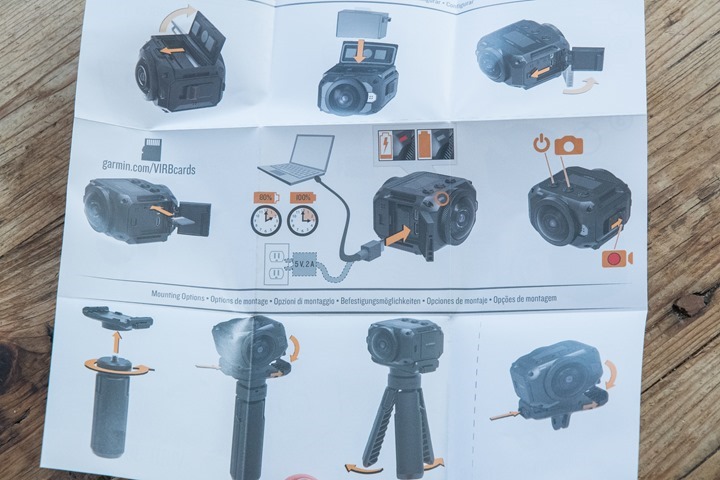
Finally, in the box there’s a little paper manual thing.
As usual, you really won’t need the manual after this post. Unless you want to make a paper airplane, which is a totally viable thing to do with it.
The Basics:
In many ways, the VIRB 360 is like most other action cameras. Or at least, like most other Garmin action cameras. To start, you’ll long ago in this post have noticed that the camera has two lenses. Each lens contributes to the ability to have a single cohesive view once stitched together. In a default configuration, that stitching occurs on the camera itself, though you can also do a higher resolution version via computer after the fact. I cover all the resolution details within the video modes section a bit lower down.
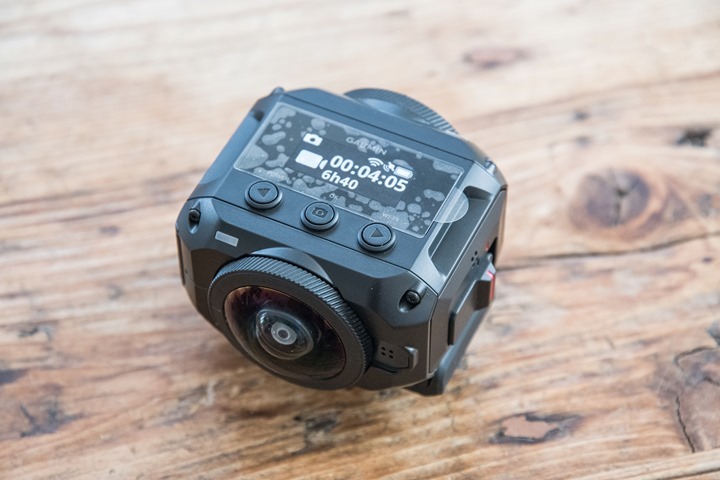
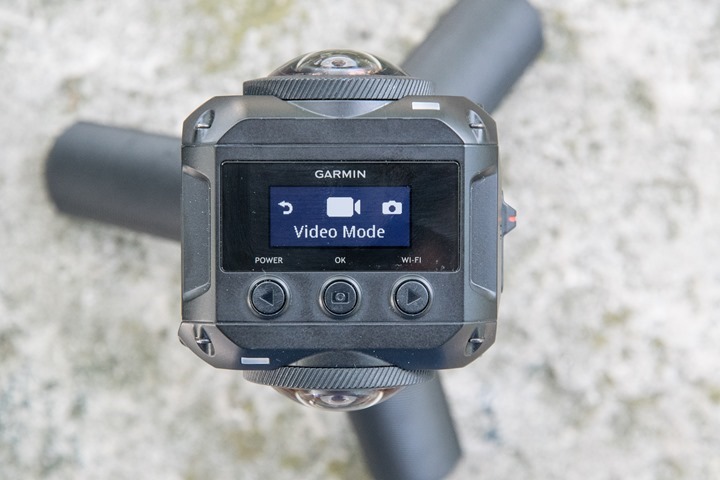
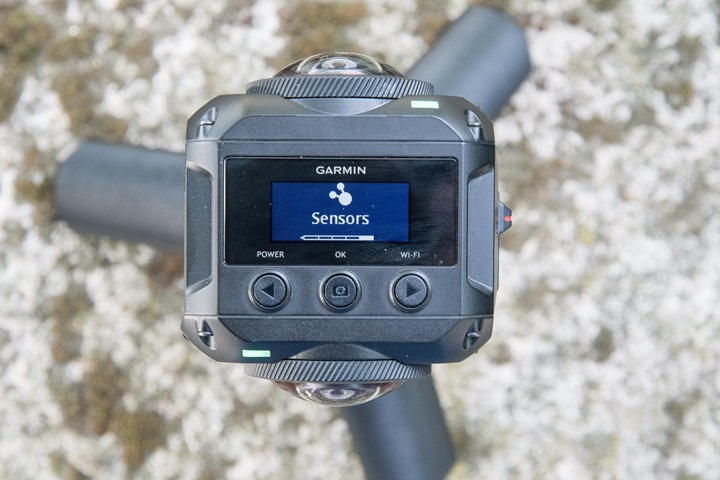
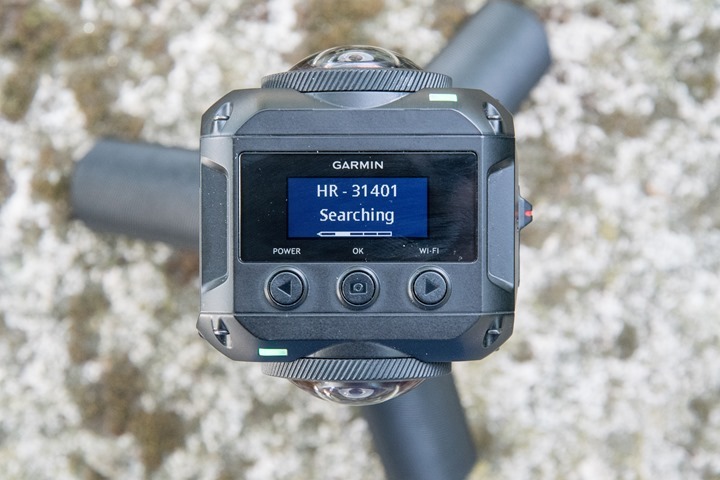
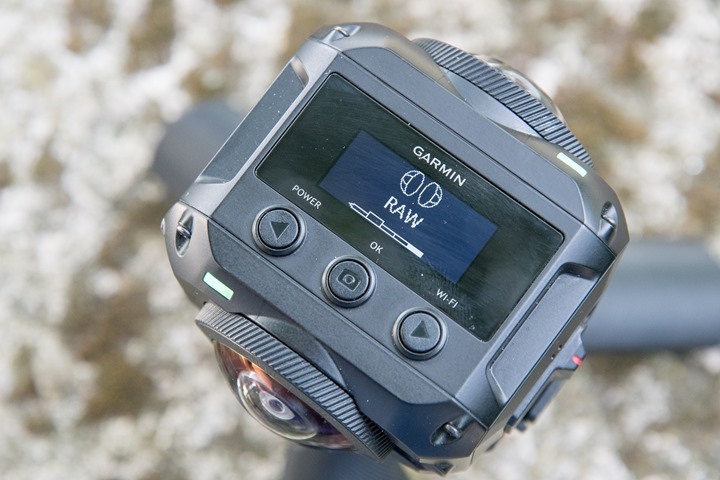
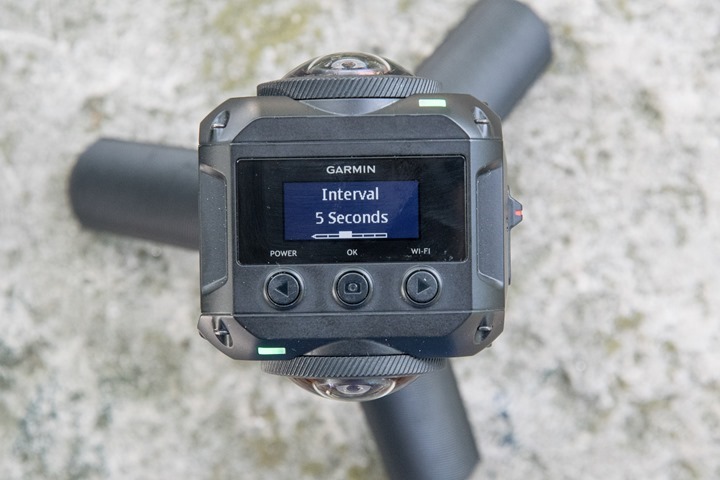
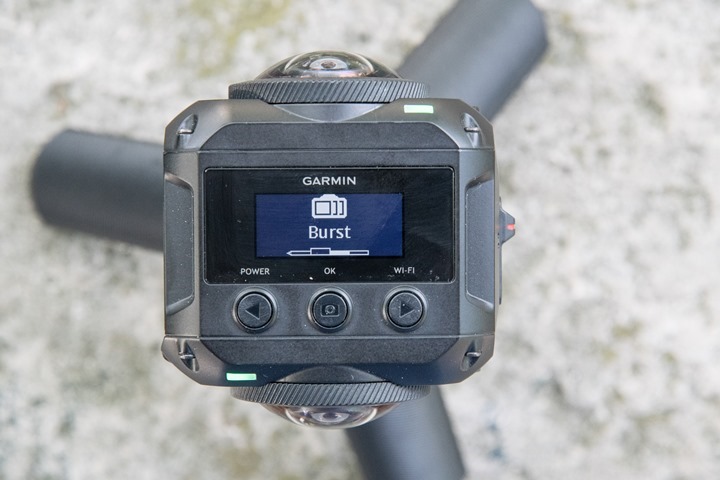
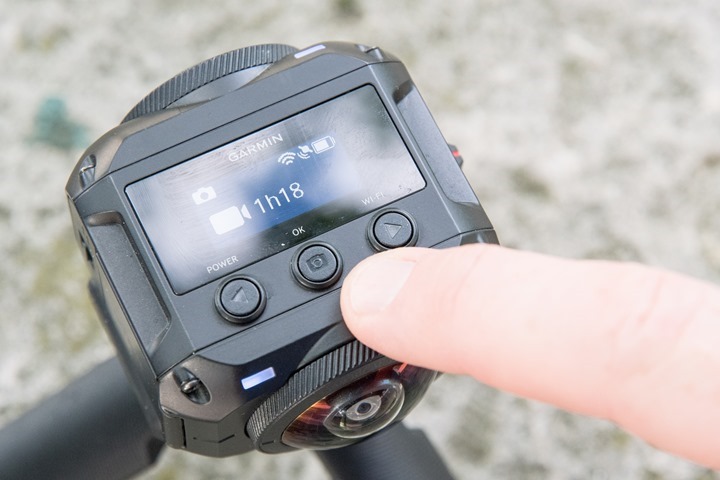
On the top of the camera you’ll see a small display with three buttons. There’s no image preview on this display, but honestly that’d be kinda silly – since everything you see around you would be in that preview. Instead, it’s used for configuring settings as well as validating recording status. You’ll use the buttons to navigate.
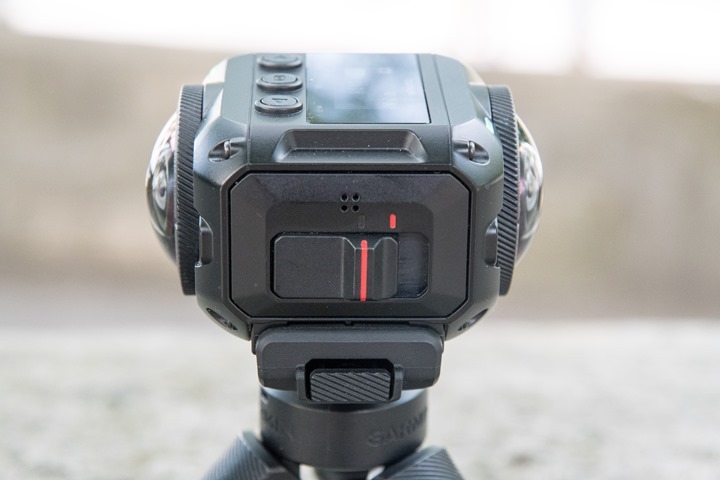
In addition to the top buttons, on the side you’ll find a slider for recording video. Slide it forward and recording starts, slide it back and recording stops. Dead simple. As you may have noticed above though, you’ve also got a dedicated photo button on the top. Thus you can do either without having to dig into menus to change the mode.
Once recording, there are two recording lights which will illuminate red, visible from any of the four sides. These will also flash green when just powered up in standby. And there’s a blue light for wifi connectivity.
On all four sides of the camera there are microphones (tiny dots), creating spatially aware audio (if your living room setup supports such awesomeness). In addition they can cancel out wind noise as well automatically, as you can see in some of my sample clips – even at pretty high speeds. Here’s one of the mics highlighted:
One of the biggest advantages of the Garmin VIRB lineup has always been their connectivity to external sensors, as well as GPS data overlays. That holds true with the VIRB 360 as well. The camera can connect to a boatload of sensors (literally, it can actually connect to a boat), enabling you to do data overlays with heart rate, power, speed, cadence, automotive, marine and many more.
To pair these you’ll use the camera menu and dive into the sensors. You’ll select whether it’s an ANT+ sensor or a Bluetooth sensor. Note that at this time the Bluetooth sensors are for automotive use, not sport use. For sports sensors it’s just ANT+ right now.
You can pair multiple sensors of the same type as well, useful if you have multiple bikes for example. Or any duplicate sensors. It’ll automatically connect to them once in range.
In addition to external sensors, the unit has internal sensors. These are as follows:
Barometric Altimeter: Elevation data
Accelerometer: Force and motion data
Gyroscope: Rotation data
Compass: Bearing/heading data
GPS (with GLONASS): 10hz data capture
Most of these are pretty self-explanatory above. But one that’s really notable here is the gyroscope and accelerometer. That gives Garmin the ability to create an internal gimbal in the footage – which is incredibly impressive. It’s sorta like the electronic stabilization we saw both GoPro and Garmin introduce last fall in their lineups. Except here – there’s no need to crop anything. Instead, it’s just keeping everything nice and level. The stabilization is applied in post-production using either the mobile app or desktop app.
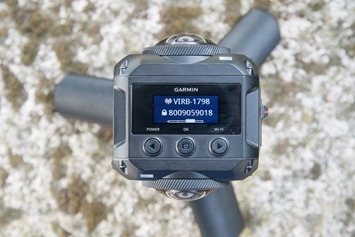
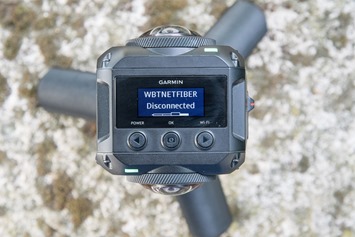
It’s in this same sensors menu as the ANT+ & Bluetooth Smart sensors that you’ll configure your WiFi. You’ve actually got two options. One is to make a direct connection so your phone connects to your camera directly, and the other is to have the VIRB 360 connect to an existing WiFi access point. Or, you can configure both and when the VIRB 360 is in range of a hotspot it’ll use that instead.
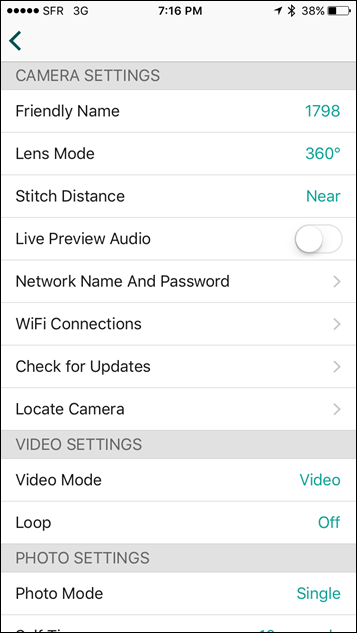
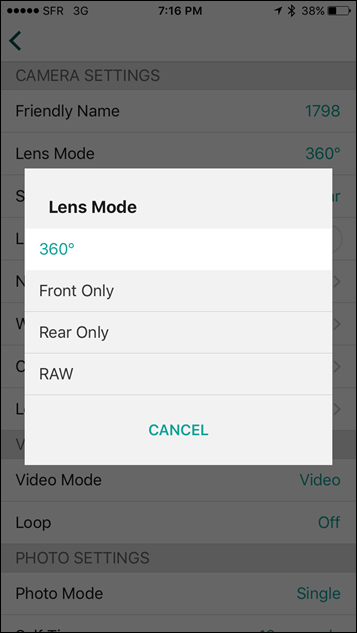
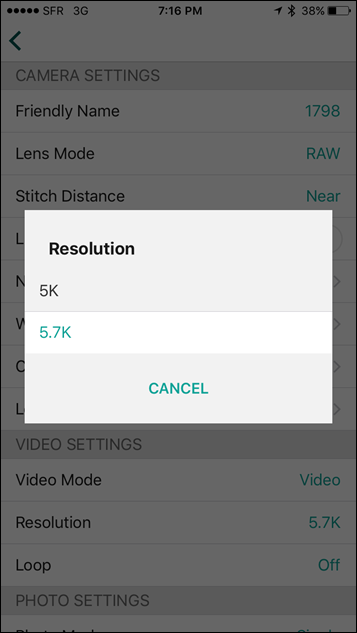
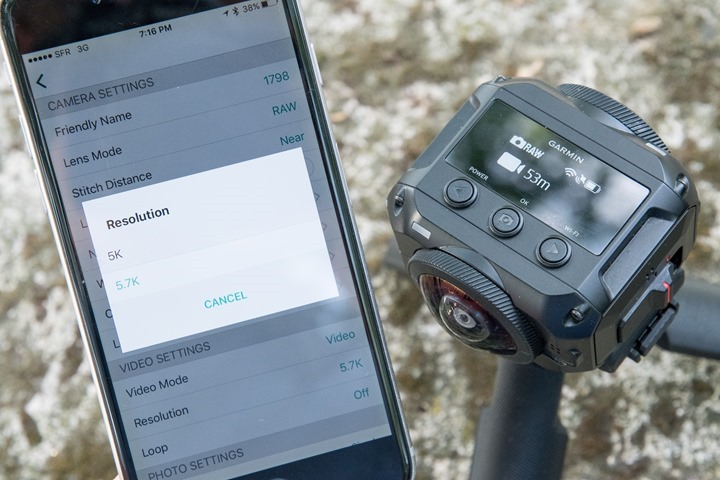
Like most action cams there’s a dedicated phone app for it. This app connects via WiFi and allows you to preview what the camera is seeing. That’s useful if you’re trying to get positioning figured out and want to do so remotely. The app also allows you to configure all settings. In fact, some settings, like setting the RAW recording resolution (5.2K vs 5.7K), are only available via the phone app. You can set whether or not it’s RAW mode on the camera itself though.
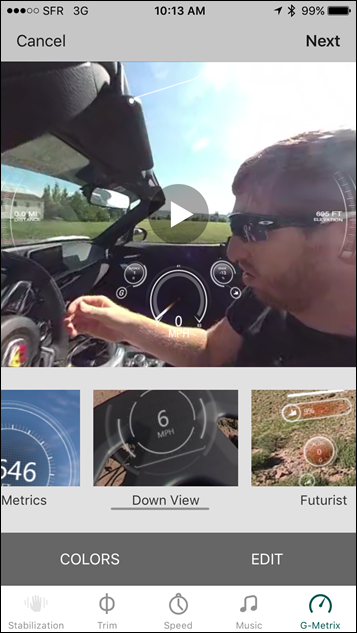
In addition, the mobile app allows you to download and edit videos and photos. You can even do data overlays from the mobile app and export them out as fully edited videos.
Note that if your phone is less awesome, this will limit what you can do from a 4K standpoint.
I’m going to save the whole desktop piece for the moment, since I’ve got a dedicated section down a bit lower.
Finally, when it comes to battery life, things are a bit more limited here than most other action cams. At the same time – it’s actually on par for 4K footage. The VIRB 360 claims 1hr and 5 minutes of recording time (be it at 4K or 5.7K), which is almost identical to that of the GoPro Hero5 Black at 4K, or the VIRB Ultra 30 at 4K. In my testing, those times are pretty accurate.
Ok, with all the basics out of the way, let’s dive into the video modes a bit more, and then we’ll talk editing and mounts.
Video & Photos Modes:
Of course, the purpose of a 360° action cam is to shoot in 360°. But in actuality, there’s a handful of different modes that you can shoot with on the VIRB 360. For 95% of people, it’s likely going to be the standard 4K 360° mode. But for more advanced users, you’ve got the ability to record each lens individually, as well go into a special RAW mode. Further, you can also do timelapses as well as enable pro settings to configure things such as white balance.
Here are the five core video shooting modes you’ve got on the VIRB 360:
A) 360° at 4K (stitched on camera)
B) Front lens only at 4K
C) Rear lens only at 4K
D) RAW shooting at 5.7K (not stitched)
E) 360° Timelapse at 4K
With the normal 360° mode you’re going to get a single pre-stitched video file that you can immediately upload to YouTube or wherever you’d like. By default, it won’t have any data overlays on it until you use either the VIRB Edit mobile or desktop apps to add those. It’s just a simple 360° video file.
For those folks who’ve been around the 360° video block a few times, note that Garmin pre-injects the videos with the 360° metadata. So there’s no need to do any of that manually. For those of you that have no idea what I’m talking about – be happy, it makes your life easier. These files are all sitting on the SD card like any normal video file.
Next, we’ve got the two front/rear lens modes. These basically just turn your unit into a single-lens action camera. In other words – a really expensive regular VIRB. You, of course, do get a bit wider view out of this than a regular action cam though – so that might have appeal to some folks. When you do that, you’ll get a bit higher frame rate options. Here’s the full table of all official resolutions/modes:
5.7K RAW: 2880×2880 (2 files) / 30fps @ 120Mbps (60Mbps per file) : 360 Unstitched
5K RAW: 2496×2496 (2 files) / 30fps @100Mbps (50Mbps per file) : 360 Unstitched
4K: 3840×2160 / 30fps @ 80Mbps : 360 Stitched
3.5K: 1760×1760 (2 files) / 60fps @ 100Mbps (50Mbps per file): 360 Unstitched
HD: 1920×1080 / 120fps @ 50Mbps: Traditional 16:9 Single Lens
HD: 1920×1080 / 60fps @ 40Mbps : Traditional 16:9 Single Lens
Timelapse Video: Available in 4K and 5K Resolutions. Interval 2/5/10/30/60s
Then we’ve got the RAW mode. In RAW mode the camera does *NOT* pre-stitch the video. Instead, it’s going to give you two 4K video files (front and rear lenses), for a total of 5.7K of resolution awesomeness. Why not 8K? Because that’s not how resolution math works. And that’s an important point to make. 5.2K is significantly more than 4K. See, 4K in this case is 2800×2800 (per lens) = 8,064,000. Normal rectangular 4K is roughly the same – 3840*2160 = 8,294,400 (or 8.1MP).
So what happens when we take two lenses? Well, we add them together: 8,064,000 + 8,064,000 = 16,128,000 (or 16.1MP). Which is a super-round about way of showing you that 16MP is twice that of 8MP.
So why doesn’t the camera just do the RAW mode stitching for you? Quite simply – it can’t. The camera doesn’t have enough horsepower to do that stitching in real-time. That’s why in the regular mode you’re left with a ‘lower resolution’ 4K video, instead of something in the 5.2-5.7K range.
For stitching these RAW videos you’re going to need some 3rd party software. Options include VideoStitch, Mettle, and Autopano, among many others. That said, Garmin does plan to update VIRB Edit in the near future to be able to do the stitching of the RAW files. That’s ideal for those of us with more powerful computers. If you lack a more powerful computer, now’s a good time to start warming up your significant other on why you need one.
Oh – and before I forget – in all these modes the frame rate is at 30FPS. There are no other lower resolution but higher frame-rate modes for the 360° modes. Which is sort of an oddity, but at the same time I kinda get it. You can save a ton of money if you want crappier 360 footage at lower resolutions. So might as well slow it down in post rather than make crappy looking 360° videos. It sounds like doing 2x4K/60fps would have been just dire on the battery/processing situation. Maybe next time…
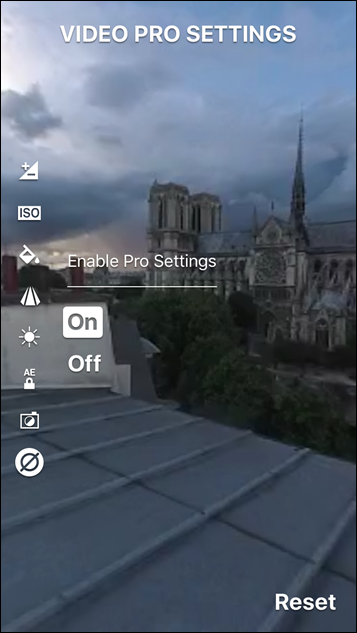
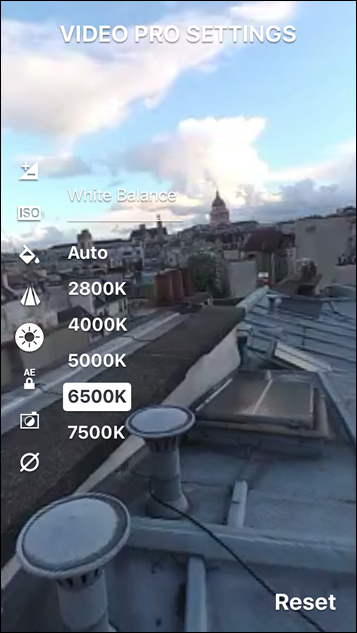
While we’re talking higher end related stuff, the VIRB 360 does have a pro config mode, which enables you to tweak settings like exposure bias, white balance, and ISO.
Next, we’ve got the timelapse mode. In this mode the camera can be configured to take an image at a set interval and compile it into a cohesive 360° video file. You can choose intervals of 2, 5, 10, 30, or 60 seconds.
This is great for longer situations like sunsets or a stadium filling up. You wouldn’t necessarily though want to use it on something that may have fast action in it, because it might miss that moment. This is also better on the battery too.
You can configure the timelapse mode and interval using either the app or the camera itself.
I’ve got a sample in the next section of how the 360° video timelapse looks.
Next, we’ve got photo modes. The camera can take 360° photos as well, and there are three basic modes: Single photo, burst photo, or timelapse photo. In the burst photo mode it will shoot 20 frames in one second (oddly non-configurable). In the timelapse photo mode you can configure the interval the same as within the video mode – 2/5/10/30/60 seconds. The difference between photo and video timelapse is that in photo timelapse you get a pile of photo files at the end, whereas in video timelapse those are compiled into a video file.
Within the photo mode you can also configure a self timer delay (2/3/4/5/10/30/60 seconds). I find this super useful on 360° photos because most times I actually don’t want to be in the frame. So this gives me a few seconds (I usually use 10 seconds) to get out of the frame. Like, hide behind a tree or something out of camera view. It’s tricky when the camera sees everything!
Note that the camera actually has a dedicated photo button on the top of it that you can press at any time to take a photo.
It’s nice having the dedicated camera and video buttons, so you don’t have to toggle back and forth between those modes like on a GoPro.
Finally, there’s live streaming. The camera can live stream to both YouTube and Facebook Live in 360° video. Note that it wasn’t something I was able to test since that feature has been locked down until release. So I’ll add back in this at some point in the near future on that once I can try it out. Note that Facebook has pretty limited 360° resolution live streaming support (actually, limited resolution support all around), whereas as YouTube has really really strong and impressive live streaming resolution support
Editing (Mac/PC):
When it comes to editing, most of you will want to do the majority of edits on a desktop or laptop computer (PC or Mac). The reason is simply around horsepower and the ability for you to have more finite control than on a phone or tablet. As shown elsewhere in this post, you can edit on a mobile device, it’s just not as easy or detailed.
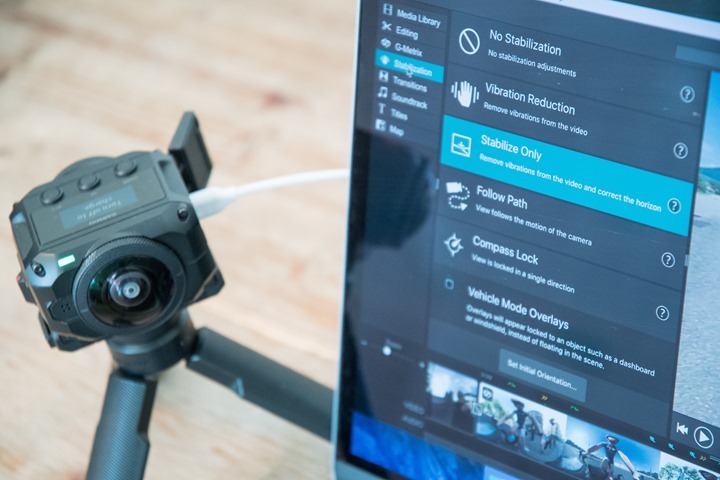
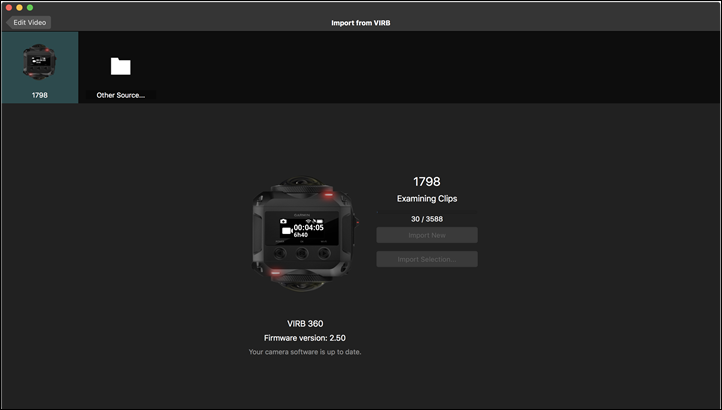
When it comes to getting started you’ll plug your camera in to import the clips. You can either choose everything new, or just selectively pick certain clips. The reason you generally want to do this versus just dragging the video files in, is that this will also correctly align the Garmin G-Metrix data (which includes the data for stabilization).
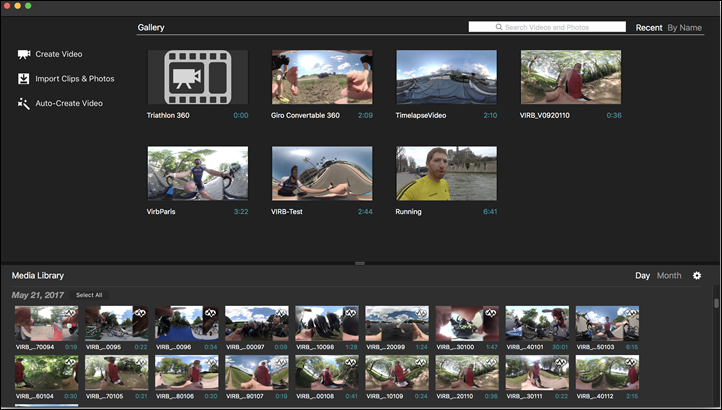
Once that’s done you can watch certain clips or you can start to create a movie. Note that I’ve found when previewing clips (even at 4K) on my computer within VIRB Edit, it doesn’t quite look as good as it does later on in YouTube (lack of clarity). So don’t be discouraged at this point.
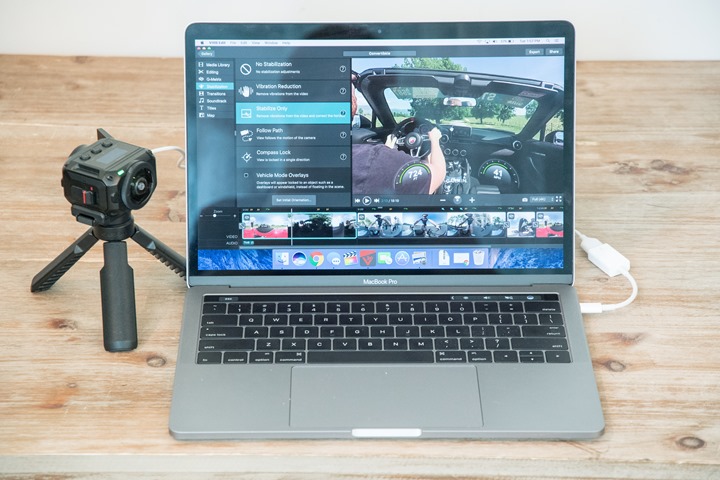
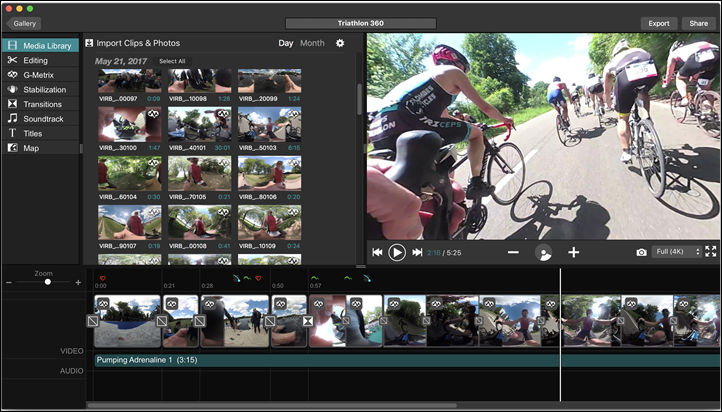
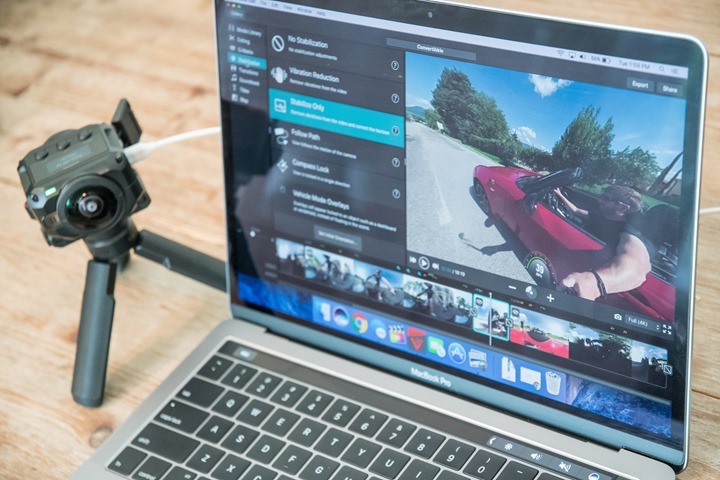
After creating a movie project, you’ll drag and drop files onto the timeline as with most other editors. You’ll see your source clips in the upper left section, and then down below you’ve got your edited clips. You’ll see little icons for areas that have notable moments from a data standpoint (i.e. heart rate spikes, jumps, etc…).
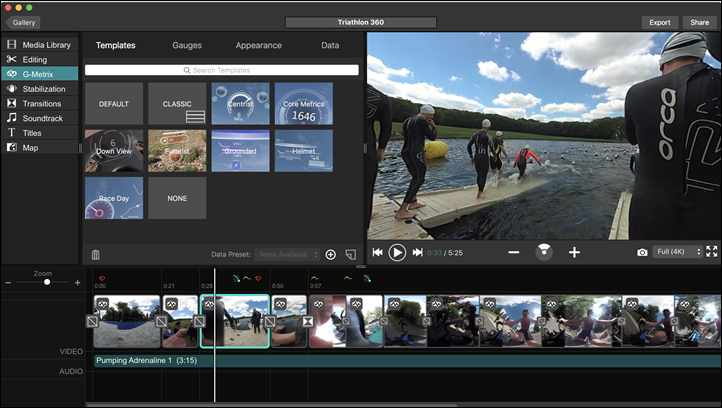
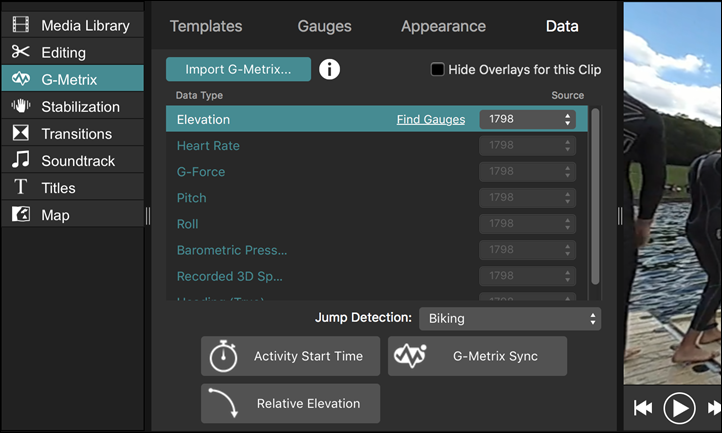
You can use the G-Metrix tab to tweak the different gauges as well as the appearance and data contained within them.
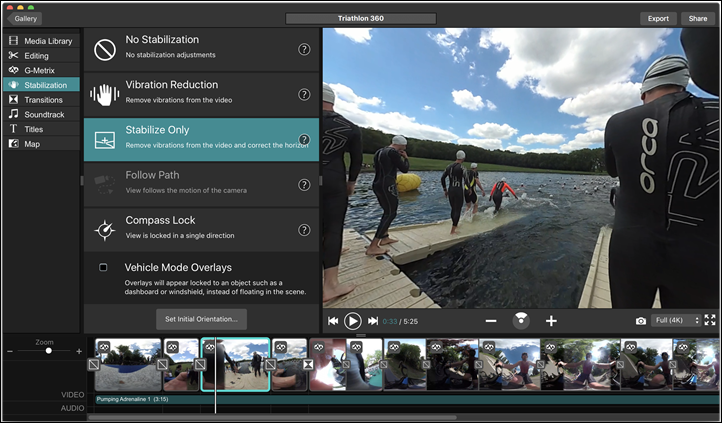
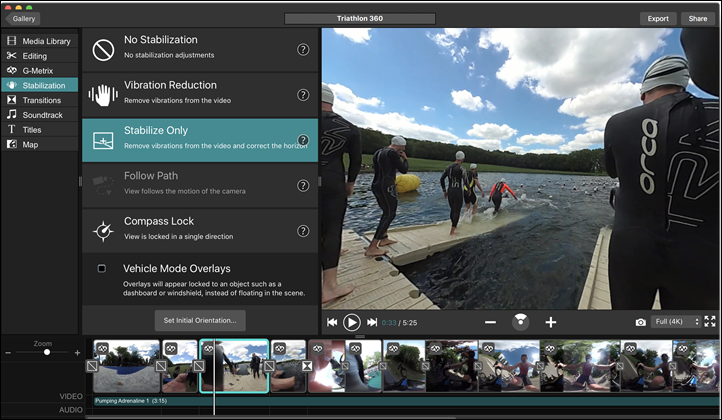
Next you’ve got stabilization. This is probably the most important piece of the VIRB Edit suite for the VIRB 360, as it allows you to stabilize the video using the accelerometer/gyro data. You can also lock data overlays onto an object as well, enabling it to look like you’ve affixed them to something like a windshield.
Finally, once your editing prowess is complete, you’ll go ahead and export out the movie:
I’ll note I have had some issues during the beta period of VIRB Edit, with minor bugs. Garmin has been pretty responsive in getting fixes out for outstanding issues (even one just an hour ago at 2:30AM Garmin time), so I wouldn’t fret too much on this. There are also plenty of interesting/potential features that I see them doing down the road here. Areas such as RAW file support or the ability to punch out videos as with what a few other 360 action cams can do. Still, they’re already at a tremendous advantage over any other 360 action cam competitors today, as their consumer tools far exceed what anyone else has done.
Video & Photo Samples:
I’ve put together a handful of video clips that you can check out from the VIRB 360. All of these were shot and edited by me. Since I’m generally a sucky editor, they roughly show the capabilities of the camera to a non-video pro. My workflow was downloading the footage to a laptop (MacBook Pro), then using the desktop VIRB Edit software to do either the full edit (for shorter edits), or instead to Final Cut Pro for more complex edits. It’s an imperfect process if you use two editing tools because once you leave VIRB Edit you can’t edit/tweak any of the gauges. And inside of VIRB Edit you can’t have different gauges for different clips. So in my triathlon video for example, I’d wanted to have cycling gauges for the cycling segment, and running ones for running. But no can do. Thus I have to basically edit it twice and combine it into a cohesive video.
I’ve put together two ‘edited’ clips that tell some sort of story. One is a triathlon from this past weekend (yes, I actually took the darn thing hand-held into the water during a mass swim start)…but that might be a few hours still due to a small issue I’m running into. And two is from the Giro d’Italia a week ago, when I lucked into a red convertible sports car as a rental car.
One thing you’ll notice in these videos is that the stitching for very near objects (my hands on the handlebars) isn’t perfect. When you get further away from the camera, it’s virtually perfect though. Garmin says that’s largely going to be a limitation of the lens overlap and processing on the camera itself. Whereas if you went to RAW mode and then post-processed those with other 3rd party applications (on a desktop/etc…) you’d likely get better results where the software can do more manipulation.
Here’s the Giro car video:
Then we’ve got a simple timelapse atop my roof, in one shot. It’s sunset over the city. Kinda neat:
Here’s a bit older clip I did while cycling around Paris. Nothing fancy – just riding. Some of the stabilization where I was on the cobblestones is likely to be improved here:
Finally, here’s a 5.7K timelapse that I shot as an image-timelapse, and then converted to a video with Final Cut Pro. This gives me higher resolution than is natively possible with doing the video timelapse in the camera.
Note that all of these shots except the cycling one are taken on the latest firmware within the last 8 days. While I have older shots, the stitching on those earlier beta builds isn’t quite as good. So I just focused on these ones.
Again between now and when the camera starts shipping here shortly, you’ll likely see further tweaks/enhancements to video quality. That’s pretty much normal of any product, even after release (even GoPro Hero5 cams last fall had some solid improvements in the first few weeks).
Accessories:
When it comes to action cams, the most important thing is good video quality (i.e. resolutions and frame rates). But pretty much right behind that is a good mounting system and fleet of accessories. The coolest shots that you see in your favorite YouTube videos are almost always down through creative use of mounts and accessories. If you don’t have those, the ecosystem falls apart. It’s actually a core reason I’ve gotten frustrated in the past at various camera brands – they didn’t have the accessories and mounting options I needed to get the job done.
With the VIRB 360 it includes both a GoPro-style and tripod-style mount. So that pretty much takes care of you off the bat.
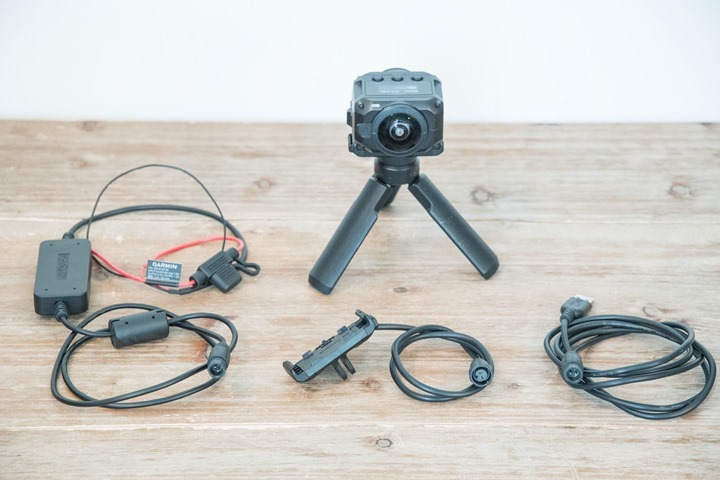
However, they go a step further and also have two powered mount systems that are water resistant (sold separately). Obviously you can’t swim with them, but I’ve stuck them on a roof in a thunderstorm for about 5 hours and had no issues.
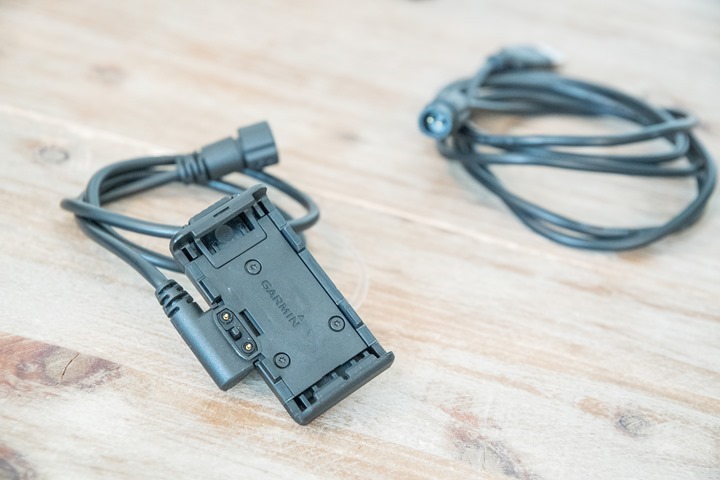
One is a USB variant (above right), and one is designed to wire into a car system (above left). They share the same plate though, and have a little locking mechanism to swap out the cables. It uses the small metal contacts on the bottom of the VIRB 360 to provide continuous power.
And given the battery constants (about an hour of recording time), you’re going to want to have something if you do anything longer term – such as a timelapse or any sort of continuous live broadcasting. You can also of course just use the micro-USB cable too and provide continuous power that way. Of course that’s not waterproof, but with a bit of scotch tape creativity on the door, you can at least get that out of the frame.
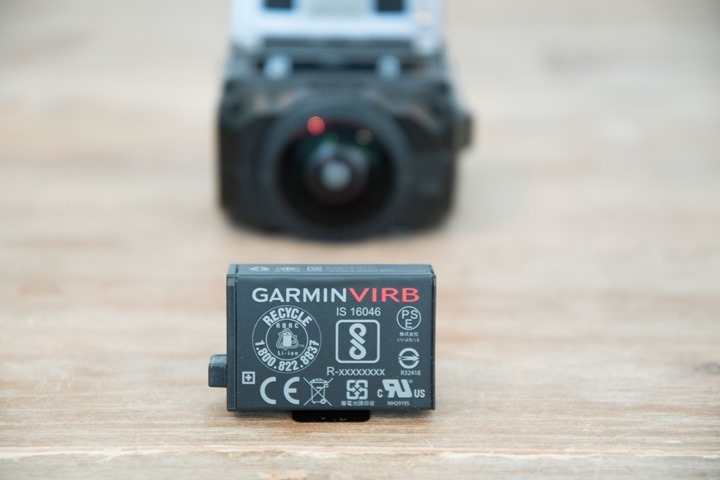
Speaking of batteries, they are swappable, so you can buy extra if you’re out and about for the day. Also – the camera can operate using the USB port on the side for power too, but that somewhat blocks the shot unless you tape it mostly closed (I did that for some shots too before I got the charging cradle).
In my testing, the claimed battery life of about an hour is pretty accurate (non-RAW mode). I haven’t done battery tests in RAW mode, but Garmin claims it to be the same since they’re saving by not doing any stitching (which has processing overhead).
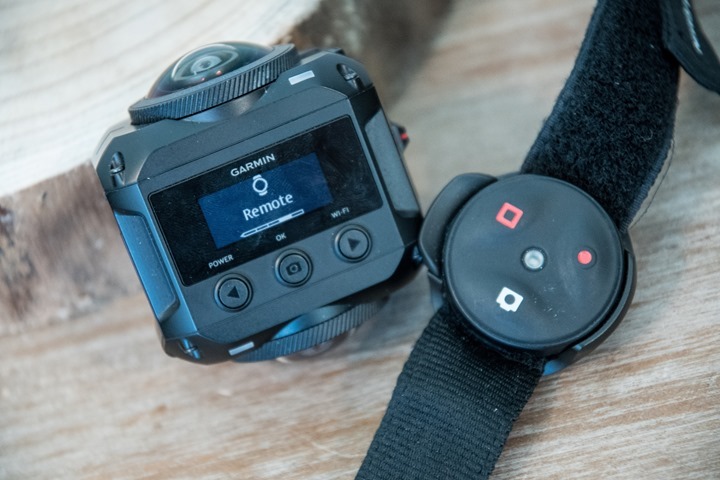
Next, there’s Garmin’s own remote. This is the same remote as found with the previous generation VIRB devices. Also, while not pictured here you can use almost any Garmin watch or bike computer (and a bunch of other Garmin devices) to start/stop recording and take photos, by controlling the VIRB 360 wirelessly.
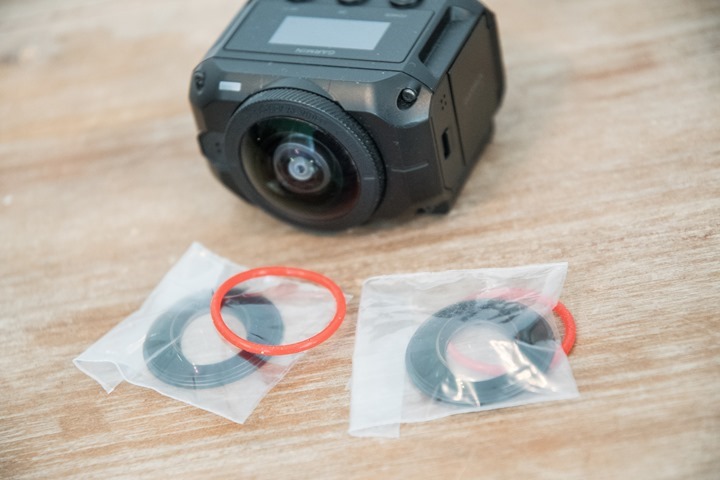
Note that you can swap out the lens ‘covers’ fairly easily. Basically, the glass part. This is ideal in case you manage to injure them capturing something cool. I did just that when I whacked it against a concrete surface while swimming. It’s barely visible on the lens (and doesn’t show up in the videos), but I appreciate being able to do so easily without having to buy anything new.
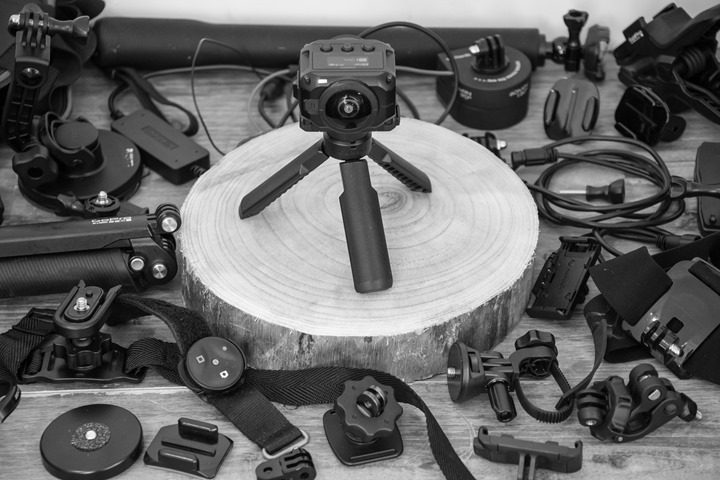
Of course, the real plus here being that pretty much any other GoPro mount works. Note that when choosing mounts you’ll want to choose ones that have a really small footprint, so that you don’t get the mount in the image itself. Also, since the unit is a bit heavier than your average action cam, remember to choose a sturdy mount. Those $3 no-name suction cup mounts on Amazon are great…until they snap in half with vibrations and send your unit tumbling. On the flip side, spending $39 for a GoPro branded one is probably equally stupid. Though, stupid I was as the convertible videos you see here in this post were on a GoPro suction cup I bought at the airport when I realized I forgot mine. Says it’s certified to work up to 150MPH. I’ll refrain from discussing my top speed…but I’m impressed.
Market Competitors:
There both are and aren’t competitors to the VIRB 360. See, it’s complicated. The VIRB 360 sits in this middleman of price and functionality above everything else in the consumer 360 space today (which is priced at $300-$400 mostly). So things like the 360Fly 4K, Samsung’s entrants, and others – all sit below the VIRB 360 in spec and price. Then we’ve got this massive gap (of about $1,000) until we see the higher end pro-like options. They start in the $1,500-$2,000 range, and then go up into the tens of thousands of dollars. So with the VIRB 360 priced at $799, it actually fits in nicely there – even if it’s above what many will want to pay.
The only potential competitor right now? GoPro’s upcoming Fusion 360° camera. That camera was announced a few weeks ago, but with only a single spec (5.2K). We don’t know anything else about it. GoPro says it will start shipping later this year “in limited quantities”.
If we assume that the GoPro Fusion will have all the functionality of a GoPro Hero5 Black plus that of the 360 pieces, it still puts GoPro behind when it comes to things like data overlays (which GoPro barely has but frankly suck). Same goes for resolution, with Garmin at 5.7K and GoPro at 5.2K. And of course availability – with Garmin out 5-6 months earlier.
One really important thing to keep in mind too is that if you look at GoPro’s Fusion sampler video – it’s important to note how much editing and post-production work was done there. That footage was not straight out of the camera, but rather heavily edited to clean up artifacts and issues within the footage. Where in my post, all my videos are basically straight out of the camera with no manipulation of the images to remove issues.
So as of now – if you want the best non-pro 360 rig, that’s the Garmin VIRB 360. There’s really no question there. It kinda wins by default. It’s hard to fast forward 5-6 months from now to see how the GoPro Fusion will line-up, but one key area I’d be looking at is the software side. That’s been the biggest downfall of all existing 360 cameras on the market, and it’s an area that Garmin actually mostly gets right here. Their VIRB Edit suite on the desktop is really good – leagues ahead of what GoPro offers today.
Historically GoPro has made better hardware than Garmin, though the only real advantage it had in the latest salvo last fall (VIRB Ultra 30 vs GoPro Hero 5 Black) was being internally waterproofed. Beyond that, it came down to preferences.
Of course – the real question will be GoPro’s price. I suspect it’ll be lower than Garmin is today (maybe by $100 or so), but it also sounds like Garmin is ready to be competitive here (just like they dropped price to match within 3 minutes – literally – of GoPro announcing the Hero 5 Black last fall).
Summary:
Without question, this the most impressive consumer 360° cam to date. Now granted, that wasn’t exactly a high bar to overcome. The rest of the entrants out there have sucked to pretty significant degrees. But the VIRB 360 doesn’t win on the account of ‘sucking the least’, rather it wins on actually being a legit darn good 360° cam. One finally worthy of buying. The data overlay and internal stabilization piece works well (something not found on most units), and the much higher resolutions are easily noticed if you’ve got a capable device to watch it.
It’s not perfect though. There are still some quirks being worked out, mostly minor things in the VIRB Edit suite (both mobile and desktop) and a few oddities I’ve seen with longer duration (multi-hour) time-lapses on the unit I have, plus stitching very close to the camera isn’t perfect either. Garmin is trying to track down my issues and determine if the handful of things I saw are just unique to my setup or some other bugs to resolve. The desktop VIRB Edit bugs (albeit some fairly frustrating at times) are largely ‘known issues’ set to be fixed shortly in the next few days (well before you get the camera). If there’s any team at Garmin that’s got a good track record on software, it’s actually the desktop VIRB Edit team. Just look at the updates/new features list on that thing over the years, or how incredibly active they are in the Garmin Forums.
But of course – there’s the reality that for a lot of people it’ll be tough to play back these videos in their full 4K (and beyond) glory. Unfortunately, if you’re playing back 360° videos in 1080p, it’s largely a crap experience. Still, one can’t really fault Garmin for that. That’s a problem that the industry has at large, and one that really only can be resolved by buying newer hardware.
Will this replace my every day non-360° action cam? No. But, it will complement it for those situations where I think 360° footage can make for a unique perspective. That won’t be every setting, but there are certainly cases where it can make sense and you can do really cool things with it. Thus, I’d easily recommend the VIRB 360 for those advanced video consumers that want to start experimenting with 360° footage in a way that finally doesn’t suck.
Found this review useful? Wanna support the site? Here’s how:
Hopefully you found this review useful. At the end of the day, I’m an athlete just like you looking for the most detail possible on a new purchase – so my review is written from the standpoint of how I used the device. The reviews generally take a lot of hours to put together, so it’s a fair bit of work (and labor of love). As you probably noticed by looking below, I also take time to answer all the questions posted in the comments – and there’s quite a bit of detail in there as well.
I’ve partnered with Clever Training to offer all DC Rainmaker readers exclusive benefits on all products purchased. By joining the Clever Training VIP Program, you will earn 10% points on this item and 10% off (instantly) on thousands of other fitness products and accessories. Points can be used on your very next purchase at Clever Training for anything site-wide. You can read more about the details here. By joining, you not only support the site (and all the work I do here) – but you also get to enjoy the significant partnership benefits that are just for DC Rainmaker readers. And, since this item is more than $75, you get free 3-day (or less) US shipping as well.
Additionally, you can also use Amazon to purchase the unit (though, no discount). Or, anything else you pickup on Amazon helps support the site as well (socks, laundry detergent, cowbells). If you’re outside the US, I’ve got links to all of the major individual country Amazon stores on the sidebar towards the top.
Thanks for reading!


