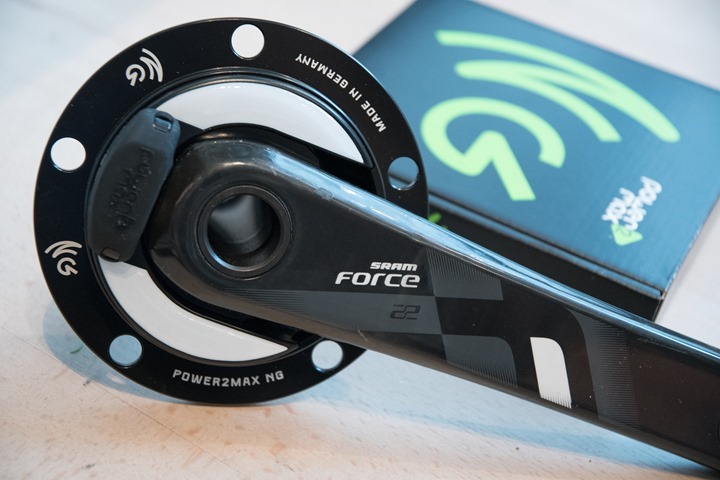
I know, you’re confused. You’re thinking to yourself – didn’t he just review the Power2Max NG last month? And indeed, I did.
But this isn’t the Power2Max NG. It’s the Power2Max NG ECO.
Well, that’s a different beast.
The Eco is essentially Power2Max’s new budget lineup of power meters. At about half the price of the NG (making it $490/490EUR with crank arms), it carries with it many of the same core traits of the NG, while skipping on some of the higher end features. Quite frankly, it’s an incredible deal. But let’s not get too far ahead of ourselves.
This unit was just announced this morning, but I’ve been riding one for a bit now with plenty of indoor and outdoor rides this summer, in rain and sun to sort things through. As usual, I’ll hand back this trial unit to the Power2Max folks when I see them at Eurobike in a week. With that – let’s dig into it!
Unboxing:
First up is what’s in the box.
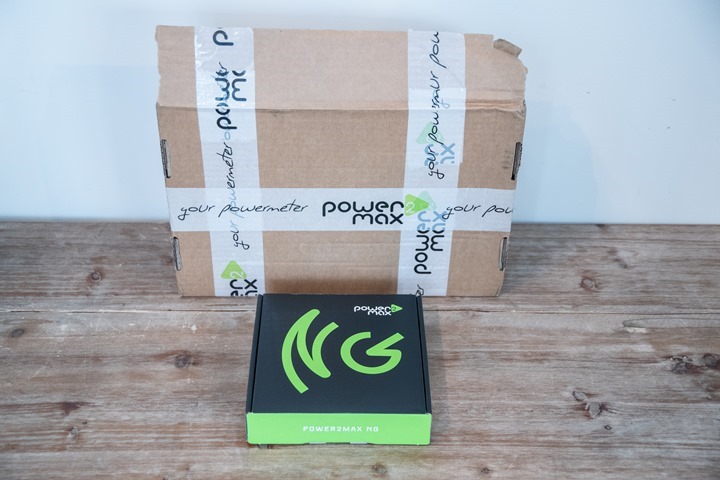
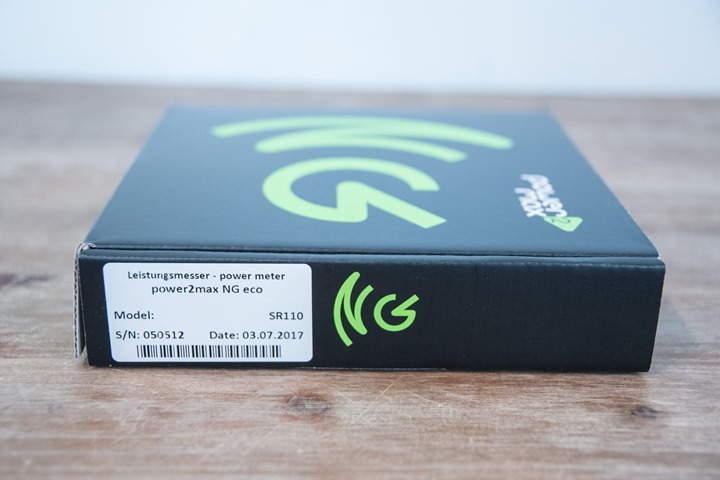
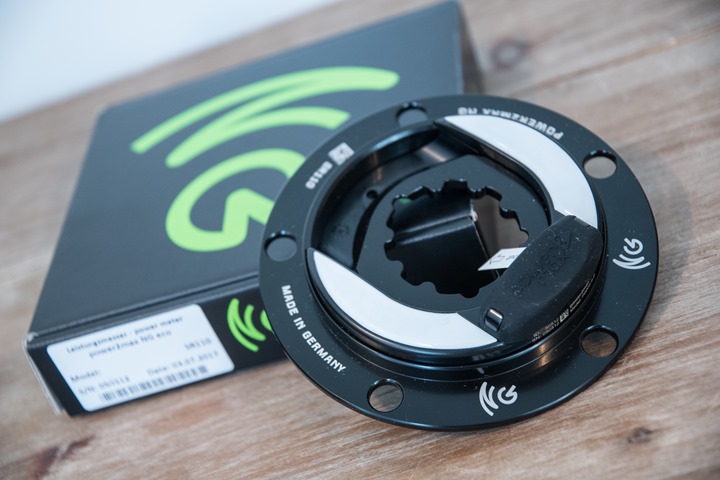
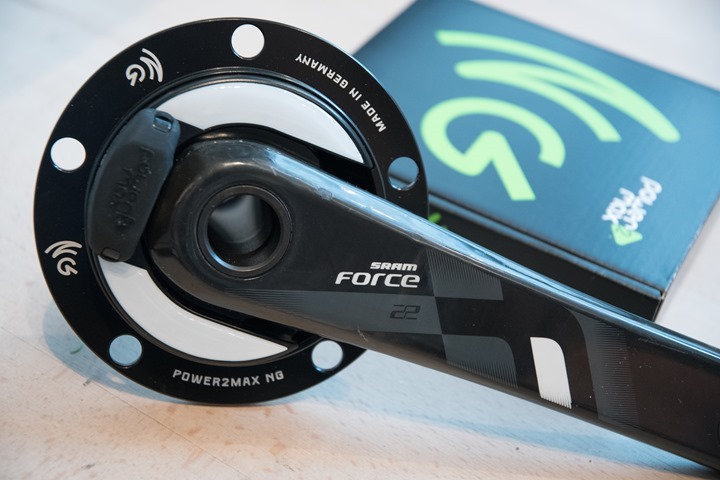
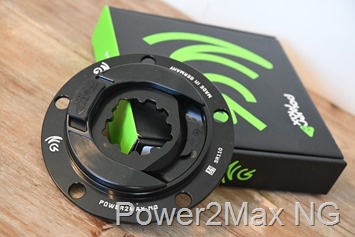
The box in this case looks an awful lot like the the Power2Max NG box. In fact, about the only difference you’ll notice is the little ‘Eco’ label on the white SKU sticker:
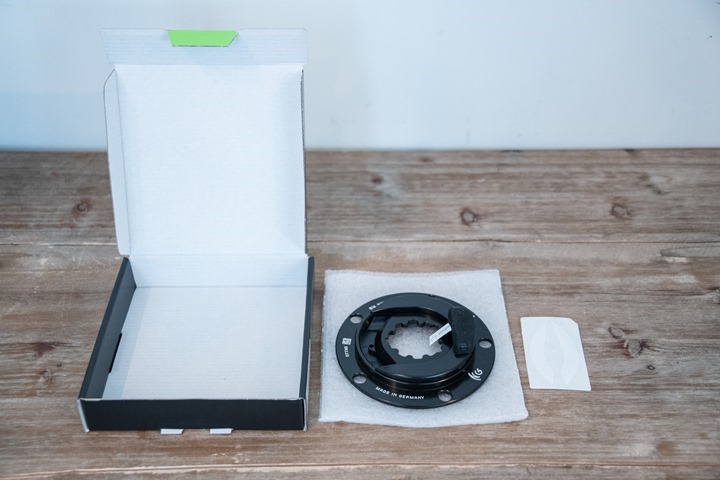
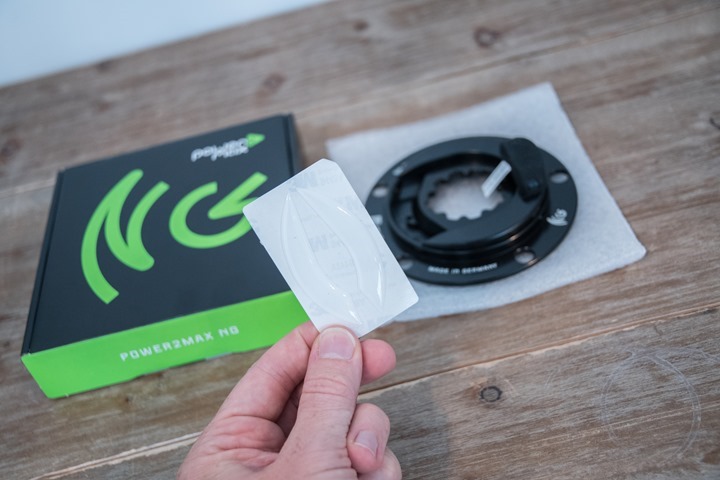
Inside, you’ll find only two items (three if you count the protective foam):
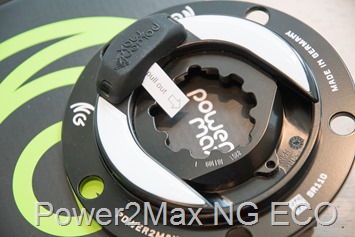
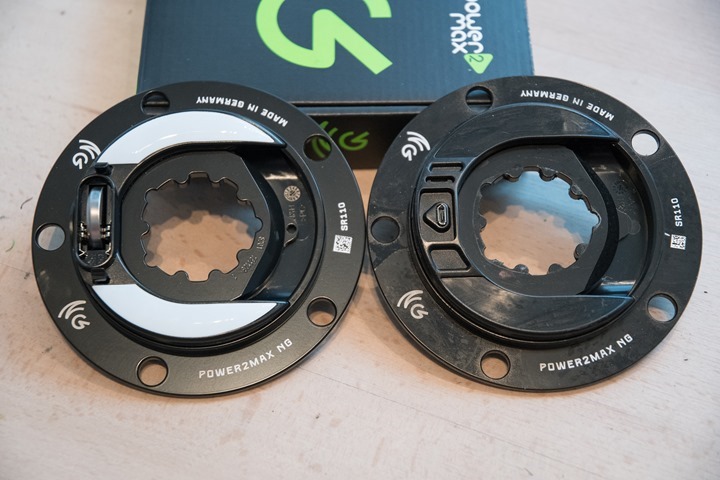
You’ve got the power meter spider, as well as the the decorative stickers:
Here’s a closer look at the front of the unit:
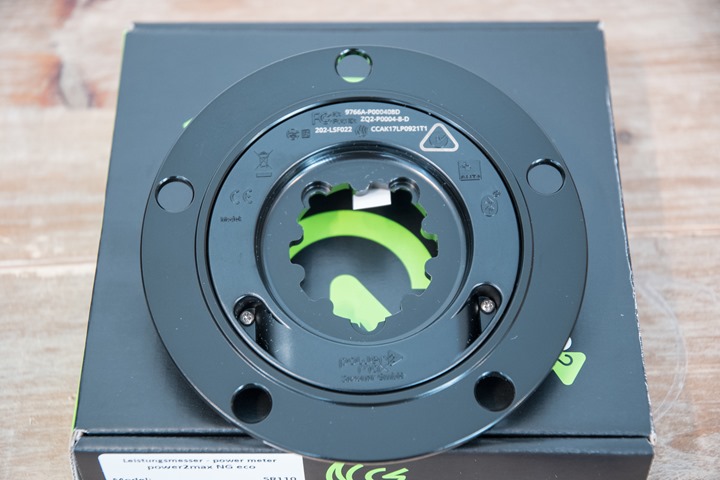
And then the back o the unit:
And…that’s basically it. Of course, your exact configuration may (and likely will) differ on which package you’ve bought. There are a few different ones, of which do include crank arms, here’s the low-down. Note that all prices are the same whether in USD or EUR.
Do note that every power meter has different compatibility nuances. Some only work with certain cranks (mostly spider or crank arm region power meters), some certain pedals/cleat types (pedal based power meters), and others certain wheel configs (hub power meters). Same goes for things like bottom brackets. You’ll want to double and triple check your specific config, and in most cases I find these power meter companies are more than happy to confirm or deny whether your bike config is compatible via a simple e-mail. For example, in this case, that the Power2Max ECO NG is not compatible with Shimano 4-bolt spiders, though are compatible with 4-bolt chainrings from Shimano. So if that’s you – then you might need to either look elsewhere or consider changing things around.
Ok, with that unboxing out of the way, let’s get onto the installation.
Installation/Configuration:
Getting it installed will vary a bit and depend on what specific crank options and bottom bracket configuration you have and/or bought. In my case, it was a super simple swap of ‘like’ crank types, so the whole process only took a few minutes to change out. At worst if you’re inexperienced in swapping out crank sets and chain rings, you’re looking at 20-30 minutes. And in a best case scenario a couple minutes.
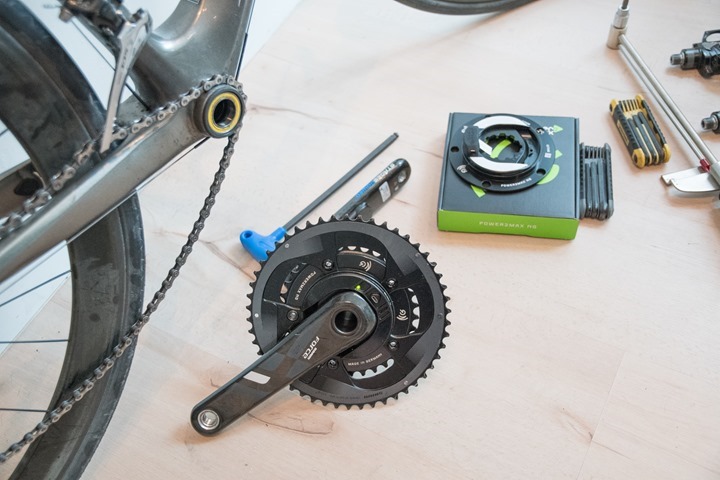
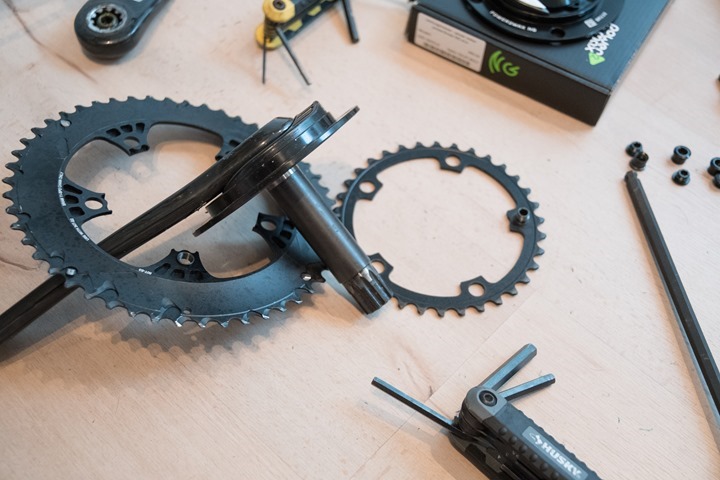
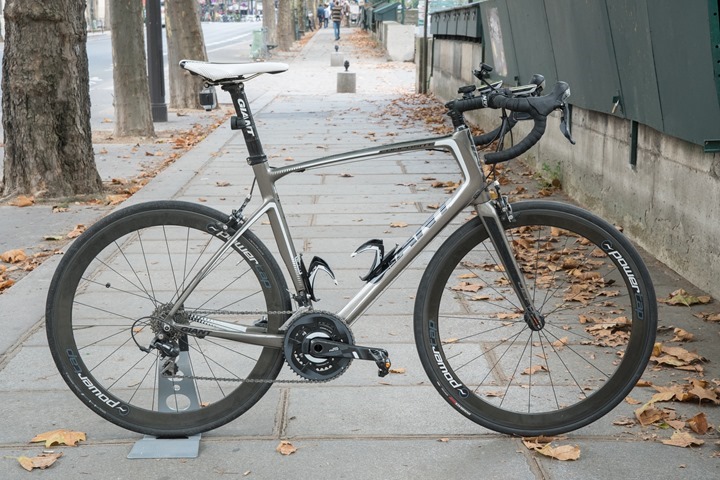
In my case I was swapping from the Power2Max NG…to the Power2Max NG ECO. Just a case of what happened to be on my bike last. So that meant I needed to remove the crank arms first, and then the chain rings from the existing unit, and move them to the new unit.
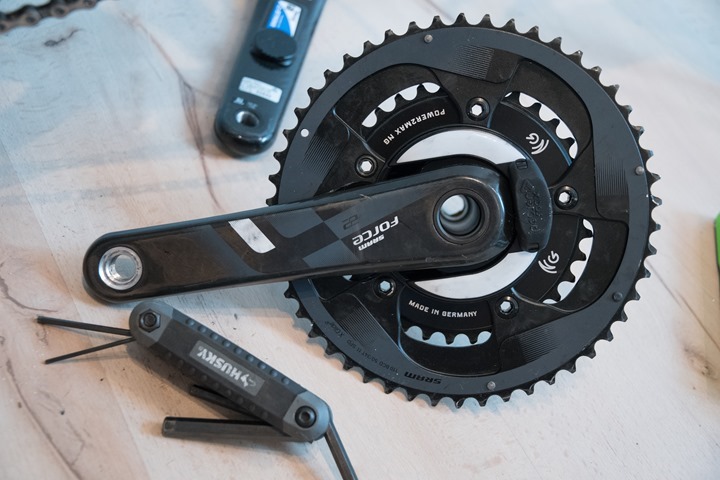
With that all completed, I got to work installing the crank arm on the new ECO spider.
And then get the chain rings added back on:
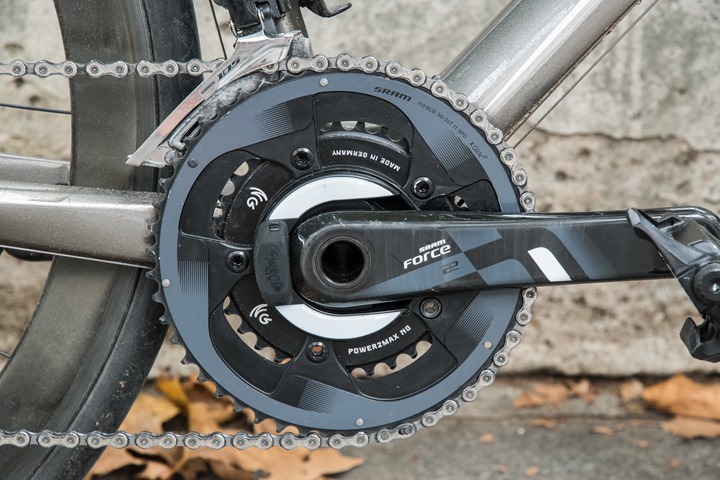
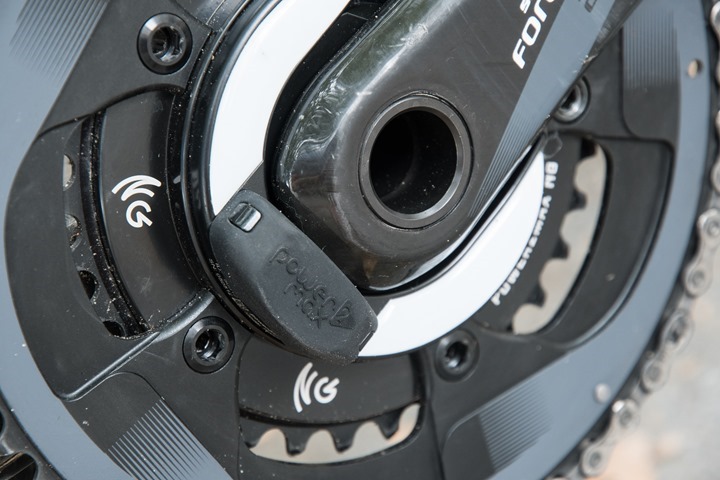
Wondering how you tell the difference between a Power2Max NG and a NG ECO from afar? One way, and one only: Power2Max NG ECO has a thicker battery compartment (since it’s coin cell), versus the thinned down cover over the USB re-charging port on the Power2Max NG.
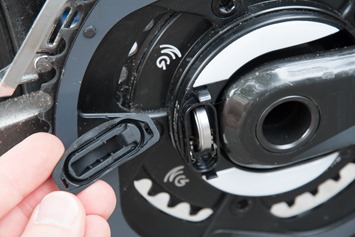
It’s far easier once the lids are off of course:
Oh, and in my case, I had white stickers on it (versus no stickers on the other one). That made it easy too.
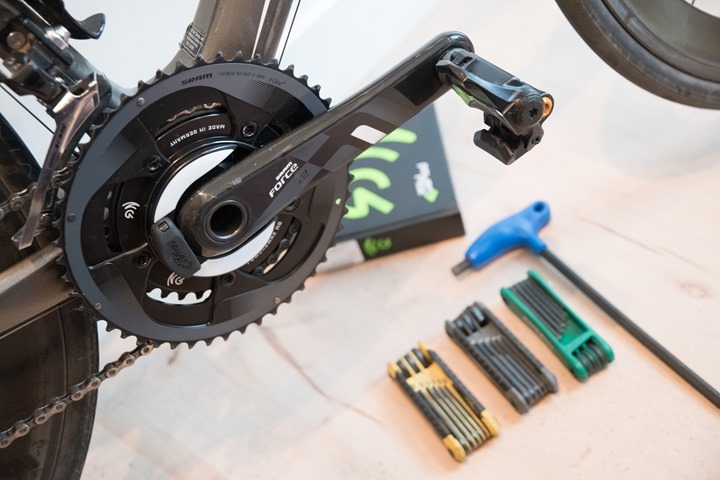
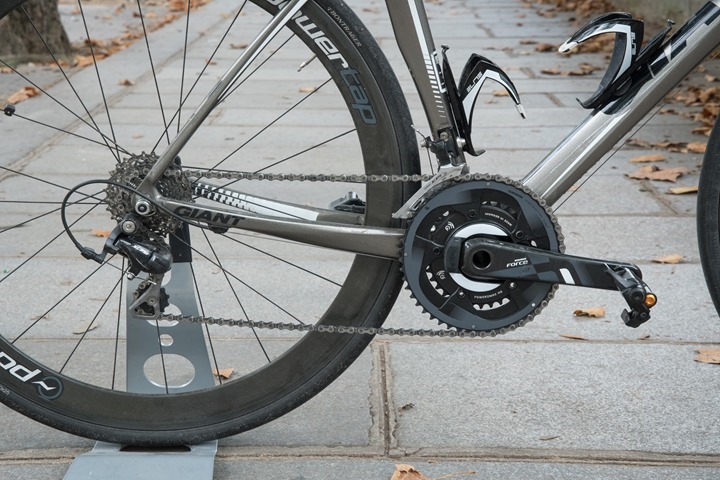
From there I got the the unit attached to the bike, and plopped the left crank arm on as well:
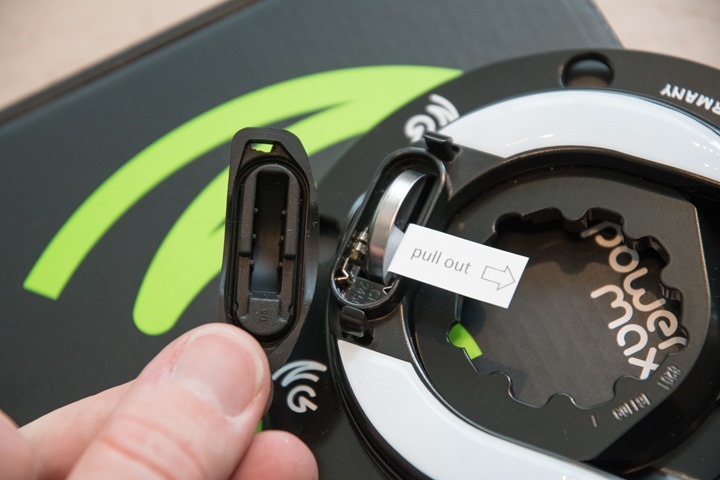
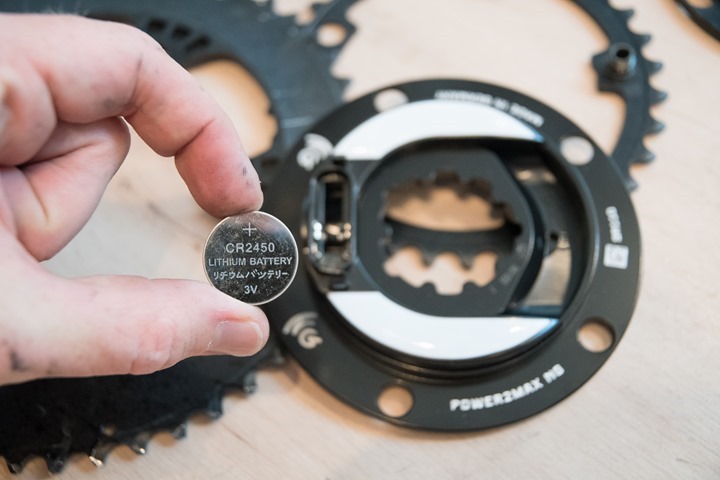
Lastly, if you hadn’t done so yet, remove the little white piece of paper keeping the coin cell battery from activating. I did so earlier in the process:
And thus, we’re done.
I’ll cover calibration and such in the next section – but you’ll want to do a zero offset at some point before you start riding.
General Use Overview:
Let’s start off with what’s different between the Power2Max NG and the NG ECO, since that difference basically saves you $500…or…doubles the price (depending on how you want to look at it). And there’s no better way to do that than a simple table:
While I may not be an expert in these such matters – I’d say Power2Max pretty much just gave people almost no reason to buy the higher end Power2Max NG unit. I wouldn’t.
So why don’t I care about left/right power balance (which the ECO lacks)? Well because in the case of how the Power2Max measures it, it’s not real. It’s actually not left/right balance, but rather whether you’re pulling up or not. You can easily trick this by simply single-leg pedaling, and you’ll note the unit totally misses that. Compare this to true left/right balance capable units like the Verve Infocrank, ROTOR 2INPower, PowerTap P1, Garmin Vector, Favero Assioma/Bepro, and so on – which actually measure the left and right sides.
As such, since it’s giving you useless power balance data – then it honestly doesn’t matter. Plus, I virtually never look at power balance data when doing ride analysis. The only place I think that’s valuable today is injury recovery, and in that case you *really* want to have legit left/right numbers.
In any case, like the NG and all past Power2Max power meters, the ECO silly easy to use. There’s little to do day to day other than simply riding with it, as it’ll automatically turn on for you. About the only maintenance you’ll need to do is to check the zero offset every once in a while to validate it hasn’t gone askew (though, I tend to do it every ride). Still, it’s worth going through some of the ECO basics just to cover all the most common question.
First off is that the ECO differs from the NG in that it doesn’t use the USB rechargeable battery, but rather the CR2450N coin cell battery which is the exact same as before. It’s also what the FSA PowerBox uses (Secret: The ECO and the FSA PowerBox are the same thing). With this coin cell battery you should get about 400u hours of juice:
The battery does sit below a rubber battery cap that honestly isn’t all that awesome. I’d be concerned about leakage over time (or it even just falling off), so we’ll have to see on this one. It’s not exactly the same as the NG’s new battery cap (that I also dislike), but it’s secured slightly better than that is.
The ECO has a status light which will illuminate when you first rotate the unit, indicating it’s awake.
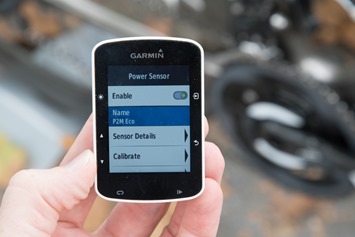
Next we’ll want to get the unit paired up to our head unit. To do so we’ll simply search for the unit as a power meter. Once found you can usually give it a name (like P2M ECO).
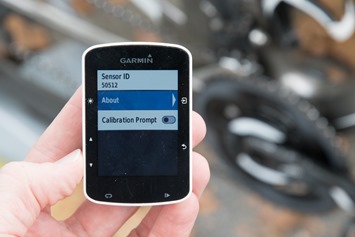
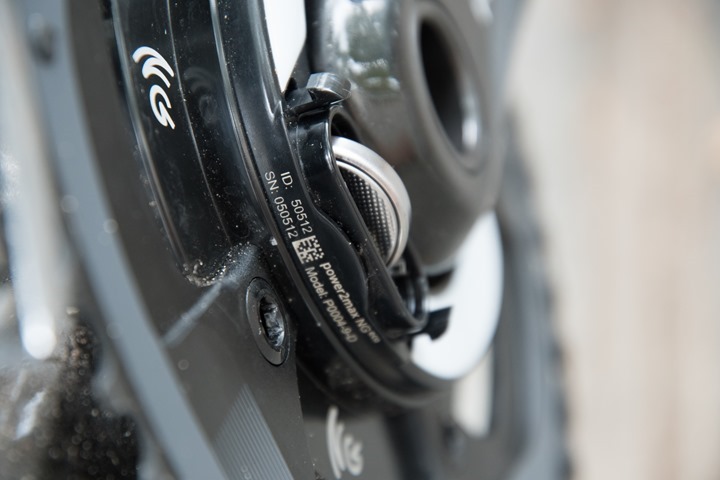
Note that the ANT+ ID is actually written along the edge of the spider, so you can double-check that at any time should you need to figure out (or confirm) which ID is yours. You can see above how the ID shown above (50512) matches that of below.
The ECO also supports pairing via Bluetooth Smart, though in my case that wasn’t enabled on my unit. So once Power2Max sorts that out next week at Eurobike I’ll validate it works the same as it did on the NG last month. Given it’s the same code just enabled/disabled via firmware, I don’t expect any issues. In that case I was able to easily pair it with the Fenix 5 & FR935 via Bluetooth Smart, as well as Polar’s M460 via Bluetooth Smart.
Like the NG, you should be aware that the ECO has a unique Bluetooth Smart pairing mode. This means that for the Bluetooth Smart side of things you have one minute upon powering on the unit (pedaling) for Bluetooth Smart head units to find the NG/NG ECO units for a new pairing. If you were to try and pair a head unit 10 minutes later instead, it actually won’t find it.
When it comes to calibration, the unit supports doing a manual zero offset. Zero offsets are valuable because they allow you to track what’s going on inside your power meter from a calibration standpoint. While most modern power meters will stabilize themselves with regards to temperature compensation and such, by tracking the zero offset you ensure that if something is amiss you catch it before it impacts your training/racing. It’s sorta like that engine temperature gauge on your car – you can ignore it 98% of the time, but the 2% of the time that it lights up – you probably want to do something about it (and no, putting electrical tape over isn’t the right something).
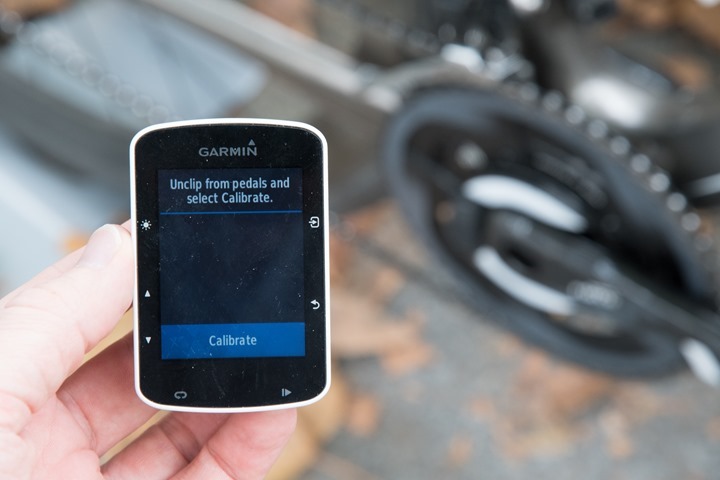
To complete a zero offset on the ECO you’ll find the calibrate button on your head unit, while also ensuring you aren’t placing any weight on the pedals/crank arms.
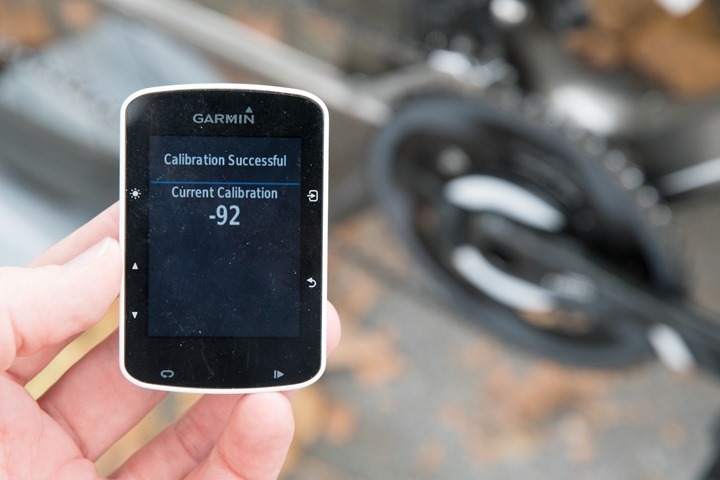
A few seconds later it’ll return to you a calibration value:
Note: I did have a handful of times where the unit would report a calibration failure error. In talking with Power2Max, it sounds like it’s pretty sensitive to being absolutely still, and indeed, I found that to be the case. You can still hand-hold the bike, but just make sure your pedals aren’t swinging around or such. In other words – take 2 seconds longer before pressing calibrate.
The key with this value is watching for significant change. You don’t want a lot of shift here, especially if the environment hasn’t changed. Like the NG, the ECO will automatically perform a zero offset behind the scenes anytime there’s no force applied to the unit for at least two seconds. This could be at a stoplight or otherwise stopped pedaling.
When it comes to data recorded by the head unit, it’ll vary by protocol. Here’s what each supports on the ECO:
ANT+ Power (total power)
ANT+ Cadence
ANT+ Power Balance (Only with paid software upgrade)
ANT+ Pedal Smoothness (Only with paid software upgrade)
Bluetooth Smart Power
Bluetooth Smart Cadence
Bluetooth Smart Power Balance (Only with paid software upgrade)
As an example, here’s a file recorded with an Edge 520 via ANT+ on the Power2Max ECO without the paid software upgrade. And a screenshots from that of the relevant data sections.
Now before we dive into the power meter accuracy pieces, it’s notable to point out that at this point there is not yet an app for the Power2Max ECO unit. That was certainly a major piece of having Bluetooth Smart, which would enable you to update the unit’s firmware more easily via your smartphone. Other manufacturers like ROTOR, PowerTap, and Quarq also offer more detailed diagnostics and related data via the smartphone app.
Even more important for the ECO is that with this app you can pay the fee ($50/EUR) if you’d like to upgrade the firmware to support the handful of additional metrics that the NG has (specifically power balance). Note that each function is $50.
Power2Max says it’s coming though, likely in September. At the moment it’s not a big deal either way, since you can still calibrate and such with any head unit.
Power Meter Accuracy Results:
I’ve long said that if your power meter isn’t accurate, then there’s no point in spending money on one. Strava can give you estimated power that’s ‘close enough’ for free, so if you’re gonna spend money on something it shouldn’t be a random number generator. Yet there are certain scenarios/products where a power meter may be less accurate than others, or perhaps it’s got known edge cases that don’t work. Neither product type is bad – but you just need to know what those use/edge cases are and whether it fits your budget or requirements.
As always, I set out to find that out. In power meters today one of the biggest challenges is outdoor conditions. Generally speaking, indoor conditions are pretty easy to handle, but I still start there nonetheless. It allows me to dig into areas like low and high cadence, as well as just how clean numbers are at steady-state power outputs. Whereas outdoors allows me to look into water ingest concerns, temperature and humidity variations, and the all important road surface aspects (I.e. vibrations). For reference, the Power2Max NG ECO has a claimed accuracy rate of +/- 2% (vs +/- 1% for the NG). It also does not require any magnets for cadence, while also automatically correcting for any temperature drift. Both of these are pretty common though on most power meters these days.
In my testing, I generally use between 2-4 other power meters on the bike at once. I find this is the best way to validate power meters in real-world conditions. In the case of most of these tests with the Power2Max NG ECO I was using the following other units:
Favero Assioma DUO pedals power meter
PowerTap G3 hub based power meter
PowerTap P1 pedals based power meter
Stages left-only power meter
Elite Direto Trainer
Wahoo KICKR SNAP V2 Trainer
Wahoo KICKR Trainer
In general, my use of other products is most often tied to other things I’m testing. Also, when it comes to data collection, I use a blend of the NPE WASP data collection devices, and a fleet of Garmin head units (mostly Edge 520/820/1000 units). For the vast majority of tests on the ECO I just used Edge 520 & Edge 820 devices.
Note all of the data can be found in the links next to each review. Also, at the end is a short table with the data used in this review. I’ll likely add in other data not in this review as well once I finish consolidating that data. I’m a bit behind on getting data off some of my head units into folders.
With that, let’s get right into it and start with analyzing an indoor trainer ride. You can view the Analyzer file here (as well as download the data itself), should you wish to look at the live view. This was a TrainerRoad workout on a KICKR SNAP 2007 (V2) as controlled by their iOS app.
At a high level things look pretty good, though this was a relatively tame indoor workout with relatively flat chunks. But that’s interesting though as it provides a way to validate whether or not drift is occurring. Let’s smooth things out a little bit and look more closely at some of the shifts in power as I go from easy to hard.
Here’s a shift from about 170w up to about 300w. You’ll notice all three units track very closely. Don’t fret too much about the gaps between them, the scale on this graph is really small – so those gaps in this case are a mere 3w once it stabilizes. During the actual increase we see more variability, but that’s normal due to recording rates and update rates (usually a 1-2 second difference in sprints is expected). So all is good here.
Again, as I come down off the interval, we see very similar results too:
I’ve done about 3-4 indoor workouts now on the ECO since late July, and all are the same. I’ll add the remainder of these indoor sets next week, but at present they were using other unannounced products (ahead of Eurobike), thus, no inclusion here. They included a variety of Zwift, TrainerRoad and manual ERG controlled workouts – and all of which were solid.
So instead, let’s head on outside. This ride is cross city, and then some sustained power loops around a park for about an hour before returning. This allows me to see if there’s any drift over a longer period of time in the park doing loops at a relatively steady state, as well as to see how it handles all the constant stops/starts of cross-city riding. Here’s the Analyzer link.
First, let’s start with that nice 700w spike around the 13 minute marker. I must have gotten excited chasing Grandma on a bike-share Velib or something.
As you can see, the three units track beautifully across that. Even at 670w, there’s only a 15w spread between the three units, which is expected given they are measuring at different places. And nicely, the PowerTap G3 is the lowest of the bunch, and the P1 the highest of the bunch – with the NG ECO right in the middle – perfect ordering. Of course, one could argue whether one or the other should be a couple watts higher, but really – they’re all within the +/- 2% they’re claimed at.
The above graph is smoothed at 10-seconds, what if we remove the smoothing though? Here’s that:
You’ll notice that the P1 and it’s head unit happens to take an extra second or so to see that pop, but then catches right up. I haven’t see that before, so my guess is that it was just a random isolated interference thing. In any event, even at 1-second sampling in the above graph the units track really close (which is actually usually hard to show in a sprint like this). Good stuff.
Let’s look at the stability of those loops I did for an hour (in a car-less area):
As you can see, it was like the three units were glued together. Picking a random point around the 48 minute marker, we’ll look in more closely:
You do see a bit of changing of ordering here – but all of this is within a few watts of each other – and thus within the +/- 2% stated accuracy of each of the units. But otherwise really nice.
Next, let’s go to another outdoor ride. I like this one because it has a wide variety of terrain, including a beastly cobbles section. Actually, two beastly cobbles sections. Note, I don’t talk about all the non-beastly cobbles, since those are normal in Pairs. But these two are among the roughest in the region – and ones I often use for testing/breaking devices.
Since we’ve established that steady-state is fine and stops and starts, let’s just go straight to the half-mile section of miserable cobbles. The reason cobbles are worthwhile evaluating is that most power meters these days use accelerometers for cadence, and when cadence goes out – accurate power values soon follow to crapland. Here’s me coming off the stoplight and into the cobbles:
Everything tracks pretty well. A slight bit of variance from the P1 about a minute later for some reason, but it settles out shortly thereafter. And if we switch to the cadence view, you can see why. Remember – when cadence fails – power follows along with it:
But throughout this, the Power2Max NG ECO stays true and to the plan.
Within that same ride later on I did a 850w or so sprint, somewhat out of the middle of nowhere. You can see the three units track very well – though as always the 1-second update rates make it look a bit blocky.
For those interested, here’s another ride from another hour-long ride. Like the others, there’s no issues in it. One quick way of spotting any abnormalities in comparative power graphs is to look at a mean-max graph, which shows the power values plotted over time duration:
Note that it’s totally normal at the sub-15 second range to see slightly more variation due to recording/transmission rate differences.
Overall I’m seeing exactly zero power accuracy issues with the unit. Same goes with cadence. This honestly isn’t too surprising, as there’s good reason Power2Max has become so popular in recent years. They offer a tried and true solution that’s accurate and easy to use.
(Side note: All of the sets are analyzed using the DCR Analyzer. This allows you to open the sets up yourself, look at the data, and even download the original data files for your own comparisons and analysis. These days you can also use the DCR Analyzer for your own comparisons, more info here.)
Power Meter Recommendations:
With so many power meters on the market, your choices have expanded greatly in the last few years. So great in fact that I’ve written up an entire post dedicated to power meter selection: The Annual Power Meters Guide.
The above-noted guide covers every model of power meter on the market (and upcoming) and gives you recommendations for whether a given unit is appropriate for you. There is no ‘best’ power meter. There’s simply the most appropriate power meter for your situation. If you have only one type of bike I’d recommend one power meter versus another. Or if you have different needs for swapping bikes I’d recommend one unit versus another. Or if you have a specific budget or crankset compatibility, it’d influence the answers.
Now I last published my annual guide last September, so some things have changed since then. Here’s the quick and dirty version of what’s been released review-wise since that time:
A) 4iiii Precision Dual System In-Depth Review
B) WatTeam PowerBeat Gen2 Dual System In-Depth Review
C) Quarq DZero In-Depth Review
D) ROTOR 2INPower In-Depth Review
E) Power2Max NG In-Depth Review
I’ve also got one more in-depth review coming up in the next week or so:
F) FSA PowerBox (here’s a first look)
G) Favero Assioma Pedals (aka BePro Gen2) – first look here
Of course, at this point we’re a mere week away from Eurobike – the epicenter of most cycling power meter announcements. I expect some new products there, but not a huge number. And maybe one at Interbike. As such, I plan to release my annual power meter guide the week after Interbike in late September, as normal. Maybe a touch earlier if I don’t believe there’s to be any announcements at Interbike.
Summary:
In many ways, I feel like the Power2Max NG ECO is what Power2Max should have announced a year ago when they announced the NG. And I’m specifically talking about the price here. Given the significantly lower price than the full NG model, I suspect the ECO will completely cannibalize sales of the NG. It takes the tried and true Power2Max platform, updates it slightly and stuffs Bluetooth Smart in it – making it more competitive with others, and in fact – incredibly competitive in the marketplace. $490 for full and accurate power capture with both crank arms? I’m not aware of anything in that range.
Do note though that the NG ECO is more akin from an accuracy standpoint to the Power2Max Type-S – rated at +/- 2% versus the +/- 1% of the normal NG. Not that I see that really mattering much, power meters for years have been rated +/- 2%, and there’s no real issue there for most. Also, keep in mind it maintains the coin cell battery instead of being rechargeable. I actually prefer that, but to each their own. And of course unless you pay for the upgrade via the app it won’t show power balance.
Also note that the Power2Max NG ECO is the same unit as the rebranded FSA PowerBox. Each company though sells slightly different crank arm configurations with them, but with the PowerBox you pay for the Bluetooth Smart power connectivity via firmware update. You’ll see my FSA PowerBox review in the next week, though I’ll give you a spoiler: I’ve got no accuracy issues with it.
With that – thanks for reading! Feel free to drop any questions below, I’d be happy to try and get answers for ya.


