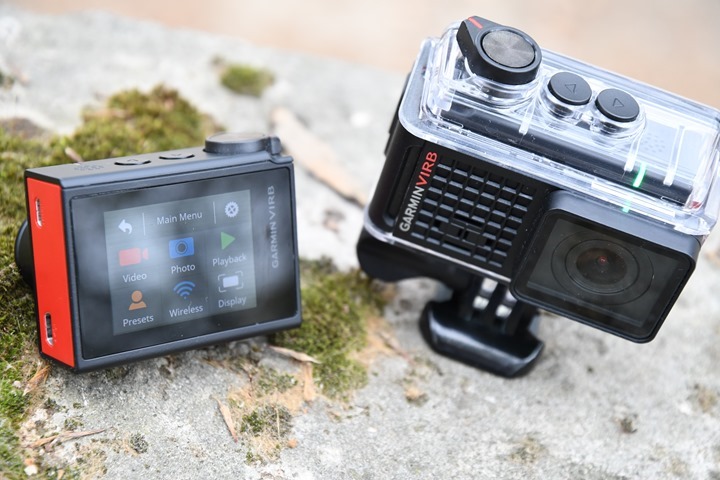
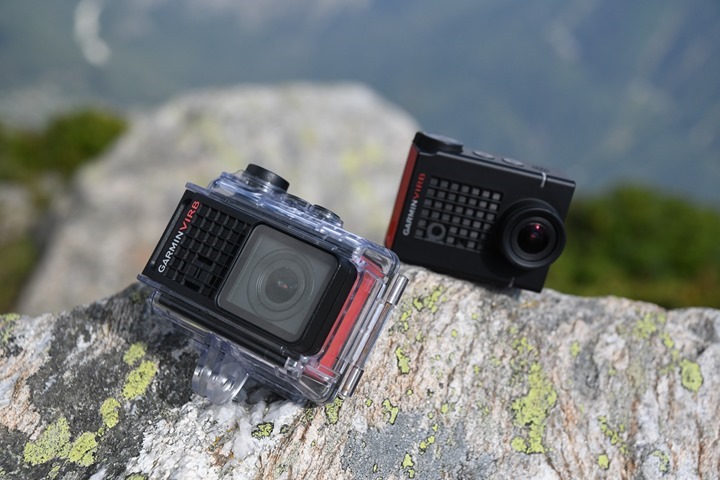
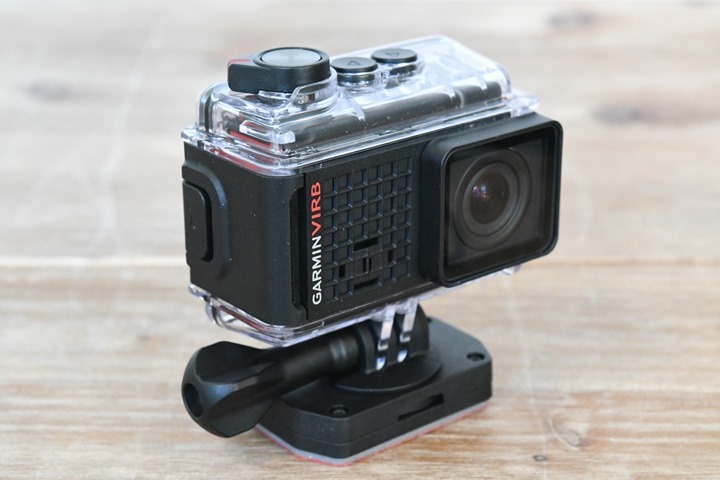
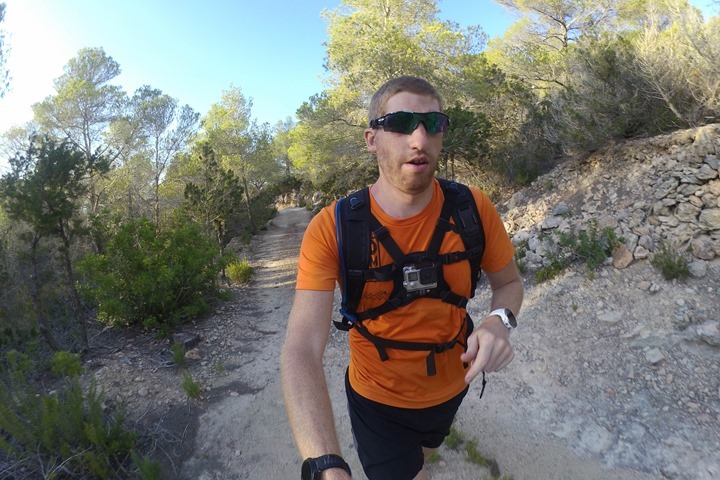
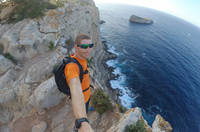
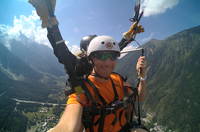
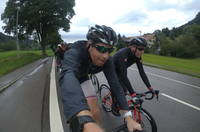
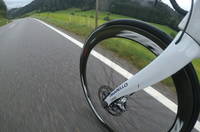
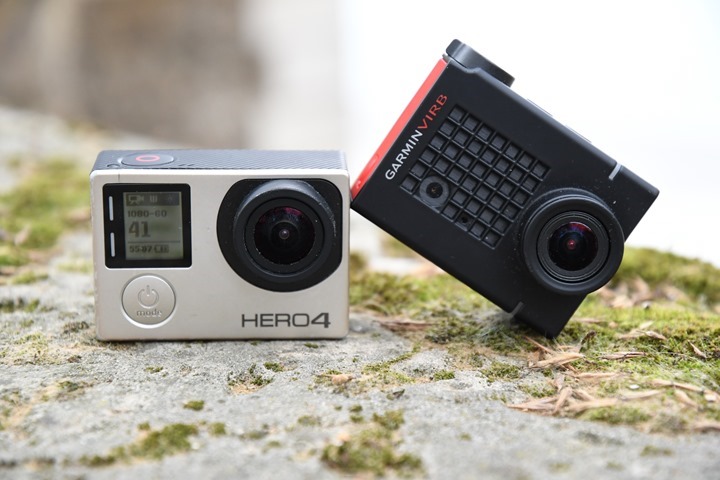
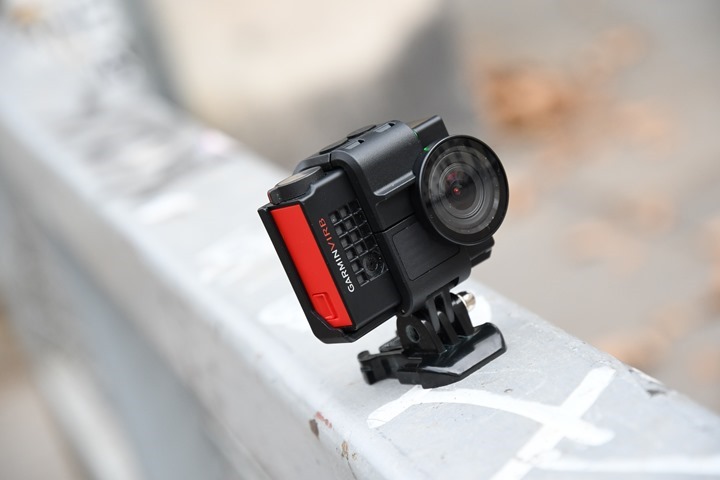
Last week, Garmin announced and released their newest action cam – the VIRB Ultra 30. To summarize this 50-million word in-depth review in the most succinct manner possible: Someone at Garmin finally got it. They created what might possibly best both GoPro’s current and even upcoming offerings. It just took 3+ years.
This new VIRB includes everything from voice control (‘Ok Garmin, take a picture.’) to 4K video recording, to YouTube live streaming. Not to mention higher end manual photo/video controls, a color touchscreen display that even works in the hard-shell waterproof case, and new travelling time-lapse options. Plus of course all the usual stuff from the past like GPS, ANT+ and Bluetooth sensor support, and much more. The more you dig into the camera, the more new features you discover.
As noted above, I’ve been on a few versions of this camera, but this review is written based on a final production unit. Garmin sent out both that and pre-prod units for evaluation, and like usual, they’ll go back to Garmin shortly. If you found this review useful, you can hit up the links at the bottom of the post to support the site.
The Executive Summary:
I’ve been using various iterations of the camera for quite a while now – and I’ve gotta say this is the most impressed I’ve been with a Garmin product in some time. Regular readers will remember I was ‘not impressed’ with the previous VIRB X/XE offering. I felt like it just missed the mark in so many ways in terms of being competitive to GoPro units.
Whereas this unit is extremely competitive to GoPro units, especially in light of last week’s leaks about the upcoming GoPro Hero5. The easiest way to think of the photo/video specs (resolutions) of this unit, is that it’s basically a GoPro Hero4 Black. So it’s got all the 4K/30fps capabilities, as well as the 240fps @ 720p slow-mo options. Essentially, there’s almost nothing that GoPro has in the Hero4 lineup that this doesn’t.
But before we dive too deeply, let’s just go with a bulleted list of what’s new and unique/different compared to the past VIRB series cameras.
– Added 4K/30&24fps & 2.7K/30&60fps recording options
– Slow-mo modes up to 240fps at 720p, and 120fps at 1080p
– Added burst up to 60 frames over 2 seconds for photos
– Added very granular photo and video manual settings options (i.e. exposure, white balance, etc…)
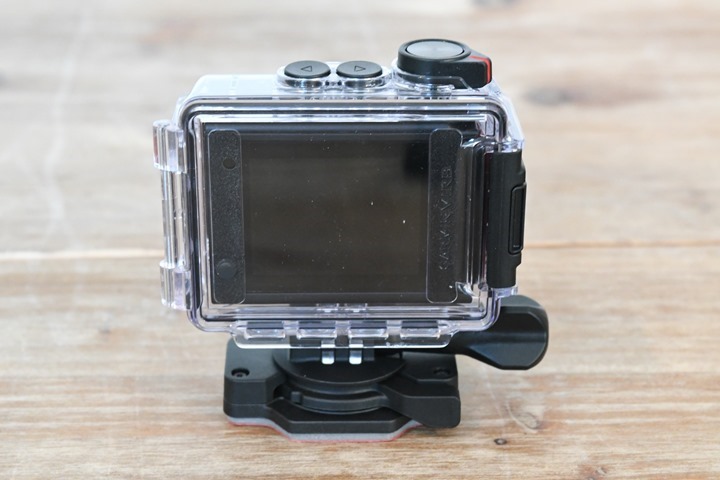
– Added full color touchscreen to back of unit
– Added framing overlays onto touch screen live view (i.e. rule of thirds, etc…)
– Added overexposure displays onto touch screen live view (to see if exposure is washed out)
– Separate waterproof case from camera, leaving naked camera virtually identical to GoPro Hero4 Black/Silver size
– New hardshell case still allows clear audio and touchscreen to work when camera is in it
– New hardshell case also allows wind-reduction and sound underwater
– Added a new ‘frame/skeleton’ style case as an option
– Added YouTube Live Streaming (iOS only)
– Added Ability to connect to dedicated WiFi networks (MiFi access points, home networks, etc…), plus phones of course
– Added ability to playback via Miracast to TV’s in your house wirelessly
– New VIRB Edit multi-cam support (i.e. picture in picture) with multiple VIRB’s
– New VIRB Edit apps support higher resolution footage now (i.e. 4K)
– New Travelapse mode: Like a timelapse mode, but distance triggered vs time-triggered
– Voice controls for photo, video, highlights (‘OK Garmin, take a picture’)
– Added image stabilization in-camera up to 1440p (reduces shake)
– Actually works with some 3rd party gimbals now
– Samples and records internal sensor data at up to 100 times a second (100 Hz) for overlay later, and GPS data at 10 Hz
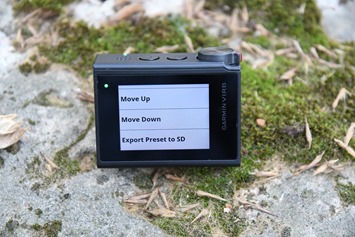
– Ability to save/export settings to share with multiple cameras
As you can see, that’s quite the list. In using the cameras, it becomes clear that Garmin is aiming for more than just the ‘average consumer’ crowd with this unit. Of course, it’ll be great for the average consumer – just like a GoPro is. but there’s also a number of little features that have been added that will make it more appealing to production companies. You’ve of course seen that GoPro’s are ubiquitous in TV productions these days, such as MythBusters. That’s in part because GoPro has added features that these companies need to work with large numbers of cameras and integrate that footage into their workflow.
In the case of Garmin, you see that with features like the ability to save and share settings across cameras. You can now simply export out a given settings profile and quickly apply that to numerous cameras.
Of course, stepping back to the consumer realm this camera takes aim squarely at GoPro with pretty much everything Garmin had. Previously Garmin was woefully short on image/video resolution and aspects like size. Plus features like the lack of a touch/preview screen. But those differences evaporate with the VIRB Ultra 30. Now you basically get all the best quality of a GoPro Hero4 Black, but with the features and functions of the Garmin series. Aspects like overlaying your speed, G-forces, and GPS track were all Garmin staples, and this ties it together in a neat little package.
If you wanna get a quick look at things – the following video summarizes much of this entire review in one tidy little package:
As I said at the beginning of this quick overview (for those that want to skip the rest of the post), this is probably the most impressive product I’ve seen out of the company in quite some time. It’s stable and has worked well for me, while also ticking off all the check boxes in what I want from both a day to day, and vacation action cam.
Unboxing:
So – ready to get this all unboxed? No problem, I’ve got two ways for you to step foot into the most exciting of box openings. The first is the below video unboxing, while the second is the old-fashioned photo and textual method. Do one or both, your choice.
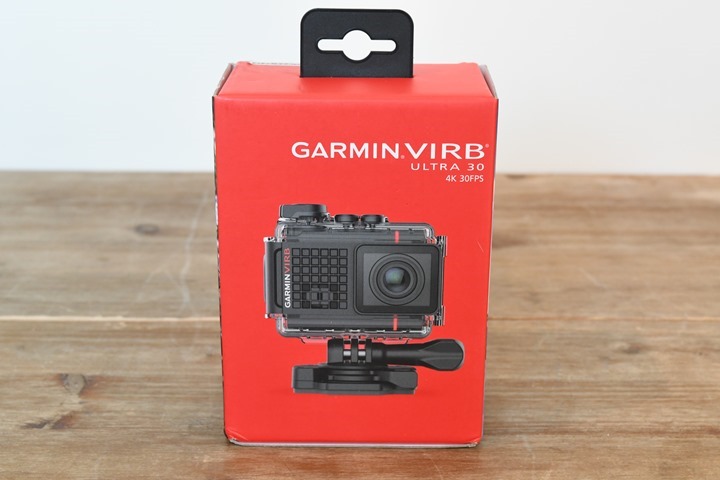
Moving to the photo version, we’ve first got the exterior shell of the box:
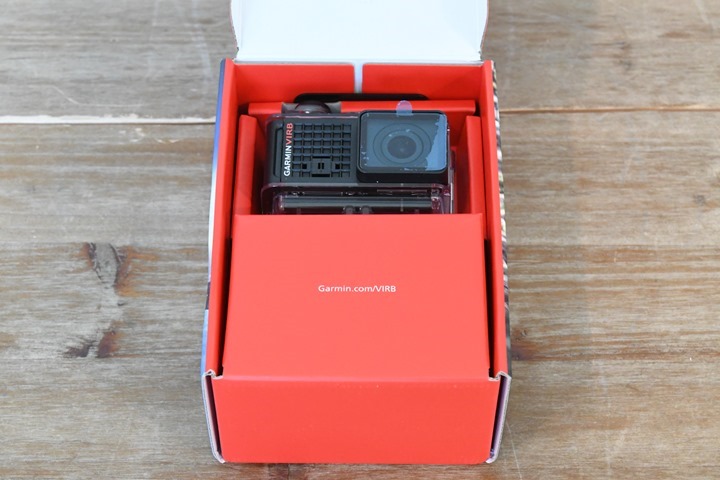
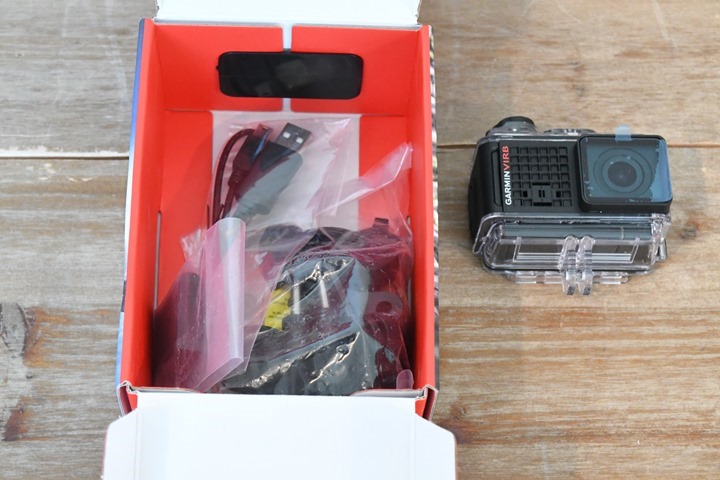
Cracking it open you’ll find the camera staring back up at you, and all the goods hidden underneath the sheets. Basically, it’s like the intro to a Paris Hilton video.
Here’s what happens when the sheets come off:
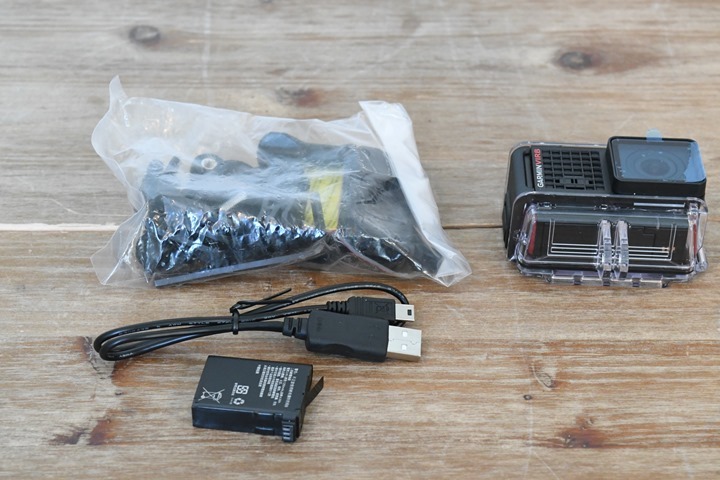
You’ve then got a baggie full of goods:
It’s at this point you realize you have too much time on your hands:
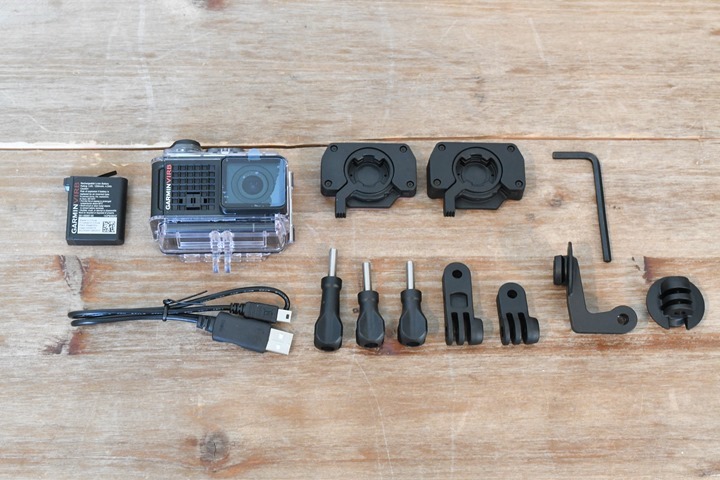
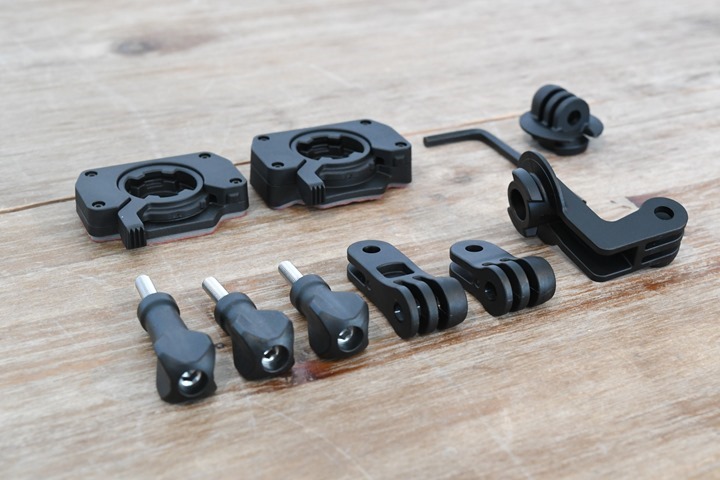
On the mounting front, you’ve got both a flat and rounded sticky mount, along with various extenders and orientation changers.
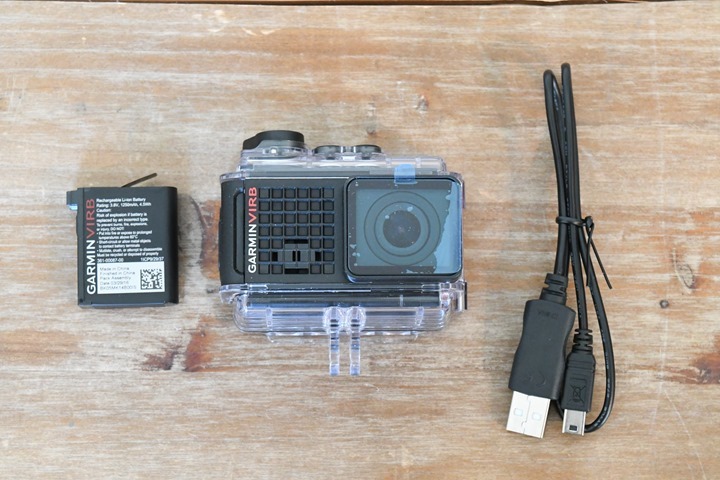
Meanwhile, the camera will come with a single battery and the unit inside the case. Alongside you’ll find the standard micro-USB cable:
The cable can be used to charge the battery via the unit, as well as to sync videos over to your computer via VIRB Edit (or any file explorer).
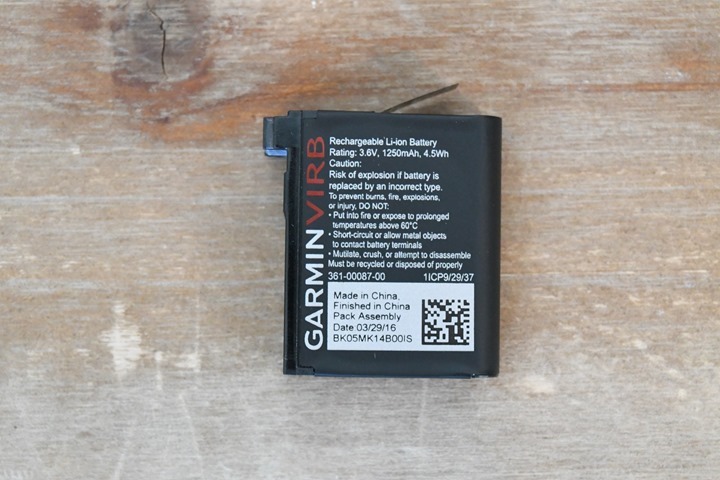
The battery may look very similar to the GoPro batteries, but it’s slightly different. The GoPro battery has squared off edges, versus rounded edges here. So they don’t fit into each other’s cases. I’ve tried. A lot.
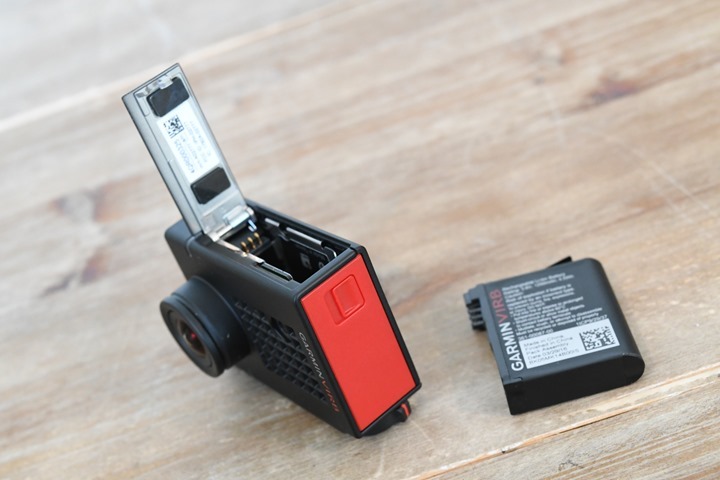
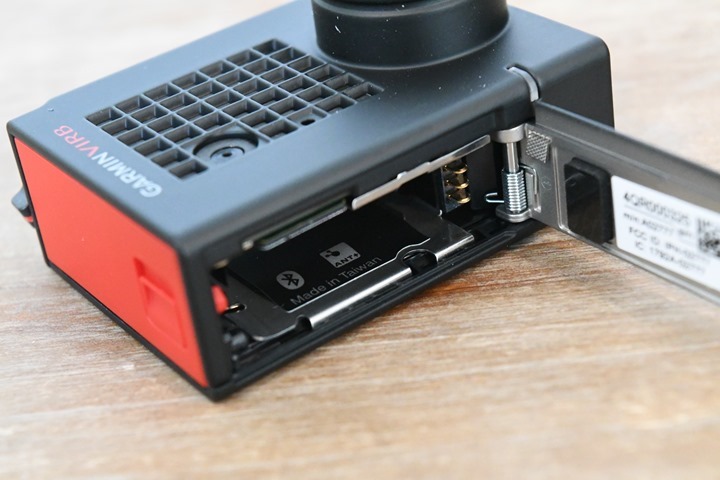
The battery goes into the port with the little slider lever on the side. It’s the same place you’ll stash the MicroSD card (not included).
Last but not least, here’s a few shots of the VIRB in its case with the default mounting options. I won’t use them the rest of this post, so take a look now before moving on.
Now, let’s see how it sizes up.
Size & Weight Comparisons:
Now, you may have noticed I also included a detailed size and weight comparison section in the last half of the unboxing video above. So you may want to take a look at that. It starts at about the 10 minute marker.
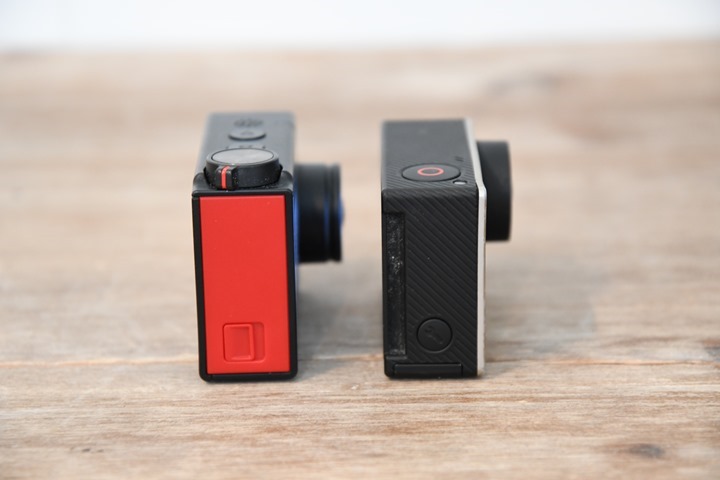
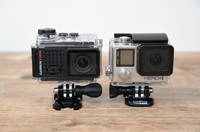
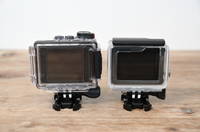
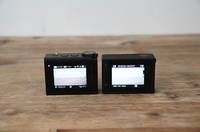
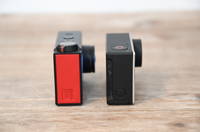
Next, looking at sizes, you’ll see that the VIRB Ultra 30 and GoPro Hero4 units are pretty similar in their cases to each other. The VIRB is perhaps a smidge wider and a tiny bit taller due to the extra button/lever for dedicated photo/video buttons. But you wouldn’t really notice the size unless you had them side by side.
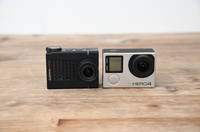
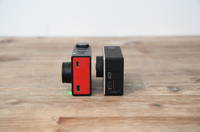
Then we’ve got it sans-case. Again, virtually the same thing here. It’s perhaps a millimeter bigger in height/width, but that’s it. Super similar:
And then finally the weights. Here you can see the weights with and without the cases for both units.
The weights in text are:
GoPro Hero4 Silver w/o case: 78g
GoPro Hero4 Silver with case: 139g
Garmin VIRB Ultra 30 w/o case: 88g
Garmin VIRB Ultra 30 with case: 159g
Keep in mind that one has a GPS chipset and additional sensor support, while the other doesn’t. Not sure that really adds up to 10g extra, but worthwhile considering.
The New Stuff:
So there’s boatloads of new stuff, but let’s focus in on what I think are the key new pieces (aside from 4K resolutions). Those being voice control, the new touchscreen display, and the touchscreen with touch-capable case. There’s other cool stuff like the video image stabilization, the crazy photo burst modes, additional pro mode options, and so on. But I’ll cover those in their respective video/audio sections. Whereas these other things don’t fit anywhere else, so they’re getting their own section.
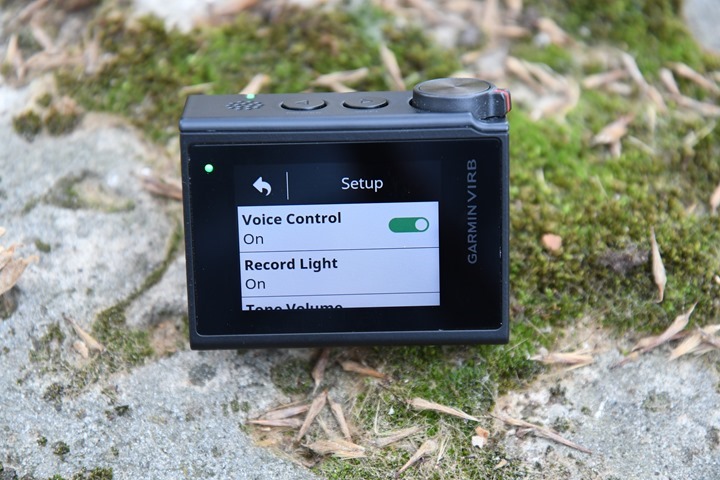
Voice Control – OK Garmin: Following in the footsteps of ‘OK Google’ and others, Garmin has added voice control to the VIRB Ultra 30. This allows you to simply talk to it to take a photo, record a video, or record a highlight. You can turn this feature on/off as you see fit, but it works surprisingly well.
The “OK Garmin” commands available to you are:
“Take a photo”: Takes a photo using whatever photo settings you have configured
“Take a picture”: Exact same as above, but just different wording
“Start Recording”: Starts video recording according to your video recording settings
“Stop Recording”: Stops recording your video.
“Highlight That”: Marks a highlight in your video that the VIRB Edit software apps will notice/use
The way it works is that each time you say ‘OK Garmin”, you’ll see the little camera LED light up briefly as confirmation that it got the command. After that, it’ll blink again when it hears the second part of the command (i.e. ‘Take a photo’). This is most easily demonstrated in this short video I’ve put together on how it works:
Overall it works really well, especially when you’re not moving too fast or too far away. I found it awesome for trail running and just holding a camera out in front of me to grab a photo.
Now one of the gaps here is the ability for the Garmin VIRB Ultra 30 to ‘learn’ new commands. So it’d be nice to teach it that when I say “OK Garmin, Selfie”, or “OK Garmin, mark that”, it’ll use those commands as well. Hopefully we’ll see Garmin move that direction to make it a bit easier to use/remember. The ‘Highlight that’ command specifically was one I’d continually forget.
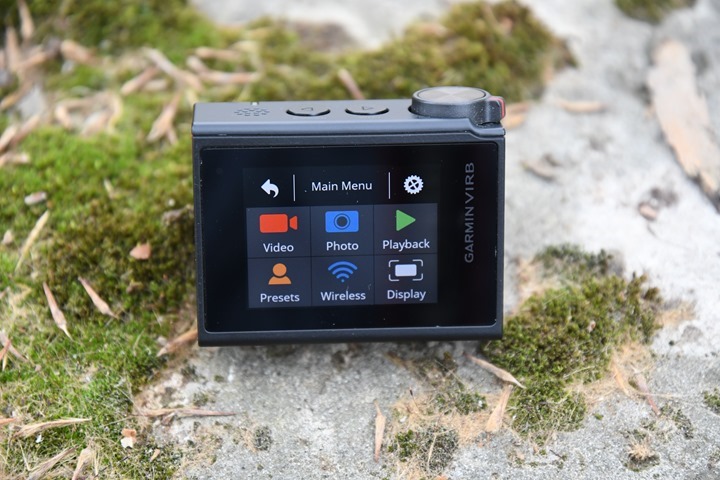
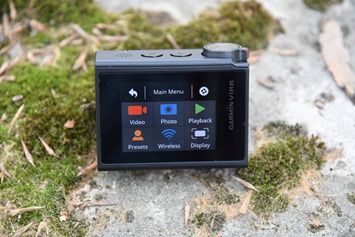
Touch Display: Next we’ve got the touch capable display on the back. This display is very similar (virtually identical) to that of the GoPro Hero4 Silver. It’s full-color and touch capable, meaning you can tap your way through various menus to change settings as well as preview the video coming out of it.
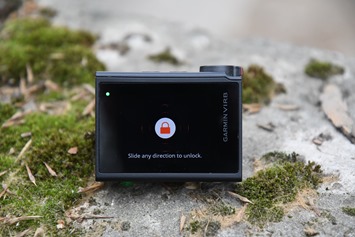
You’ll swipe to unlock the screen, and you can also set a display timeout so that it doesn’t burn through the battery like a campfire. The default is 5-seconds.
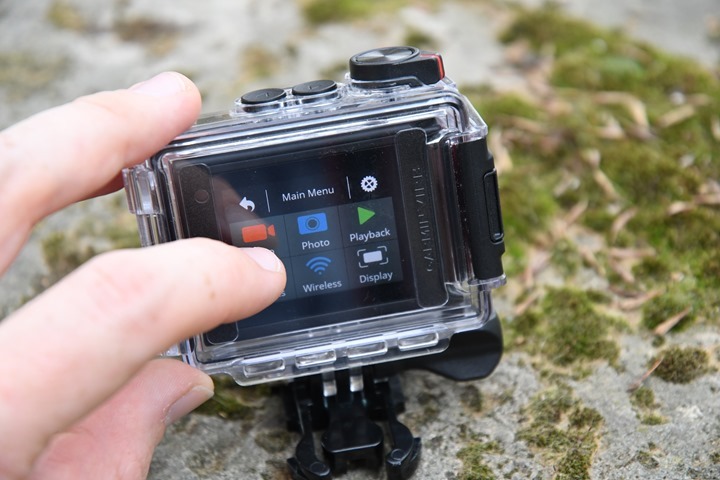
But what’s most impressive here is that it actually works through the waterproof case. Yup, you can swipe the screen and touch and interact with it just like when not in the case. It’s not 100% perfect in the case, but I’d put it in the mid-high 90% range. More than ‘good enough’. GoPro had a plastic soft-screen case for theirs as well, but that didn’t go that deep in water. This is a much better improvement.
Note that you can actually accomplish all touch-screen tasks using the buttons. So if you’re underwater where the touchscreen doesn’t work, you can use the button commands to do the same. Also, the touchscreen mostly works when wet. I used it numerous times in the ocean while swimming and on wet/rainy days this summer. It might take an extra second for the odd missed swipe, but for the most part it was solid.
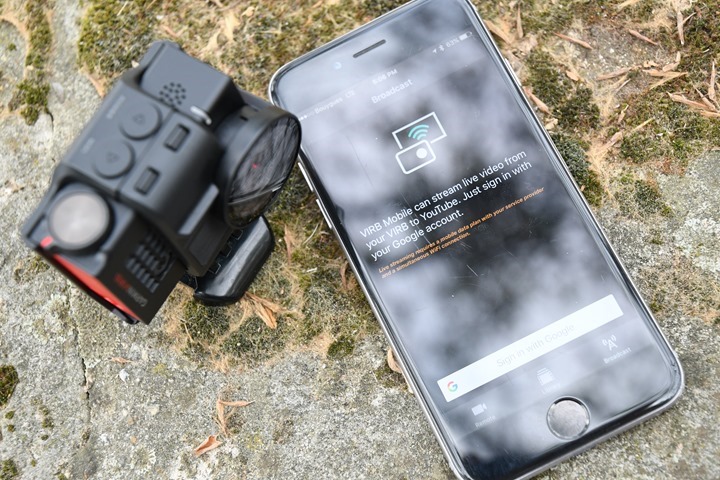
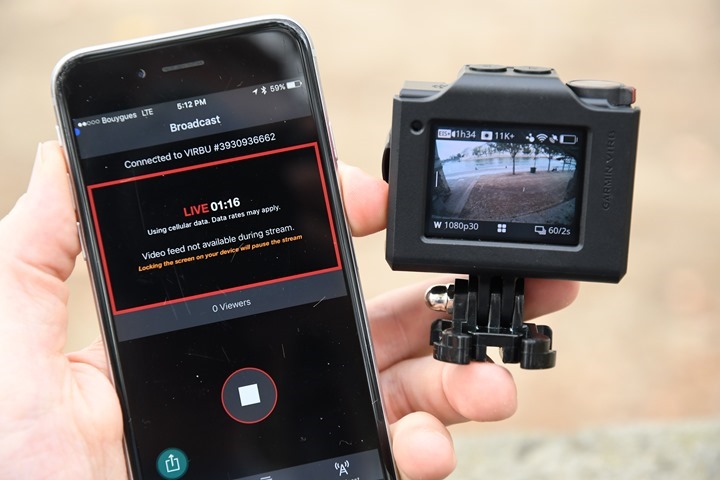
Last but not least, we’ve got YouTube Live Streaming. Now this is only available on iOS at this time (I don’t have an Android date from them), but it allows you to use cellular service to stream directly to YouTube from the camera. To get this going you’ll first need to pair up your cell phone via WiFi. Once that’s done, you’ll crack open the ‘Broadcast’ option on the VIRB mobile app, which will then authenticate you with YouTube.
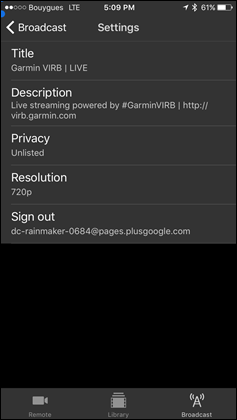
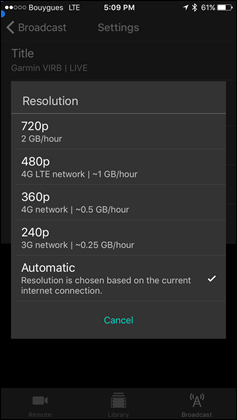
After completion of all the typical YouTube authentication/authorization jazz, you’ll be allowed to hit the settings button on the app and configure the stream type as well as the YouTube live stream details:
You’ll probably want to use the option for automatic bandwidth adjustment, as otherwise you’ll get rough results if you exceed the capabilities of your cellular connection.
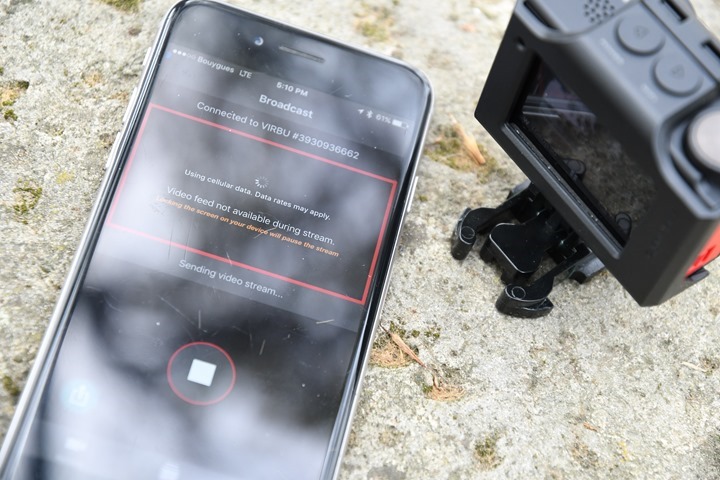
Once that’s done you can press the start button to begin your livestream. Note that it may take a few seconds or more to truly begin, during which time you’ll see this:
Once it begins for real, you’ll see this. You won’t get any indication on the camera itself that it’s livestreaming, which is kinda odd. I’d expect either a red light (it stays blinking green), or perhaps even just a text message saying ‘Live Streaming’ with a YouTube logo.
Now the capability overall isn’t bad per se, but I think Garmin missed the mark a bit here in not allowing data overlays. After all, that’s why you buy a VIRB over a GoPro. I don’t think I need anything super-complex, but allowing me basic overlays like speed, accelerations, and perhaps even ANT+ sensor data (i.e. power/HR/etc.) would go a long way. Today, you just get the default video stream.
Still, I’d imagine that’s a relatively easy thing for them to enable down the road via software updates. So here’s to hoping!
Video Capabilities:
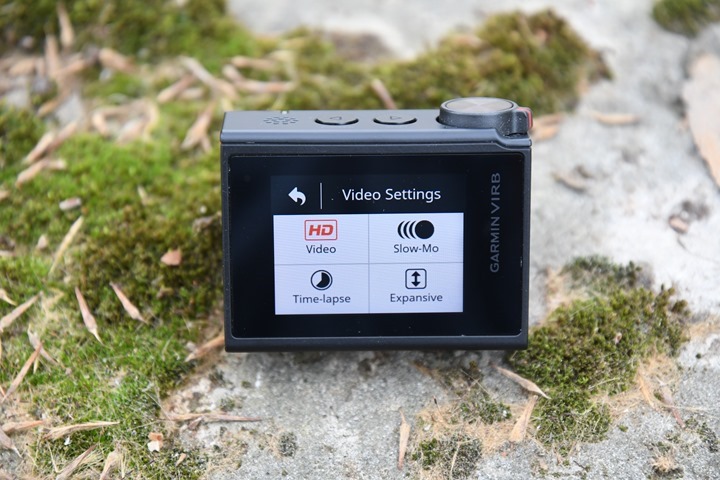
The new VIRB Ultra 30 has a crapton of new video modes, mostly by increasing the upper resolutions and frame-rates available. The key new modes available for most people will be the 4K/30fps, 2.7K/60fps, and the slow-mo modes coming in at 1080p/120fps and 720p/240fps. There are a bunch of other modes out there, but for most folks those are the ones that make it more unique than past VIRB’s. Of course, then we’ve got the new electronic image stabilization (EIS) as well as Travelapse modes.
But first let’s start with a quick look at video modes. Here’s all the available video resolutions:
4K: 30/25/24 FPS
2.7K: 60/50/48/30/25/24 FPS
1440P: 80/75/72/60/50/48/30/25/24 FPS
1080P: 120/100/96/90/75/72/60/50/48/30/25/24 FPS
960P: 200/120 FPS
720P: 240/120/60/50/30/25 FPS
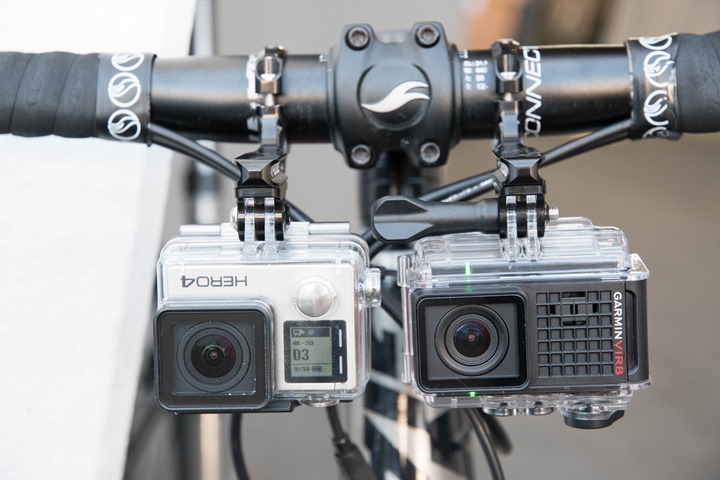
So how does this new 4K footage actually compare to something like the GoPro Hero4 Black? Well, pretty darn good in my opinion. In order to enable you to do a side-by-side comparison, I’ve taken 4K footage from both units ridden on a bike that were side-by-side. I then split-screen the two units and smashed it into a single video below:
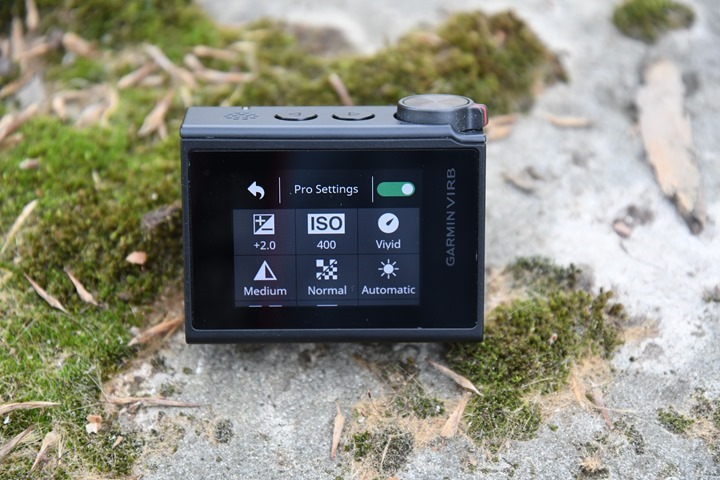
Now what I’ve seen in my testing is that in general the VIRB Ultra 30 is very good at the default settings, but it can sometimes overexpose video on bright sunny summer days, especially in the sky at certain times of the day. You can address this though via the Pro settings, which have been expanded in the VIRB Ultra 30.
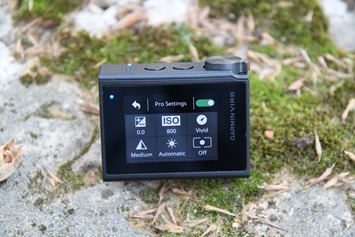
The Pro settings allow you to set everything from exposure stops to white balance to ISO modes. It’s super powerful, in particular at ‘edge case’ type scenarios, such as in dark conditions or overly bright conditions.
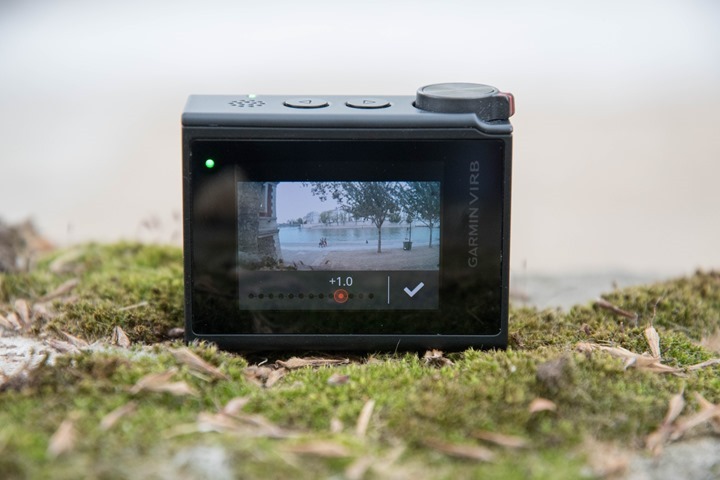
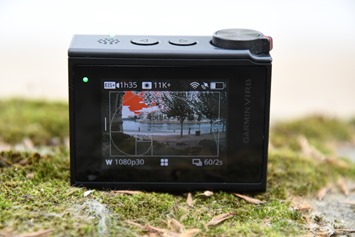
What’s even cooler is that you’ll get a preview window for live preview of these settings. This way you aren’t flying blind in trying to set them and seeing how the camera reacts:
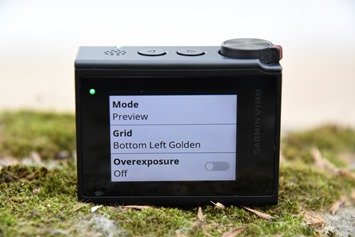
Along those same veins is the ability for the camera to ‘overlay’ overexposed sections onto the picture in red. This option you can turn on won’t impact the recorded video, but rather just the LCD on the back. Anything blinking in red is overexposed:
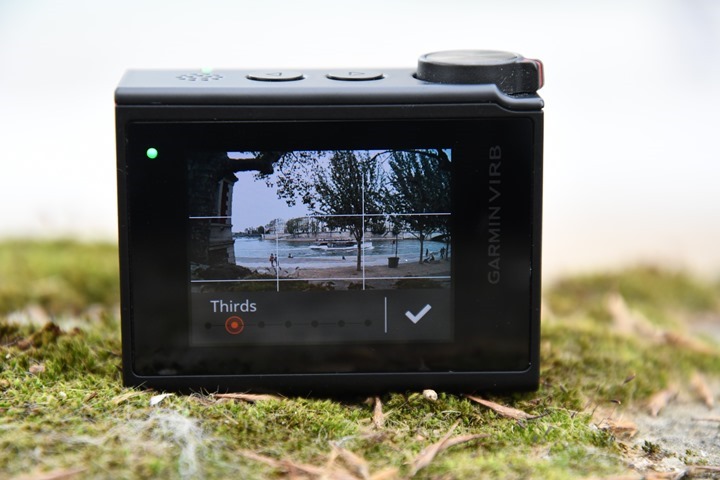
Right next to that feature in the menus is the ability to overlay various ‘rule patterns’ onto the LCD, such as the rule of thirds and other patterns (seen above also on right image):
Again, these don’t go into the recorded video itself, but just for the display. Sometimes it’s a handy reminder on getting things a bit cleaner looking.
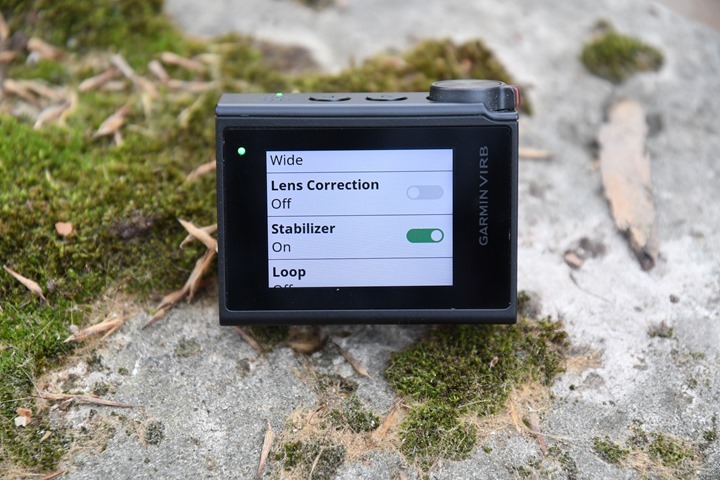
Another function you have for getting cleaner video is the ability to enable electronic image stabilization. This works by cropping a portion of the higher resolution image down to remove jumpiness. It’s kinda like a poor man’s gimbal. It’s not quite as perfect, but it certainly helps.
This setting is enabled in the menus, and can only be enabled up to 1440p, not beyond it (so you can’t stabilize 2.7K or 4K footage):
To demonstrate how this works, I’ve once again ridden a bike across a bunch of different chunks of terrain, with two cameras side by side. On one VIRB the unit had EIS enabled, while the other had it disabled:
As you can see there’s clearly a noticeable difference. At the same time, you may want to consider doing it in software in case you have higher end software (i.e. Final Cut Pro, Premier, etc…). I find that I’ll get slightly better stabilization out of FCPX than I would the Garmin units. But of course, FCXP and Premier are pretty darn expensive pieces of software and require a lot of time to stabilize footage. Or, you can use a gimbal (more in that in my accessories section below). But ultimately, yes, it makes a difference and is definitely worth it if you’re shooting at lower resolutions.
Switching to audio, I think it’s probably worthwhile pointing out just how good the internal mic quality is with the wind protection. I’ve often used the VIRB XE (older units) in on-bike demos because the mic performance is so good in the wind. People regularly ask me what mics I use there, and are surprised to find it’s the on-camera mic. The same is true here. The on-board mic performance is great, even in the underwater case. An example of that is this video I shot below about a swimming product. Everything in the below video was shot on the VIRB Ultra 30 – including the sound, heck, even in that underwater bit the audio was from the VIRB Ultra 30.
You can still use an external mic with it if you want, and certainly for certain situations you might. That mic can either be wired, or via Bluetooth for certain supported mics. That’s a little known capability that probably should get more credit than it does.
Finally, we’ll wrap-up with two time-lapse modes – one of which is new. The Garmin lineup was really the first to introduce a timelapse mode that automatically converted the ‘photos’ into a single continuous video. Previously on the GoPro you had to take all those photos and manually compile them after the fact on a computer. Then in 2015 GoPro added the ability to have a video timelapse mode as well. These days it’s pretty much the norm.
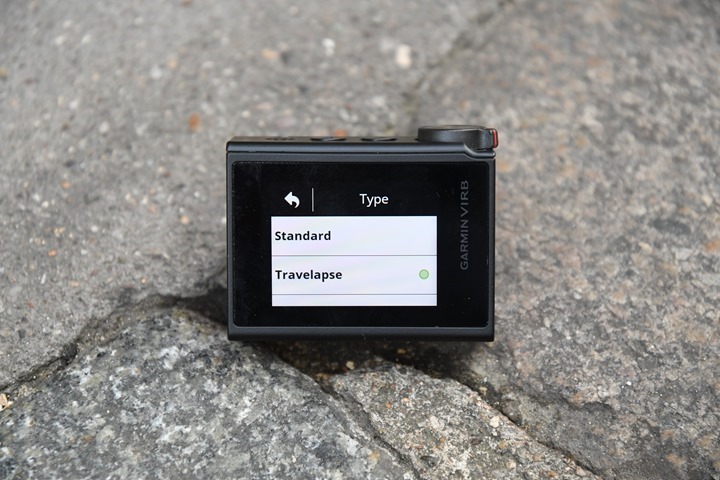
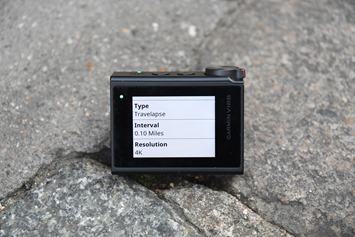
But Garmin has once again pushed into a new area here on action cams, which is ‘Travelapse’. That mode allows you to have the timelapse be distance triggered instead of time triggered.
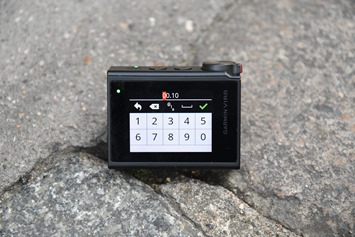
So with a regular timelapse the camera is triggered at a set time interval (i.e. every 1 second). But in travelapse mode, it’s triggered using the GPS based on a distance interval – such as every .1KM or .5MI, or anything you want.
This is particularly useful for longer drives or airplane flights. It’s also useful for scenarios where you want to ‘even out’ the impact of different paces/speeds, for example, sitting in traffic or slower roads. It works pretty well. Here’s a tiny snippet from a coastal road in France I shot. On this road we were stuck in traffic in some cases, yet going on faster roads in others. But it all looks the same.
Again, it’s just another option for getting the right shot. And that’s what many of these new VIRB Ultra 30 options are all about, adding creative ways to get more unique shots. The more unique and innovative shots someone sees in your edit, the more likely they are to not skip ahead to watch cat videos elsewhere on YouTube.
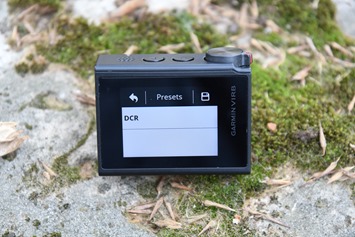
Speaking of options – one last item worthwhile noting is the new option to save presets. This allows you to save/export all your camera presets in one easy bundle for applying to other cameras, or, just to quickly save them as your preferences for Skiing vs Cycling. It’s super cool:
This sort of thing really appeals to the Hollywood crowd that use action cams (for example, MythBusters was famous for this), and want to easily validate/apply settings across a large number of cameras. Of course, for the regular consumer, it just makes it easy to quickly switch all your configured options for a given collection of settings at once.
(Note: There is some footage from a pre-prod unit in the Ibiza clips, though the only difference between that unit and the final unit was an update to the GPS chipset – which I’m told means that it would only impact any data overlays in those Ibiza clips, which I didn’t end up using there.)
Photo Capabilities:
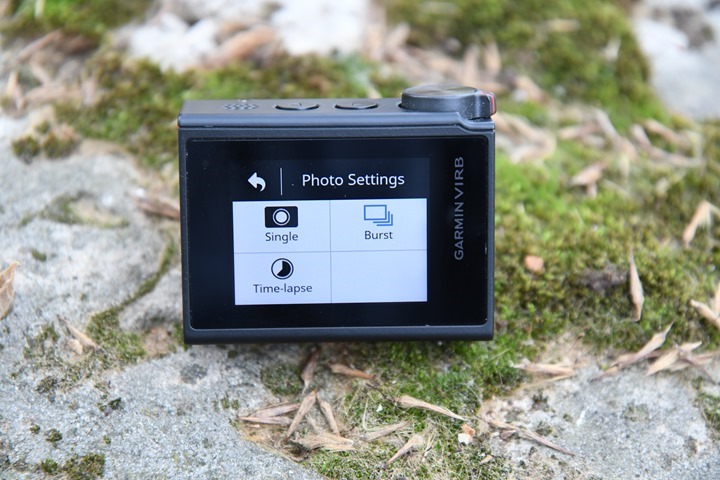
Next we’ve got the ability to take photos, be it a single photo or a crapton of photos in burst mode. What’s unique about the VIRB compared to current generation GoPro cameras is that it’s always had a dedicated photo button. So with the VIRB cameras you have the slider lever for recording video, and then a button for taking a photo. The button will trigger the camera with its F/2.6 lens to take a photo, typically at 12MP.
This nifty little chart from Garmin has the exact field of views listed:
Additionally, in most resolution modes (not 4K) the camera can also take a photo in the middle of recording video – which is handy in cases where you’re trying to get that perfect photo but don’t want to risk the chance of missing it – so you use video as a backstop.
With the VIRB Ultra 30 you’ve got a boatload of new photo modes, but most notable are the higher end photo settings that push the limits on the burst capabilities – upwards of 60 frames in 1 second at 8MP, or in 2 seconds at 12MP.
Like the video modes though you’ve also got the ability to enable Pro settings, which will allow configuration of features like white balance, ISO, exposure, and more.
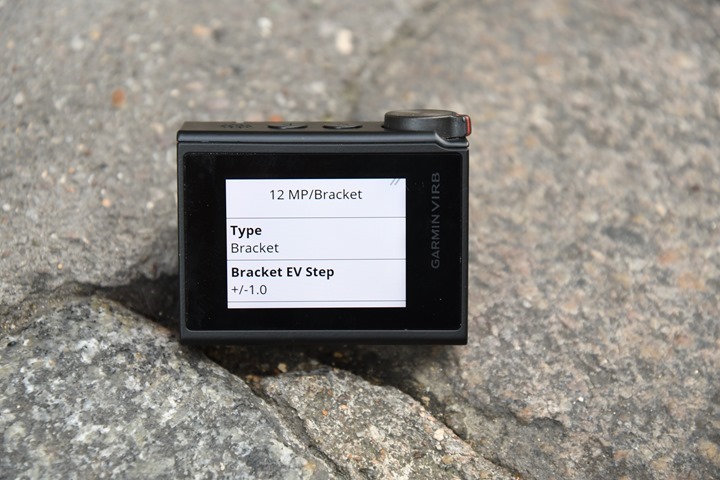
In fact, you’ve even got exposure bracketing options, which creates HDR style photo sets:
I found that out of the box the camera in the default settings did well for most daylight scenarios, but it would struggle a little bit in low-light scenarios using the defaults. However, with the Pro mode if I reduced the ISO a bit I could usually recover that detail and clarity, as long as the platform was semi-stable. For example in sunset timelapses or even travel-lapses.
This is probably a good time to point out the difference between the timelapse option in photos mode and the timelapse option in video mode. Within the photo mode you’ll get a gigantic pile of photo files at the end of it, whereas in the video mode you’ll get a video file (in 4K). Generally speaking if you plan to just take that snippet as-is, I’d go with the video mode. Whereas if you plan to do more editing later on, then you can use the photos at a much higher resolution for zooms and such. But again, that requires 3rd party editing tools (and skills) to put together. Not hard, but just more complex.
Here’s a random gallery of pics taken from the camera over the course of the summer:
As you can see, the shots turn out fairly vibrant. Of course, anytime you see action cam sample shots keep in mind that most will be carefully selected to find the most visually interesting photos. No different here. I could show you a bunch of pavement photos, but that’s not terribly interesting. But, visually interesting photos also are more difficult for a camera to achieve. For example movement and bright colors like reds can easily throw off a camera. So it’s not just a case of picking bright colors to get pretty pics.
Overall from a photo standpoint I’m reasonably happy with the quality. I was able to use it as my go-to camera the last while for taking shots on the run of watches (and me) and such, which is what I’ve often defaulted back to the GoPro Hero4 Silver for. But this easily took that spot for me.
Sensors and Data:
Of course, one of the biggest reasons to choose the Garmin VIRB series is for its sensor and data overlay support. This allows you to see data metrics such as speed, altitude and distance. Not to mention acceleration and g-forces. Assuming you don’t have any sensors supported, here’s the official listing of data types you can add to your videos:
Data Types (without sensors): Speed, Pace, Altitude, G-Force, Orientation, Hang Time, Jump Height, Jump Distance, Rotations in Air, Jump Count, Distance, Grade, Relative Elevation, Vertical Speed, Pitch, Roll, Course, Bearing, Coordinates, Track Shape and Position, Lap Times (Automatic/CC, Manual), Lap Count (Automatic/CC, Manual)
But it’s also the support for sensors, such as ANT+ Speed/Cadence sensors, power meters, heart rate straps, and even vehicle sensors (like I demo’d with the VIRB XE in this video). All of these can be found in the sensor pairing menu. Note that for fitness sensors they have to be ANT+, whereas for other sensor types (such as automotive) they can be Bluetooth. It even supports Bluetooth headsets/mics as well.
The data is captured to the VIRB Ultra 30 anytime you have the unit turned on, even if not recording. This is handy if you want to have a backup data track to your other devices.
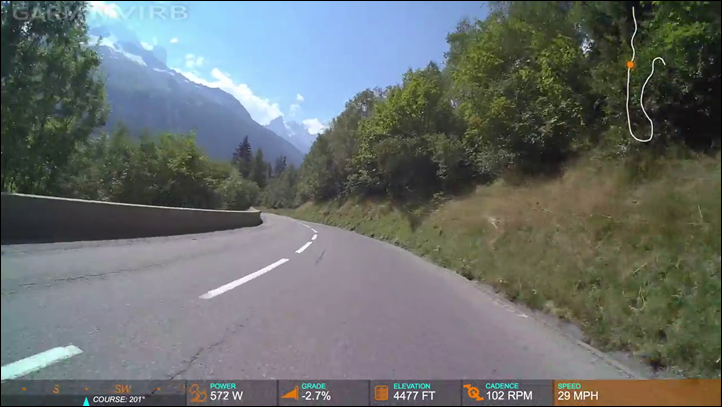
Then, once in VIRB Edit you can see all of these data sources and overlay gauges onto the video. You can customize these overlays in numerous ways, but I’ll cover that in the next section.
It’s worth noting that Garmin has upped the sampling rates for certain types of data with the VIRB Ultra 30, to the following levels:
GPS: 10 Hz location capture
Barometer: 25 Hz elevation capture
Accelerometer: 100 Hz force and motion capture
Gyroscope: 100 Hz rotation capture
Compass: 100 Hz bearing capture
Now one oddity though is that there (still) isn’t any way to configure the altimeter in the unit. Sometimes the data comes out fairly wonky, and so it’d be ideal to be able to set it or otherwise calibrate it. You can reset/recalibrate the altitude afterwards in VIRB Edit, but that’s far more tedious than just doing it at a nearby marker in the mountains or using some other known altimeter source.
Mobile & Desktop Apps:
When it comes to editing, Garmin offers the VIRB Edit apps. These are available on desktop and mobile, and allow you to overlay data from your activities on top of videos.
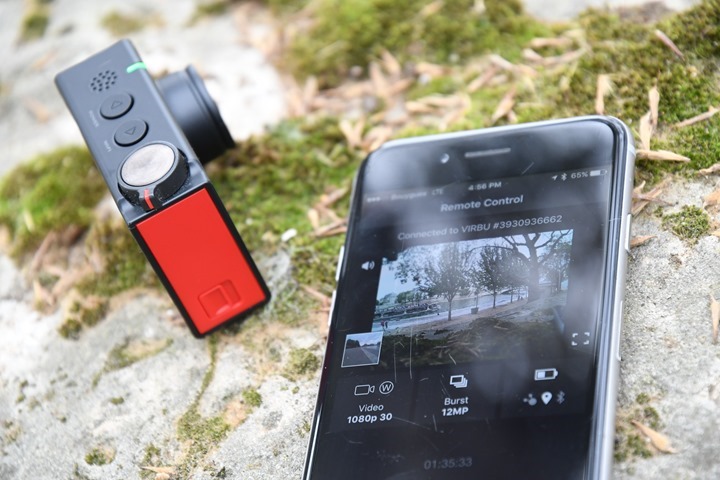
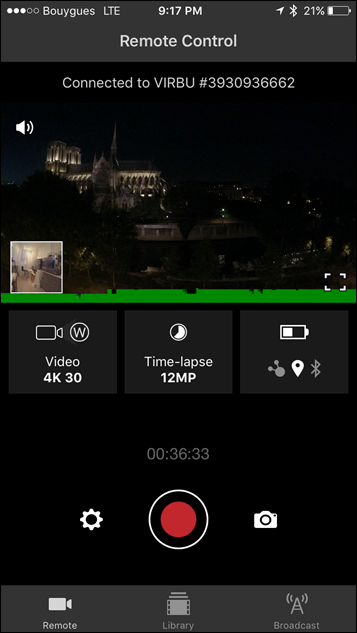
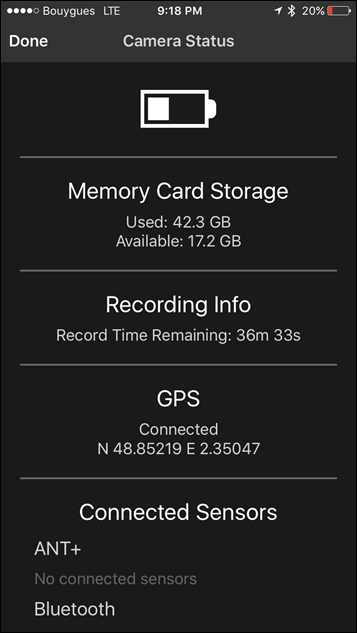
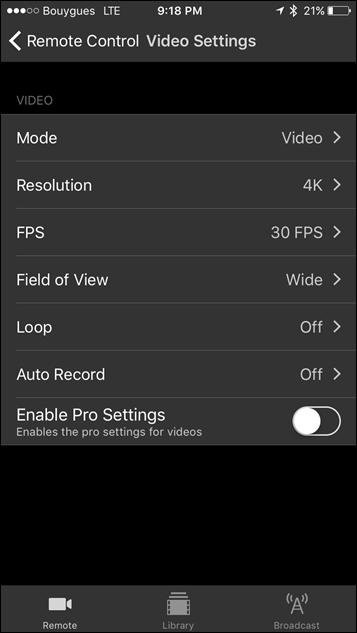
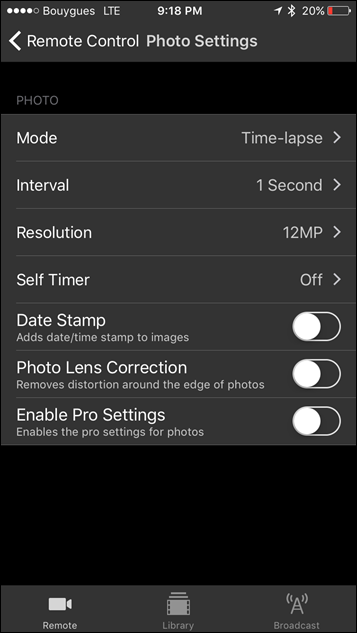
On the mobile front, the app allows you to preview the screen and change settings on the fly – pretty much like we’ve seen before.
You can also download photos/videos from the VIRB Ultra 30 to your phone.
Where it gets more unique is the ability to create overlays from the mobile app onto videos for sharing, all from the phone. The same goes for the ability to have it automatically make a montage/compilation from your videos that day. In my testing, this kinda works. It’s not perfect and doesn’t necessarily make the most dramatic video – but it does do the trick.
The only downside to the VIRB mobile app that I’ve seen is that on iOS it tends to be fairly slow to enumerate photos/videos, quite a bit slower than the GoPro app is. This is something I’ve seen in the past with the VIRB XE, so perhaps it’s just me. Either way, I wish it was more optimized.
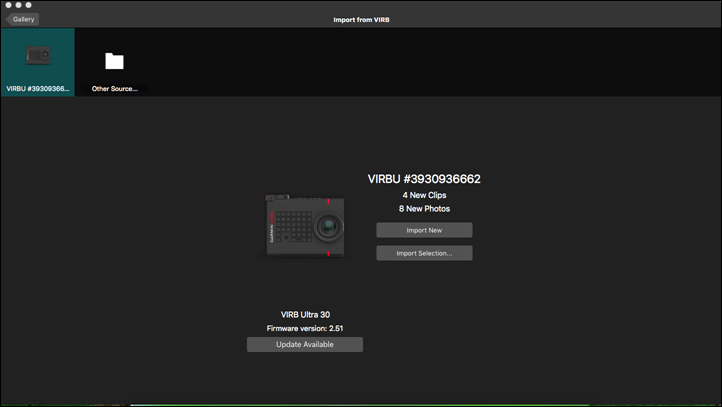
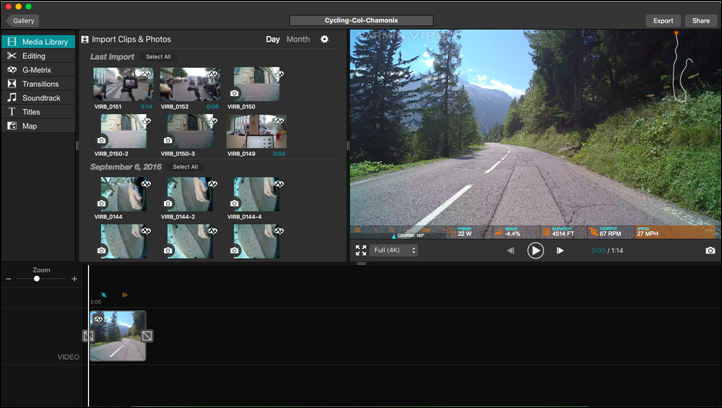
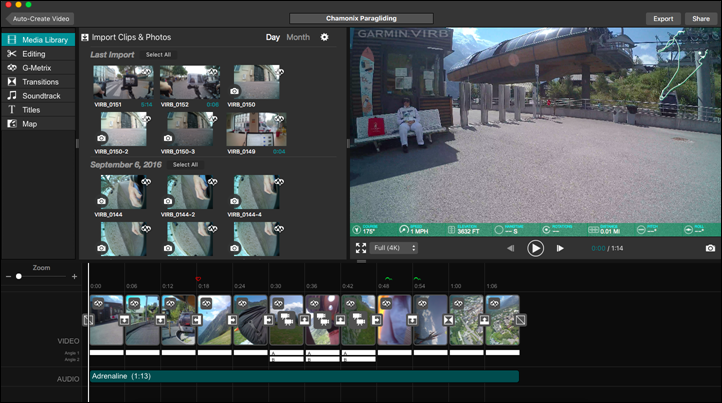
Next is the desktop app. This is available on PC & Mac, and allows for much more advanced video editing. You’ll start by importing the clips into your library. You can change this library location, and I’d recommend you consider that if you have larger hard drives other than the default one selected.
Once the video is in you can combine clips together to make a video:
In many ways this works fairly well as a basic video editor. Having spent a lot more time in Final Cut Pro X lately though, I find that I struggle a bit with the more simplistic layout. Whereas a year ago before spending that time I didn’t mind. For my workflow now I just simply export out the snippets I want and then pull that into FCPX.
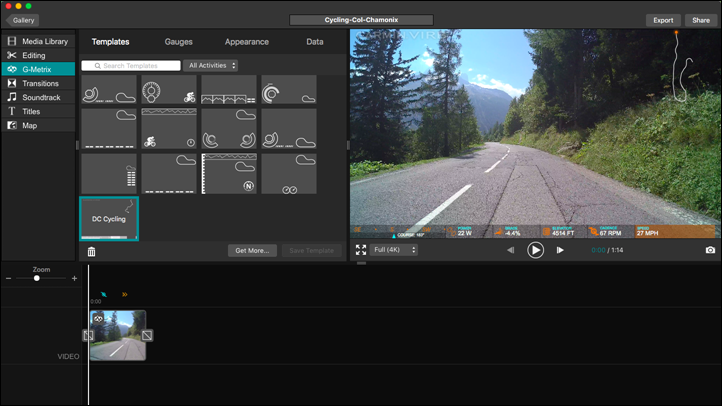
In any case, the most important piece here is the G-Metrix overlays (templates and gauges). It’s here that you can apply zillions of existing templates or create your own. They have numerous styles in the defaults, and virtually all of them can be customized/tweaked.
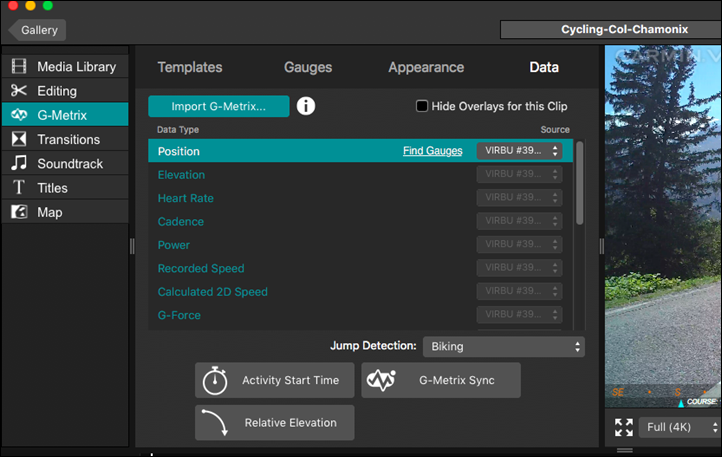
You can also specify where the data comes from. For example, if you were recording on a Garmin head unit and for some reason wanted that data instead, you can change the data source:
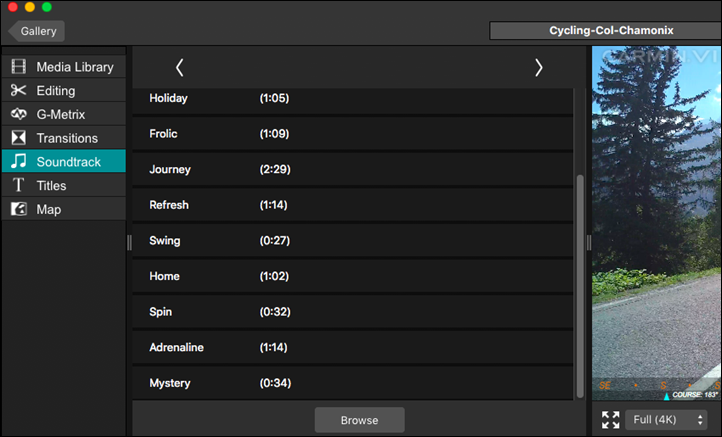
Like most apps out there, they include a handful of audio soundtracks to use free of charge (so you don’t get flagged in YouTube later). And you can add in transitions and titles as well.
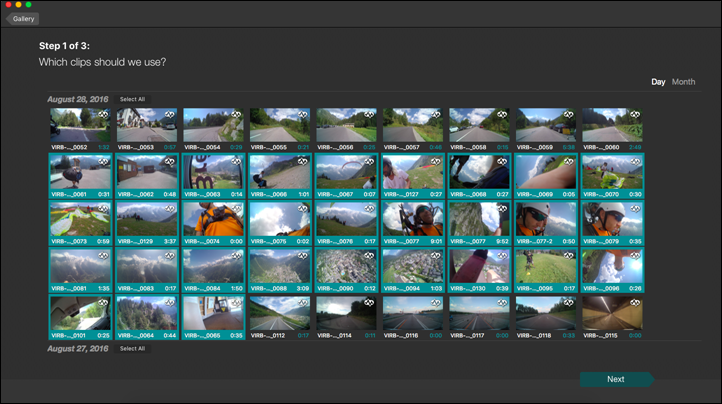
Finally, you can also use the ‘Auto Create Video’ option and select a big pile of clips to have it automatically put together a nifty video. Here for example I selected all of the video clips that I had created during a paragliding session (about 30 minutes long):
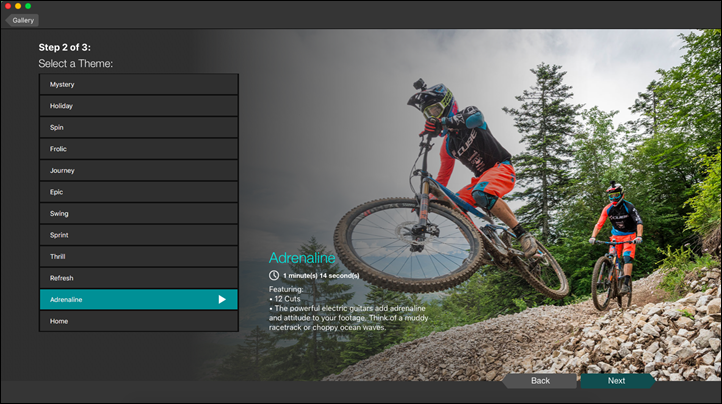
Then I selected the specific theme, which drives the music selection and ultimately the length.
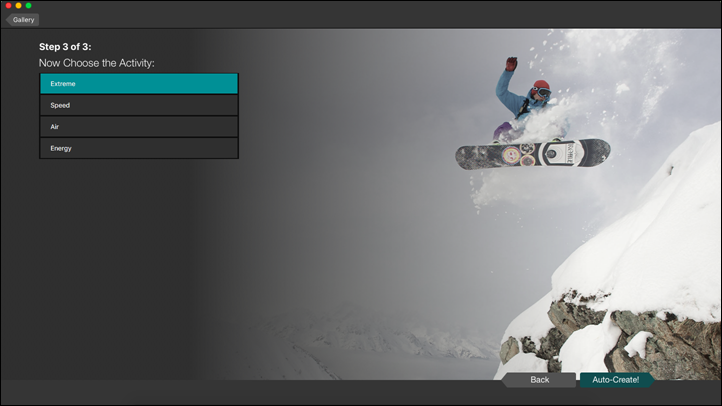
Finally, I can select the type of activity within that:
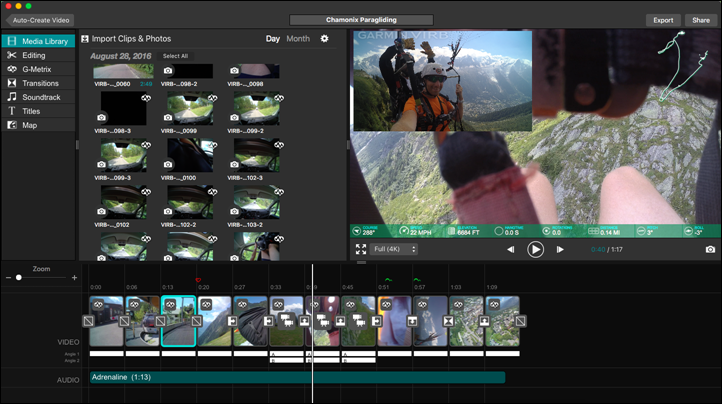
A short bit later (like, a few seconds) it’ll come up with a video snippet to preview. You can edit clips if you want. For example, in my case it had three intro clips of me getting on the lift. That seemed excessive, so you can tweak it. You’ll notice it has aspects like heart rate spikes and jumps triggered within the video above the timeline.
And heck, it even does picture in picture automatically. In this case, the belt was blocking the chest cam (so I can’t blame Garmin for that), but you get the idea (or picture).
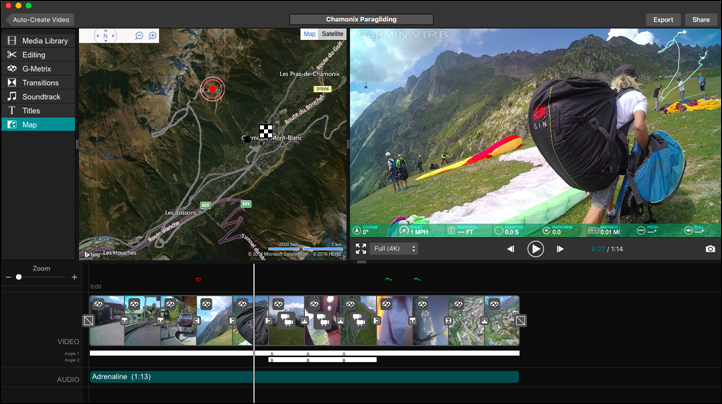
Finally, you can view the map as well if that helps with aligning clips.
Once that’s done, you’ll whack the export button and select your export settings before getting the full clip. Below is the auto-edited clip (no modifications from me) straight from the VIRB Edit software. As you can see, it’s OK, and could use some minor tweaks. But I found this did a much better job than TomTom’s automatic editing software.
As I’ve said in the past, I’ve always been super-impressed with the VIRB Edit team. They’ve continued to push out various updates to the software for years, almost monthly. These little edge cases eventually add up to a fairly powerful piece of software, even ignoring the fact that it’s free. Well done.
Mounts, accessories, and drones:
When it comes to accessories, the VIRB Ultra 30 works with pretty much any GoPro related accessory – which is the key thing you need to know. It uses the same mounting system as a GoPro action camera, though Garmin does have some funky quick release mounts of their own if you’re so inclined (don’t be).
For much of my usage I ended up using a blend of mounts for the cameras. For example, while cycling I tended to place them on the K-Edge aluminum bike mounts:
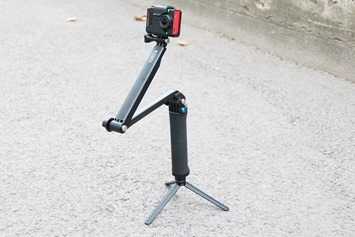
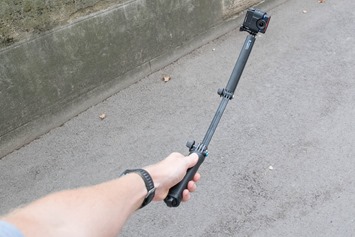
I also attached one in my back pocket while cycling and running to a GoPro 3-Way stick. It’s my favorite for getting all sorts of creative shots:
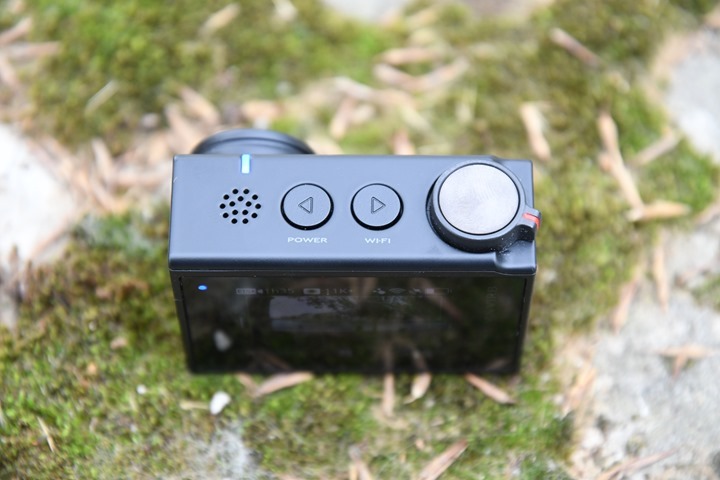
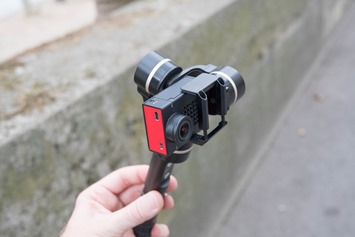
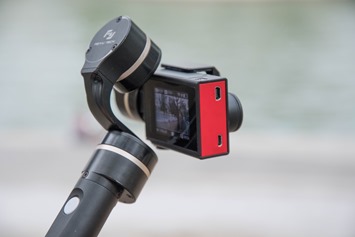
But what about some of the super-smooth shots? Well for that I went with a Gimbal, specifically the Feiyu Tech gimbal. Now this isn’t quite a perfect fit. The buttons on the VIRB Ultra 30 are exactly where the clamp arms are on the gimbal, so if you have it nice and snug, it’ll keep turning the WiFi on and off constantly. But, if you just pull out the clamp arms a little bit, then all is well. That was fine for running with it – but I wouldn’t actually cycle with the gimbal that way (at least in traffic), as one solid jolt and it could come flying off.
Speaking of flying, I did use it with a drone. In fact, if you look carefully at one of the Garmin marketing videos you’ll see the tell-tale cartoon illustration of a DJI drone, and that’s what I ended up using. No, not my nice new DJI Phantom 4, nor even my Phantom 3, but rather my older Phantom 2 with an H4-3D gimbal. That unit got to leave the retirement home and even got a new gimbal on it for some VIRB Ultra 30 flights. For a better look at how I did it, I put together this short video:
As you can see, it’s not a perfect fit. Of course, you could easily use a non-gimbal solution on the GoPro mounts, but honestly that’s lame (and everyone knows it’s lame). If you want silky-smooth footage in the air, you need a gimbal – hence the stuff I had to rig together.
Still, with the size of the unit being very close to the GoPro, you can get away with a lot when it comes to GoPro gimbals. But it’d be really nice if Garmin worked with one of the gimbal companies to make something that fit the camera well. Perhaps with the upcoming release of the Hero5 we’ll see Feiyu Tech release a new gimbal variant, and perhaps that’ll work with both the Hero5 and the VIRB Ultra 30. Either way, gimbals will quickly become commonplace (and I suspect even by companies like GoPro themselves), so Garmin will need something to stay competitive in that portion of the market place.
Comparison Charts:
I’ve added the Garmin VIRB Ultra 30 into the product comparison database, allowing you to compare it against other action cams I’ve reviewed. In the case below, I’ve compared it against the Garmin VIRB XE and the GoPro Hero4 Silver and GoPro Hero4 Black. I figure those are the closest in features to the Garmin VIRB Ultra 30. But you can mix and match against all cameras I’ve reviewed in the past here and make your own charts.
| Function/Feature | Garmin VIRB Ultra 30 | Garmin VIRB XE | GoPro Hero4 Black | GoPro Hero4 Silver |
|---|---|---|---|---|
| Copyright DC Rainmaker – Updated September 6th, 2016 @ 9:35 amNew Window Expand table for more results | ||||
| Price | $499 | $399 | $499 | $399 |
| Availability | Aug 31st, 2016 | Summer 2015 | Global | Global |
| GPS builtin | Yes | Yes | No | No |
| Altimeter builtin | Yes | No (uses GPS elevation) | No | No |
| Water Resistant | 131ft/40m within case | 50m | 40m with included case | 40m with included case |
| Accellerometer | Yes | Yes (+ Gryoscope) | No | No |
| Video Preview Screen | Yes | No | Accessory | Yes |
| Voice Control | Yes | |||
| Recharges via | Mini-USB | USB | Mini-USB | Mini-USB |
| Removable battery | Yes | Yes | Yes / 1160 mAh | Yes / 1160 mAh |
Again – remember you can create your own comparison charts here using the product comparison tool. Enjoy!
My Advice:
So, can’t decide?
Well, I’m probably not going to make your life a lot easier…yet. At present, we’re merely a few weeks away from GoPro’s announcement of the long-awaited Hero5 lineup. So unless you’ve got some urgent trip to Tahiti with an Olympic volleyball team next week, I’d probably wait till the end of the month to make any new action cam decisions.
That said, I think it’s fair to say that if you had to buy an action cam right now the Garmin VIRB Ultra 30 is the most capable action cam on the market. There’s not really much to debate there. One could debate nuances in quality between the Hero4 Black and the GoPro VIRB Ultra 30, though I suspect that gets down to personal preferences (as it almost always does when two cameras are very close).
Right now Garmin has a massive set of features related to showing sensor data. I expect they’ll continue to win that ‘war’ against GoPro, even/if GoPro adds GPS and basic sensor support. You have to remember that Garmin’s been working on adding sensor data to videos now for about 3 years, so they’ve got a solid head start there. Plus, we’ve never really seen GoPro nail software on the first attempt. So I would bet it’ll take a bit of time for things to settle out.
On the flipside, I suspect we’ll see the Garmin end up being $100 overpriced. It’s inconceivable to me that GoPro will come out with a $499 camera with the same exact specs as they did 2 years ago. GoPro’s taken a beating in the industry for being seen as overpriced. So my bet is that they come out at $399 with all the features of a Hero4 Black and Hero4 Silver merged. If they did that, then Garmin is again, overpriced.
On the bright side for Garmin – their product is really solid, and I think it’ll stand up to GoPro’s entrants. So it would merely need a price adjustment and they’d be hyper competitive.
Either way, come back at the end of the month and I’ll let ya know.
Summary:
Okey doke – many thousands of words and numerous thoughts later, I’ll try and wrap it all up in a tidy bow. In short, Garmin has delivered what is easily their best action camera to date. No question – they nailed it this time. On the features front they not only played catch-up in terms of comparing to GoPro’s feature set, but they exceeded it with unique features not found on action cams to date (i.e. voice control, travelapse, higher speed data sampling rates for g-forces, etc…). Basically, they’ve got a winner technologically.
However, it’s not all smooth pavement ahead for Garmin. They’ve got two hurdles to overcome with this camera, and neither is the technology. First is of course the marketing power of GoPro, which is now synonymous with action cams. But second, and more importantly will be the pricing. If GoPro releases at Hero5 model at the same or better specs as Garmin’s at $399 in a few weeks, then Garmin will have had the tablecloth pulled out from them in the most unceremonious of manners. If GoPro releases at $499, then Garmin’s in a really good spot (though, they’d be better by undercutting GoPro’s pricing to makeup for lack of brand recognition in the action cam market).
No matter the case, or the price, the camera’s tech is solid and Garmin’s done a great job this time around. As I noted at the beginning of the review, I was not much a fan of the previous Garmin VIRB X/XE cameras for a bunch of reasons – but they seemed to have listened to the feedback of the whole community this time and really made a solid entrant.
With that – thanks for reading and feel free to drop any questions below!


