Over the last few months Zwift has been occasionally teasing their ambitions around expanding the cycling focused platform to other interests. One of those being running. They’ve tweeted out various screenshots of running on Zwift, and I believe even shown it at a few Zwift events (they’re doing a roadshow of sorts).
This is all following their semi-recent introduction of Zwift on iPad into beta. In fact, for my testing of the Zwift running pieces, I exclusively used the iPad app, though doesn’t mean it’ll be limited to that in its final form.
I’ve put together a quick overview of how it works, what you need, and everything else you might need to know about it. However, before we go too far, note that this isn’t publically available yet. Yet being the operative word. Zwift is being a bit secret squirrel on when it’ll be pushed out wider in beta form, but I think it’s safe to assume it’ll be here before Santa is. Or I could be totally wrong.
The Gear You Need:
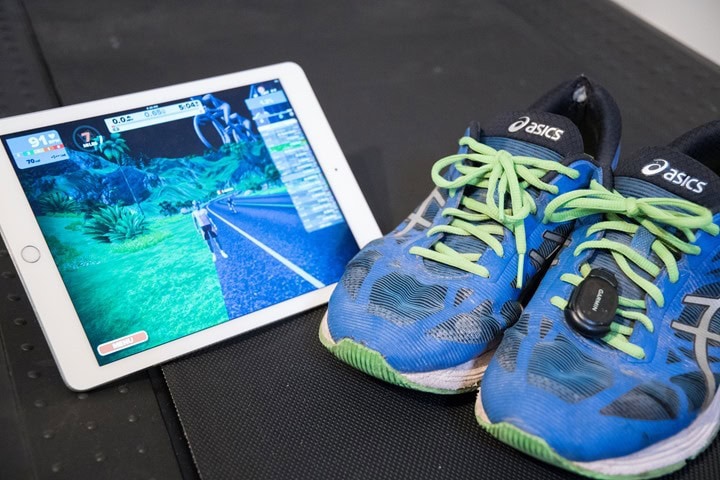
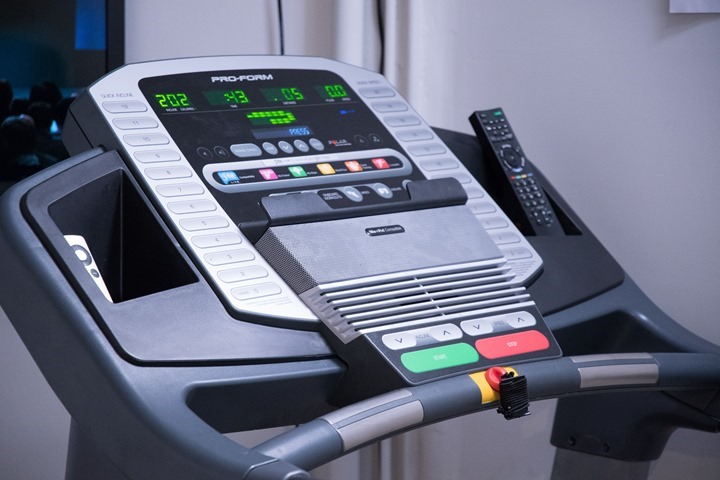
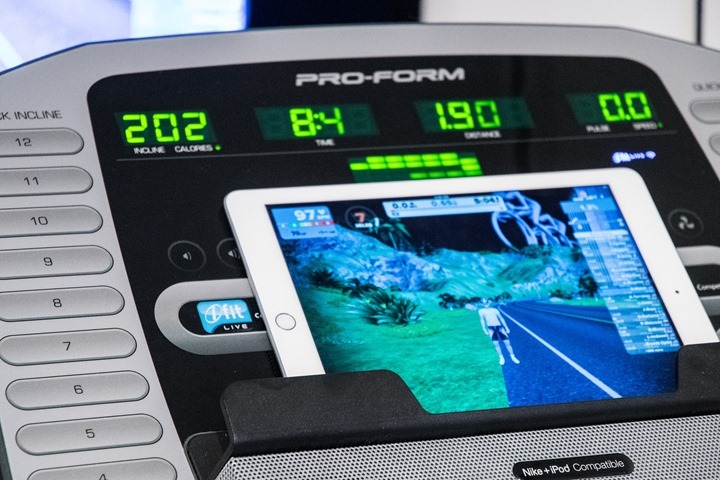
Now like the cycling side of Zwift, this is focused on indoor running. So on the cycling side you needed a trainer, and in this case you’ll need a treadmill. However, unlike the cycling side you don’t actually need to own a treadmill. See with the iPad app it makes it super portable and easy to take to a gym, hotel workout facility, or that strange neighbor that lets you run on their treadmill. Of course, you will need access to WiFi though, or have cellular access on your iPad. The interwebs are still required.
Next, you’re gonna need something to display Zwift. Right now I’m using the iPad app, since that’s what it’s been enabled in. However, when I asked Zwift they said that the plan is for it to be available on all platforms. Given the pairing process is virtually identical to that of other sensors – there’s no hard block on one hardware type or other. You’re just changing the little human from being a cyclist to a runner. That’s it.
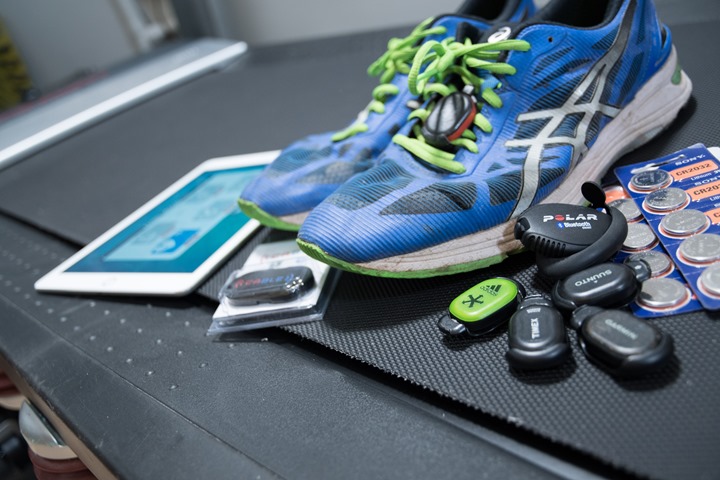
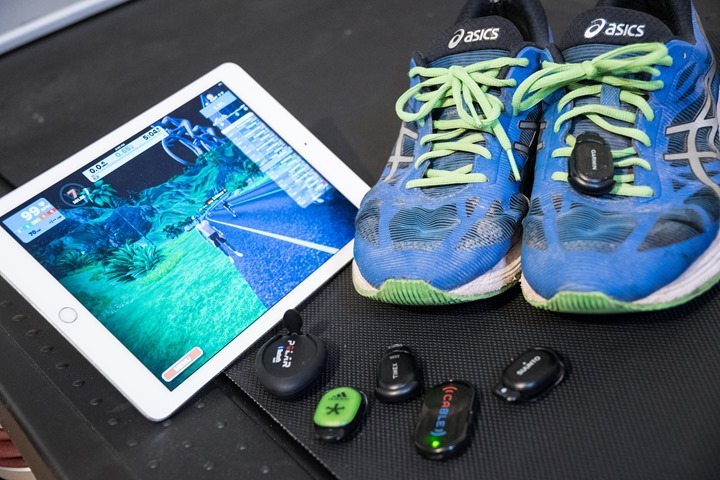
Finally, and most importantly – you’re going to need a footpod. And this is where things somewhat hit the crapper. See, right now with the iPad app they only support Bluetooth Smart footpods, and specifically, Bluetooth Smart footpods that actually support the standard Bluetooth Smart running footpod spec. I call this out specifically because there are numerous BLE footpods out there, but many of them do their own dance to their own apps. Those won’t work.
While I have not found or tested every Bluetooth Smart claiming footpod on the market, I have tested the two most popular (aka, the only two out there):
1) Polar Bluetooth Smart footpod (the one that’s the size of a Twinkie)
2) Adidas Bluetooth Smart footpod (nice and small, but be super-careful you don’t get the older ANT+ version)
Both of those I’ve tested with Zwift with no apparent issues.
So what about ANT+ footpods? Well, Zwift says that once they have the PC/Mac versions available, you’ll be able to use them there. But of course, that won’t be portable to a gym (though, I guess if you have a tablet that might work). So that’s a bit of a bummer. Zwift does continue to shun ANT+ when it comes to iOS, even though there are some (albeit cumbersome) adapter options.
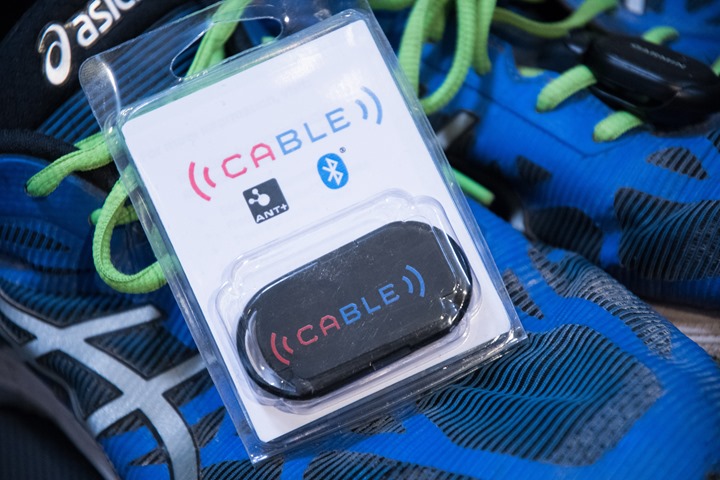
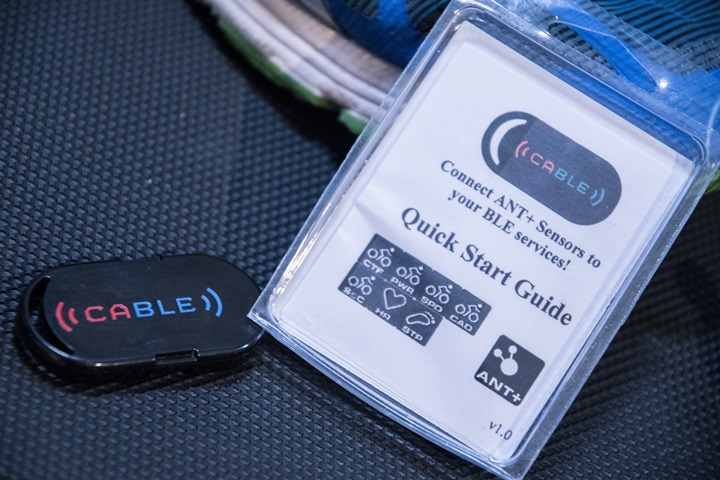
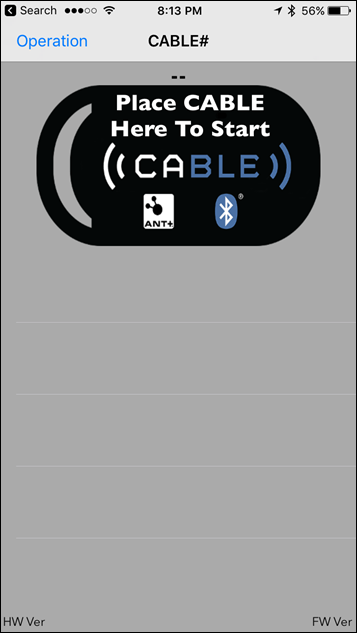
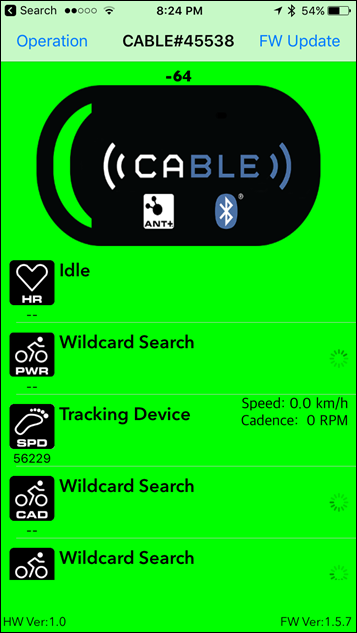
However, I do have a rabbit up my sleeve. Actually, two rabbits, both of them converters. The first one is likely totally unheard of here, which is an upcoming product set to ship next week from North Pole Engineering (NPE). It’s called CABLE. Which literally stands for ‘Connect ANT to Bluetooth Low Energy’. Below, is CABLE:
It’s a tiny pod with a coin cell battery that lasts 1-2 years before you swap the coin cell battery out. It’ll convert all assortment of ANT+ signals to proper Bluetooth Smart spec. You’ve got a small app that allows quick pairing to ANT+ sensors, and then it’ll just automatically take care of converting to Bluetooth Smart after that. What’s neat about this though is that it also has an accelerometer in it. So the idea is that you could use this for other things (such as on a bike), and it’ll automatically wake-up and see if something needs converting when moved.
I did one run on Zwift using CABLE, connected to a Garmin ANT+ footpod. It worked flawlessly. Cable will set you back about $59 once it starts shipping. Though you do get the immediate benefits of any ANT+ to BLE sensor translation, so if you have an ANT+ power meter you could use it with Bluetooth Smart only watches and GPS bike computers (or even your phone apps).
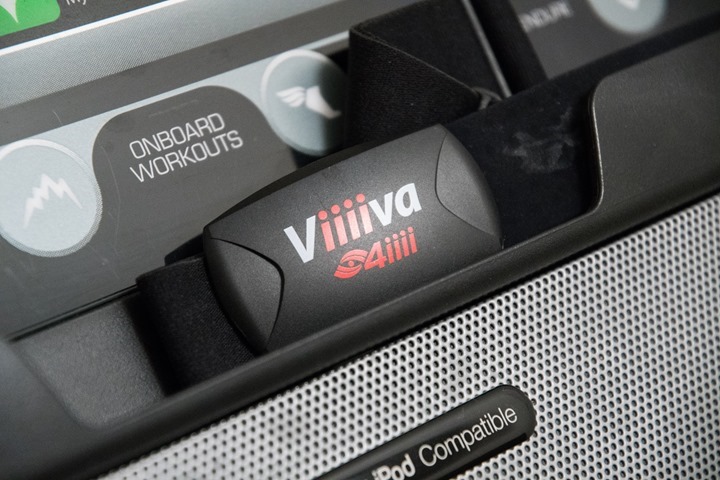
In any case, the second rabbit in the hat option is the more well known 4iiii Viiiiva HR strap. This strap also converts ANT+ signals and rebroadcasts them on Bluetooth Smart. I’ve tried this too – and it also works fine with your standard ANT+ footpod. The benefit to the Viiiiva is that you get a dual ANT+/Bluetooth Smart heart rate strap (and a ton of other functionality). The downside is if you don’t want to wear a heart rate strap, it doesn’t much help you.
Finally – I know some will ask whether the Wahoo TICKR would work here. Unfortunately not, as it doesn’t actually broadcast out as a standard running footpod over BLE. That’s something I discussed with them (since they record this data internally already), but it’s not there today.
*Update: You can also use the new Stryd Running Power Meter footpod variant to get BLE pace, as Stryd tells me it’s compatible as well. You can see my semi-recent post on it here.
Rockin’ it like Froome:
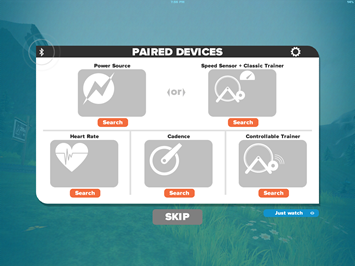
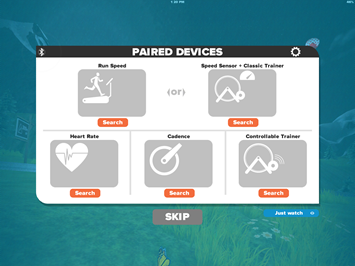
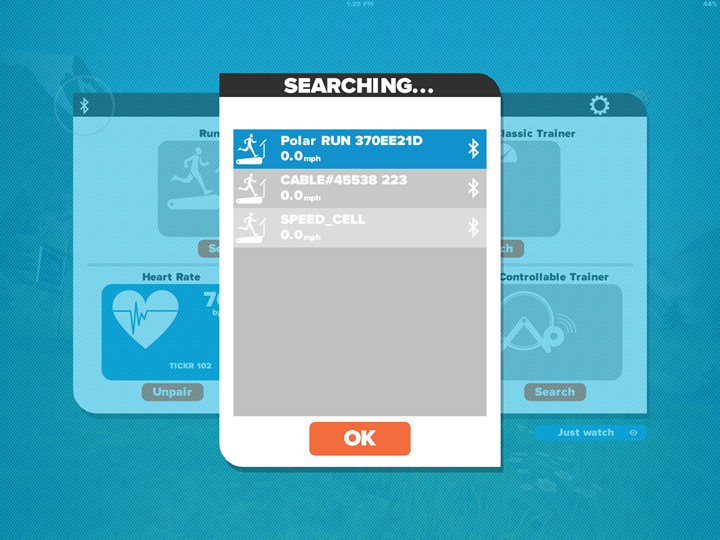
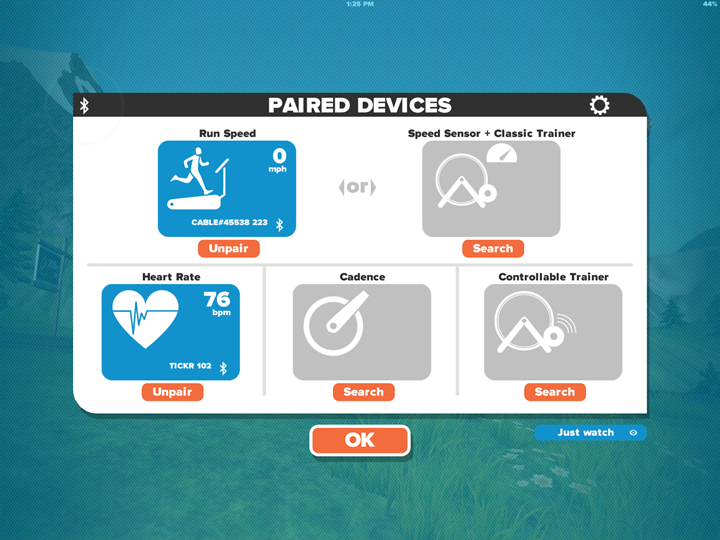
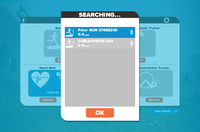
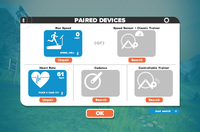
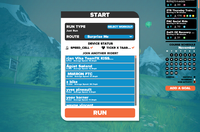
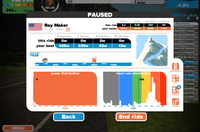
With everything all set, we’ll crack open the app and get things cooking. Because my account was in a special group, I was able to access the running options, which you’ll see then allows me to scan for a footpod. Note the differences between the left and right side with the new sensor page (upper left corner is changed):
I’ll simply scan for my footpod and I’m off and running. I believe in theory the thinking is to support the new Wahoo Gym Connect modules for incline control (the underlying API is the KICKR API), but I’m not sure if it does that yet since my treadmill lacks such a magical port.
From there, you’re basically set to use Zwift as normal. Obviously when they get closer to official release I’m sure they’ll have other nuanced options that make it more obvious you’re in the running mode.
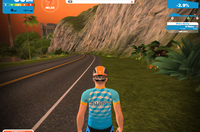
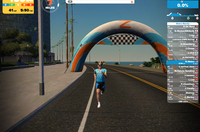
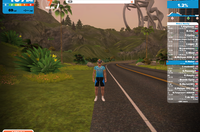
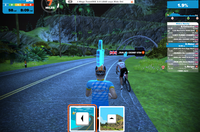
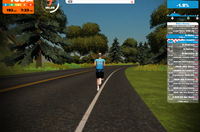
Once you select which part of the course you want to start from, then you’re plunked down there. Just like being kicked out of the side of a kidnapper van in a James Bond movie:
At which point, you simply run.
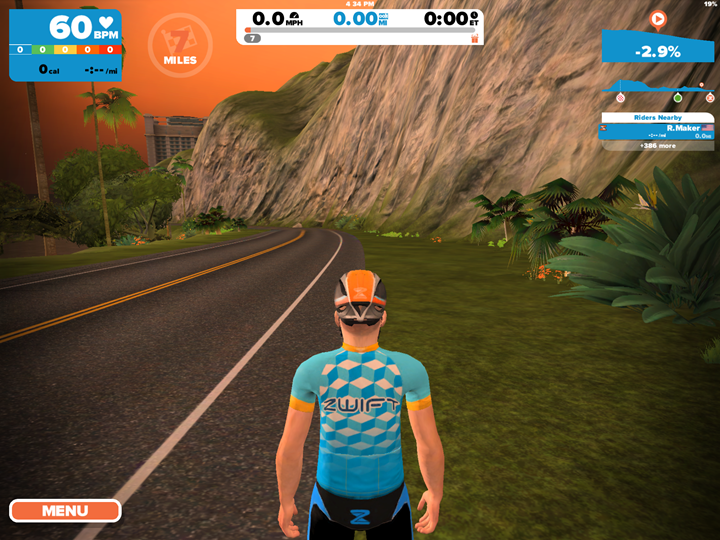
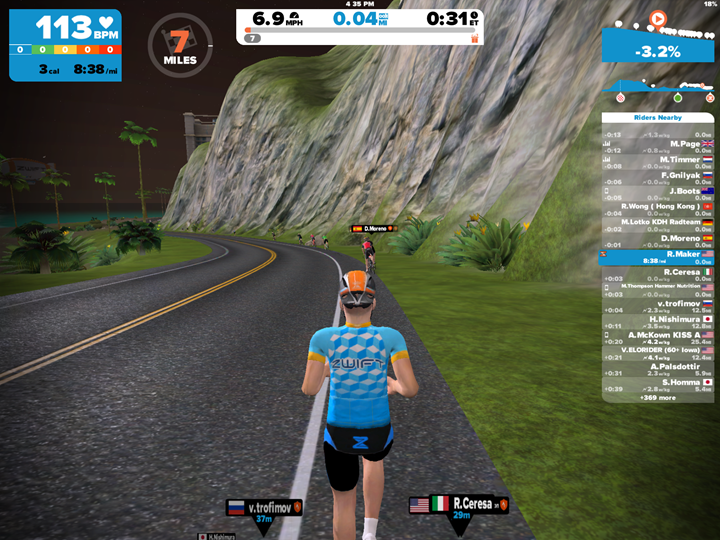
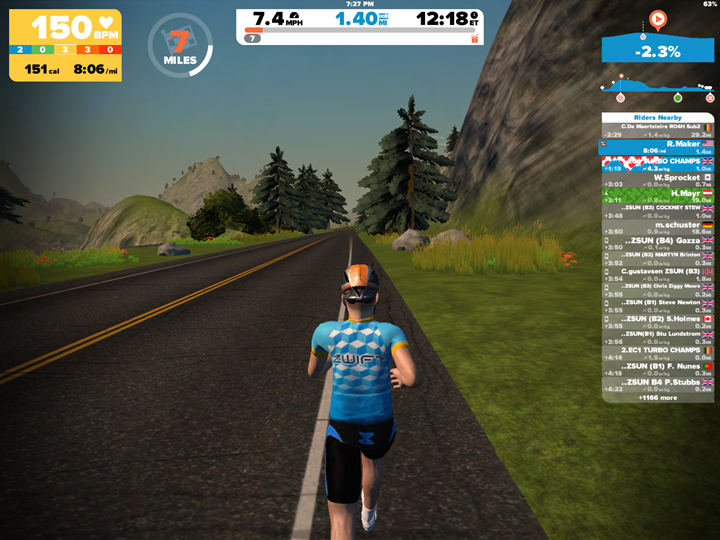
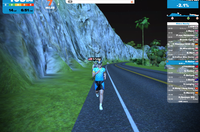
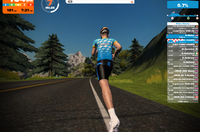
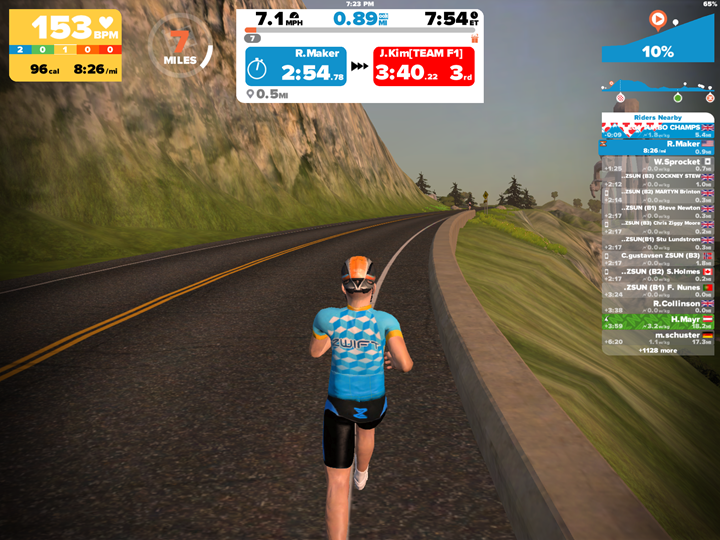
As you run you’ll notice in the upper left corner you’ve got your pace shown (in my case, in minutes/mile, as per my settings). You’ll also get your calories burned, heart rate, and minutes in heart rate zones.
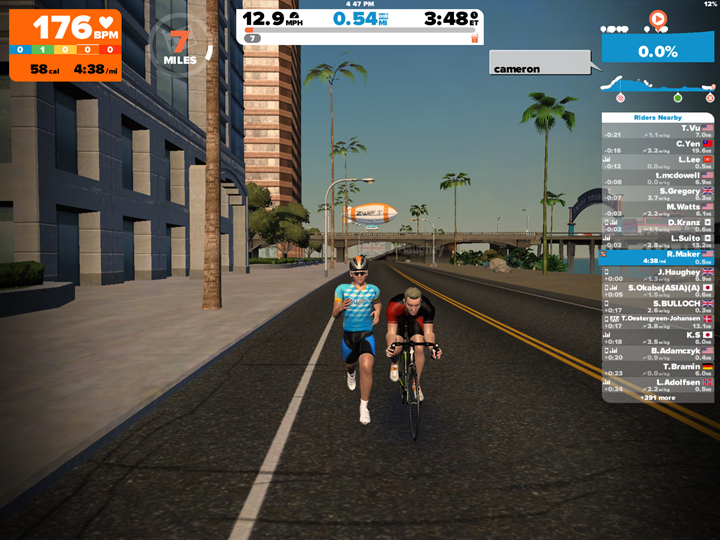
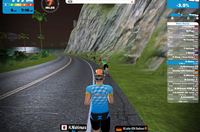
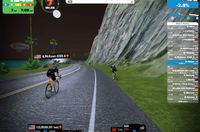
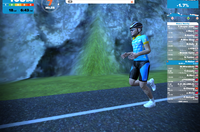
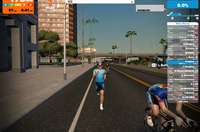
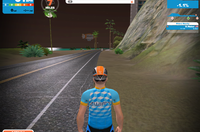
Of course, the biggest thing you may have noticed is that you’re running with your helmet. Chris Froome style. To be fair, given other cyclists are on the road, this just gives you a measure of protection. Though oddly, this rider that buzzed me selected to skip the helmet.
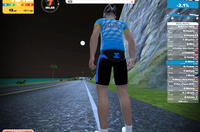
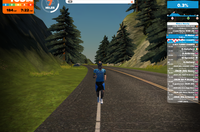
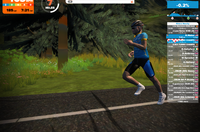
You can change your view, like within regular Zwift – to various angles. Here’s a boatload of screenshots I’ve taken. Because boatloads are always better.
Additionally, segments are limited to just runners. So you’ll be competing against other runners, versus competing against cyclists. Obviously, it’d kinda suck to compete against cyclists.
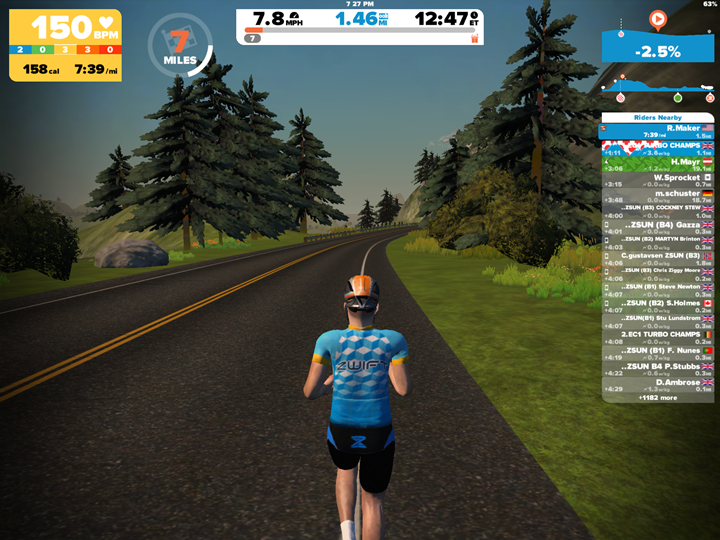
Note that Zwift isn’t controlling my treadmill though. So I have to constantly try and match the terrain (incline) given in the upper right corner. The secondary downside to that is that my treadmill can’t simulate declines (i.e. –3.5%), the lowest it goes is 0%. So you don’t quite get the same advantage running downhill as you would outside. Then again, only the higher end trainers can simulate downhills anyway. (Note below the –2.5% descent)
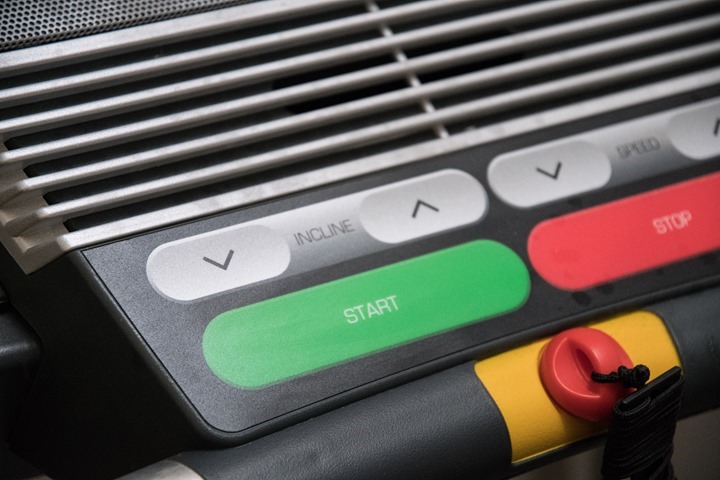
Also, Zwift isn’t controlling the speed of the treadmill – you are. If you want to run faster, you’ll need to press the buttons on the treadmill. This is probably obvious, but it’s worthwhile noting. This is different from cycling where you just ride faster (usually harder) on the trainer, without having to necessarily change any levers/buttons. This also means that when it comes to segments, folks could easily cheat by just leaving their treadmill at 0% incline (or less), even on a 9% incline. Zwift wouldn’t have any way to counter that.
That aside, overall the whole running aspect works well. Of course there are minor fit and finish elements to be completed, but that’s normal for a beta. The only downside to being in said pre-beta state is that I was the only one running. So in that sense it became rather lonely again as you weren’t in a group with other runners (or riders). Sure there were cyclists flying by, many of which found you an interesting curiosity, but none of which were going to stay with you for a mile. Again, that soon too will be a thing of the past once the platform opens up to anyone.
And ultimately, it certainly made my treadmill run go faster. If for no other reason than I was constantly having to press buttons to match the terrain – so that kept me busy. And for that particular evening, it was nice to just jump on a treadmill and have something new and unique to keep me entertained.
With that – thanks for reading!


